How to Charge Apple Pencil 1st and 2nd Generation: Step-by-Step Guide
It has become a handy tool for many artists, designers, and note-takers. Whether you are using this Apple Pencil’s first or second generation, knowing it is always charged and ready when you need it is essential. In this blog post, we will run through how to charge an Apple Pencil, solve incompatibility issues, and even give tips on getting the most out of its battery life. Apple’s ingenuity in technology has never failed to surprise, and the Apple Pencil comes without exemption. The sleek tool has various features, but charging seems problematic to most users. Whether you have just bought an Apple Pencil or need clarification about what changes the 1st and 2nd generations bring along with them, this guide shall explain and illustrate explicitly how to charge Apple Pencil.
Table of Contents
What You Need to Know Before Charging Your Apple Pencil
Before diving into the specifics of how to charge your Apple Pencil, it’s essential to understand the difference between the 1st and 2nd generation models.
Differences Between 1st and 2nd Generation Apple Pencils
- Charging Method: The most significant difference is how each pencil charges. The 1st generation uses a lightning connector, while the 2nd generation charges wirelessly via magnetic attachment.
- Design: The 1st generation features a silver band separating the charging port from the pencil body, whereas the 2nd generation lacks a physical charging port.
Compatibility Check
Before charging, ensure your Apple Pencil is compatible with your iPad model:
- 1st Gen Apple Pencil: Compatible with iPad (10th generation), iPad mini (6th generation), iPad Air (4th generation and later), iPad Pro 11-inch (all generations), and iPad Pro 12.9-inch (3rd generation and later).
- 2nd Gen Apple Pencil: Only compatible with specific models, so check your iPad’s specifications before purchase.
How to Charge the 1st Generation Apple Pencil
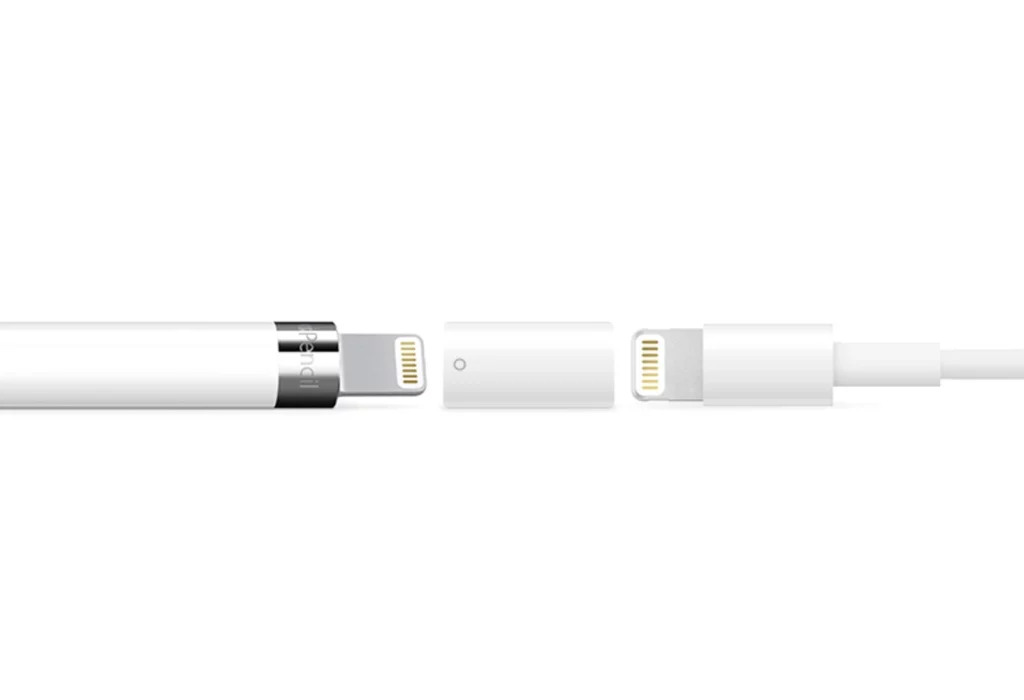
Charging the 1st generation Apple Pencil might seem more complex than its successor, but it’s straightforward once you know the steps.
Step 1: Remove the Cap
- Start by unscrewing the cap at the end of the Apple Pencil. This reveals a lightning connector, which you’ll use to plug into your iPad.
Step 2: Plug Into the Lightning Connector
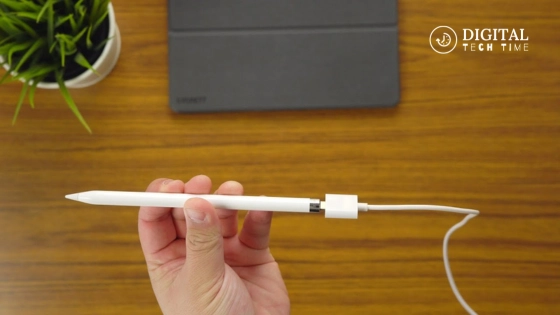
- Plug the Apple Pencil directly into the lightning port of your iPad. While this method works, the pencil protrudes awkwardly from the device.
Step 3: Use an Adapter
- Use a lightning adapter to avoid potential damage to your Apple Pencil or iPad. This accessory allows you to charge the pencil without sticking it out of the device.
Step 4: Check the Charging Status
- Navigate to Settings > Apple Pencil on your iPad to verify that your Apple Pencil is charging. Look for the battery icon; your pencil is charging if it’s green with a lightning bolt symbol.
Additional Tip: Charging with the 10th Generation iPad
The 10-generation iPad has a USB-C, not a lightning connector, so you’ll want a USB-C to Apple Pencil adapter. You can find those online easily for $10 or so. Take the adapter and plug one end into the iPad and the other into the Apple Pencil.
How Long Does It Take to Charge?
The 1st generation Apple Pencil charges relatively quickly, taking about 30 minutes from 0% to 100%. When fully charged, it provides approximately 11 hours of use.
How to Charge the 2nd Generation Apple Pencil
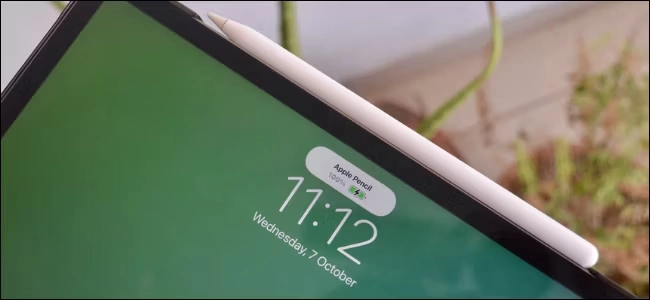
Charging the 2nd generation Apple Pencil is more intuitive and straightforward than the 1st generation, thanks to its magnetic charging feature.
Step 1: Attach to iPad Magnetically
- To charge the 2nd generation Apple Pencil, attach it to the magnetic connector on the long side of your compatible iPad.
Step 2: Ensure Bluetooth is On
- Make sure that Bluetooth is enabled on your iPad. Go to Settings > Bluetooth and ensure it’s turned on. The Pencil needs Bluetooth to communicate with the iPad during the charging process.
Step 3: Check the Charging Status
- When you attach the pencil to the iPad, an icon showing the current battery level will appear on the screen. This icon confirms that your Apple Pencil is charging.
Benefits of Magnetic Charging
- The magnetic charging feature of the 2nd generation Apple Pencil allows you to keep it attached to your iPad even while using it, ensuring that it’s always charged and ready for action.
How to Know if Your Apple Pencil is Charging
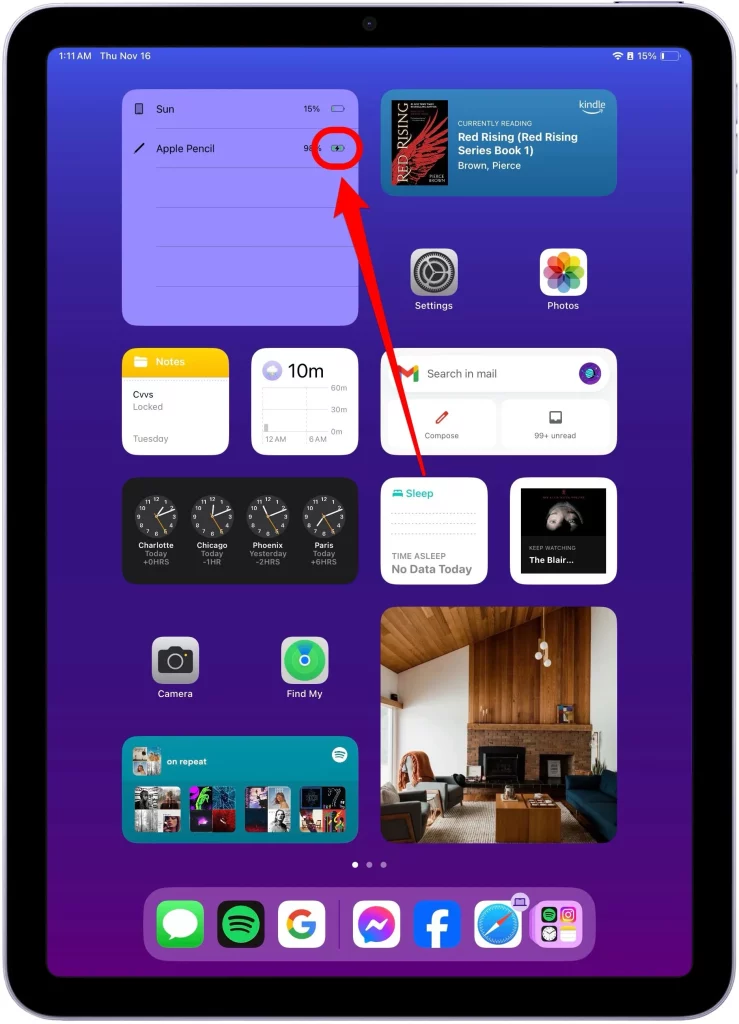
Knowing whether your Apple Pencil is charging is vital, mainly if you rely on it for professional work.
For 1st Generation Apple Pencil
- Go to Settings > Apple Pencil and check the battery icon. Your pencil is charging if it’s green and shows a lightning bolt.
- Alternatively, you can add a Battery widget to your iPad’s home screen to conveniently monitor the charging status. Swipe from left to right on the home screen, tap “Edit,” and add the Batteries widget under “More Widgets.”
For 2nd Generation Apple Pencil
- The charging status appears automatically on your iPad screen when you attach the Apple Pencil. This icon will display the current battery level, confirming that your pencil is charging.
How to Charge Apple Pencil Without an iPad
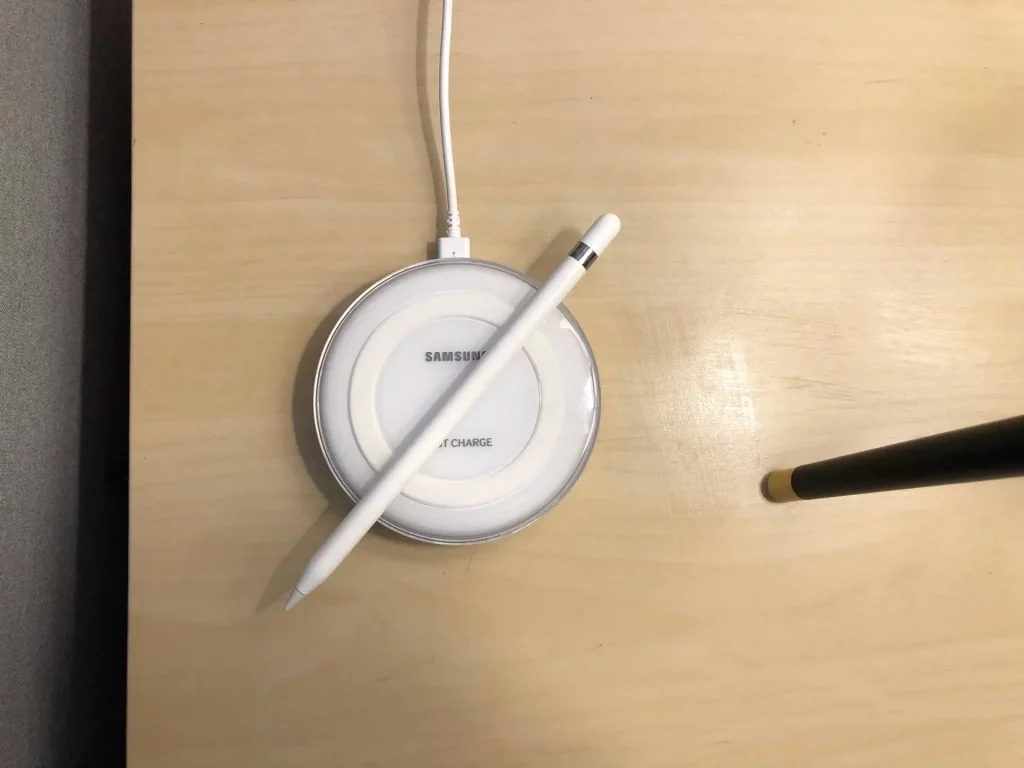
Sometimes, you may need to charge your Apple Pencil but don’t have your iPad handy. Here’s how you can do it:
Charging 1st Generation Apple Pencil
- You can use a standard USB charger with the help of an adapter. Plug the Apple Pencil into the adapter, then connect it to the charger.
Charging 2nd Generation Apple Pencil
- Unfortunately, the 2nd generation Apple Pencil doesn’t offer an alternative charging method. However, you can invest in an Apple Pencil charging case miming the iPad’s magnetic charging function.
Read Also: Easy Steps to Turn Off Your Apple Watch
Frequently Asked Questions
How long does it take to charge the Apple Pencil 1st Gen?
- It takes about 30 minutes to charge the Apple Pencil 1st Gen from 0% to 100%.
Can I use the Apple Pencil while it’s charging?
- You cannot use the 1st Gen Apple Pencil while it’s charging. The 2nd Gen can be used while attached magnetically to the iPad, as it charges wirelessly.
Can I charge the Apple Pencil 2 without an iPad?
- The 2nd Gen Apple Pencil charges wirelessly through the iPad. You’ll need to purchase an Apple Pencil charging case to charge it without an iPad.
How is my Apple Pencil fully charged?
- For the 1st Gen, check the Batteries widget or go to Settings > Apple Pencil. For the 2nd Gen, a notification appears on the screen showing the current battery level.
Can I charge my Apple Pencil with my iPhone?
- The Apple Pencil is designed to charge only with an iPad or an appropriate adapter.
What should I do if my Apple Pencil isn’t charging?
- Ensure your device’s software is up-to-date and the Pencil is appropriately connected. If the problem persists, try restarting your iPad or resetting your Apple Pencil’s connection.
Conclusion
Part of keeping up with creativity is knowing how to increase the charge on your Apple Pencil. With this guide, one should maintain one’s creative spirit by ensuring that one is always set to sketch, take down an illustration, or sketch and write notes at any time possible for a human being. Remember, keeping your Apple Pencil charged is not just about convenience; it’s about ensuring you get the most out of this powerful tool.
Have all these steps in your head, and you will never worry again because you have a creative block due to your low battery. Now that you have learned how to charge the Apple Pencil, you can decide on essential things—making those ideas come to life.
