How to Take Scrolling Screenshots on Windows 11 Easily
Hey! There, today I will explain to you How to Take Scrolling Screenshots on Windows 11; screenshots are invaluable for capturing and sharing information quickly and efficiently. Whether you need to document a problem, create infographics, or save payment proofs, the ability to take effective screenshots is essential. However, capturing long, scrolling web pages or multi-page documents can be a challenge with traditional screenshot tools. This is where scrolling screenshots come into play,
Allowing you to capture extended content in a single, seamless image. In this blog post, we will explore various methods to take scrolling screenshots on Windows 11, including built-in tools, browser extensions, and third-party applications.
Table of Contents
What are Scrolling Screenshots?
Scrolling screenshots enable you to capture long, continuous sections of content that extend beyond the visible screen area. This is particularly useful for web pages, documents, and chat threads that span multiple screens. Instead of taking multiple screenshots and stitching them together, scrolling screenshots provide a convenient and efficient way to capture all the necessary information in one go.
Why Do You Need Scrolling Screenshots on Windows 11?
Scrolling screenshots are beneficial for several reasons:
- Documentation: Capture detailed information for troubleshooting or instructional guides.
- Research: Save entire articles or web pages for offline reading or reference.
- Presentation: Create comprehensive visuals for presentations or reports.
- Communication: Share complete chat threads or email conversations without missing any context.
Methods to Take Scrolling Screenshots on Windows 11
Using Built-in Browser Tools
Microsoft Edge
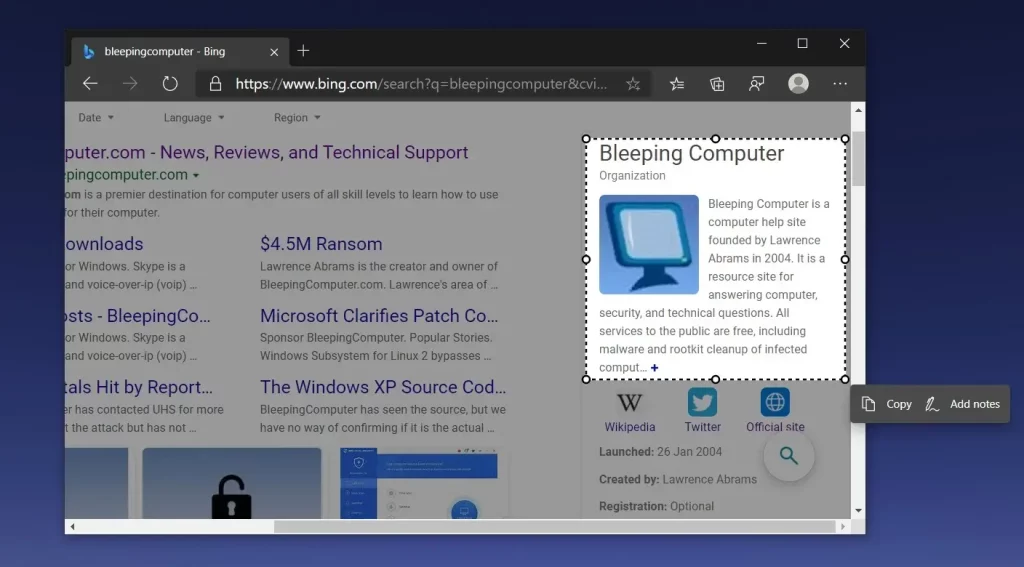
Microsoft Edge, the default browser on Windows 11, includes a built-in feature for capturing scrolling screenshots.
- Launch Microsoft Edge and navigate to the webpage you want to capture.
- Click the three-dot menu in the top-right corner and select Web Capture.
- Alternatively, use the keyboard shortcut Ctrl + Shift + S.
- Select Capture the full page from the menu that appears.
- The entire webpage will be captured, and you can annotate, save, or share the screenshot as needed.
Firefox
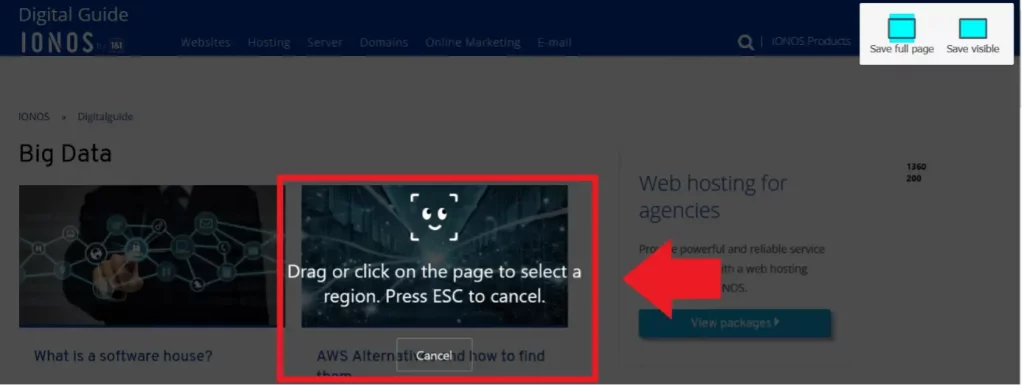
Firefox also offers a straightforward way to capture scrolling screenshots.
- Open Firefox and go to the desired webpage.
- Right-click on the page and select Take Screenshot.
- Choose the Save full page option.
- The screenshot will be captured, and you can download or copy it to your clipboard.
- Using Browser Extensions
Also Read: How to Compare Two Folders in Windows 10
Google Chrome
Although Chrome does not have a built-in scrolling screenshot tool, you can use extensions like FireShot.
- Install the FireShot extension from the Chrome Web Store.
- Navigate to the webpage you want to capture and click the FireShot icon in the toolbar.
- Select Capture the entire page.
- In the preview window, save the screenshot as a PNG or PDF file or share it via email.
- Using Third-Party Applications

ShareX
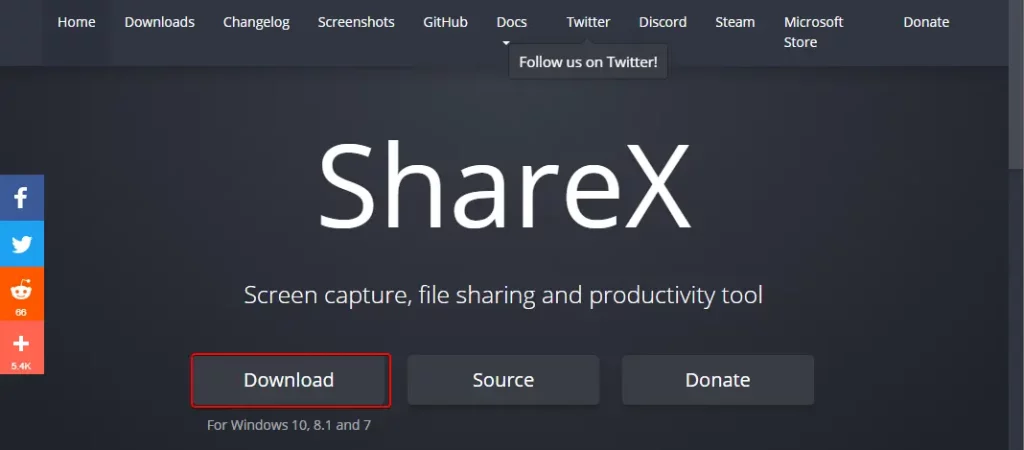
ShareX is a powerful, open-source screenshot utility that offers scrolling capture capabilities.
- Download and install ShareX from the official website.
- Right-click the ShareX icon in the system tray and select Capture > Scrolling capture.
- Choose the window or document you want to capture.
- Configure the capture settings if necessary and click Start scrolling capture.
- After capturing, you can edit, annotate, and save the screenshot.
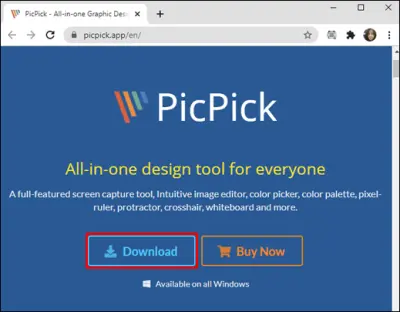
PicPick
PicPick is another versatile tool for capturing scrolling screenshots.
- Download and install PicPick from the official website.
- Open the target webpage or document.
- Launch PicPick and select Scrolling Window from the toolbar.
- Drag the cursor from one corner of the screen to the opposite end to start the capture.
Snagit
Snagit is a feature-rich application for capturing and editing screenshots, including scrolling screenshots.
- Download and install Snagit from the TechSmith website.
- Open the desired webpage or document.
- Launch Snagit and select All-in-One from the left panel.
- Click Capture and drag the crosshair to select the area.
- Scroll through the content and click Stop when done.
- Using TweakShot
TweakShot
TweakShot provides an easy way to take scrolling screenshots along with various editing features.
- Download and install TweakShot.
- Open the target webpage or document.
- Launch TweakShot and press Ctrl + Shift + PrtScr to start the capture.
- Select the area and let the tool automatically scroll and capture the screenshot.
Frequently Asked Questions
Q: Can You Take Scrolling Screenshots Using the Snipping Tool on Windows 11?
A: No, the Snipping Tool on Windows 11 does not support scrolling screenshots. It can only capture a specific area of the screen, which makes it unsuitable for capturing long web pages or documents.
Q: Is There a Built-in Feature for Scrolling Screenshots in Windows 11?
A: Windows 11 does not have a built-in feature for scrolling screenshots. However, you can use built-in browser tools like Web Capture in Microsoft Edge or the Screenshot tool in Firefox. For other applications, third-party tools are necessary.
Q: Are There Any Free Tools for Taking Scrolling Screenshots on Windows 11?
A: Yes, there are several free tools available for taking scrolling screenshots on Windows 11, including ShareX, PicPick, and browser extensions like FireShot.
Q: How Do I Capture Scrolling Screenshots on Mac?
A: Mac users can take scrolling screenshots using built-in tools available in macOS. Press Command + Shift + 5 to access the screenshot toolbar, then select the screen area and scroll to capture the entire content.
Q: Can I Edit Scrolling Screenshots After Capturing Them?
A: Yes, most third-party tools like ShareX, Snagit, and PicPick offer editing features that allow you to annotate, crop, and enhance your scrolling screenshots.
Conclusion
Capturing scrolling screenshots on Windows 11 is essential for efficiently documenting extended content. While the built-in Snipping Tool lacks this capability, various third-party tools and browser extensions offer comprehensive solutions. Whether you choose ShareX, Snagit, PicPick, or browser tools, each method has its unique advantages to help you capture seamless, scrolling screenshots. By leveraging these tools, you can ensure that no important information is left out, making your documentation, research, and communication tasks more effective.
Experiment with the different tools and methods discussed in this guide to find the one that best suits your needs. With the right approach, scrolling screenshots on Windows 11 can be a simple and efficient process.

