How to Voice Record on iPhone: Step-by-Step Instructions
As I have been using an iPhone for a long period, I really find the default Voice Memos app powerful, handy, and facilitating for recording on-the-go audio. Whether recording a meeting, an interview, a lecture, or perhaps just oneself talking and brainstorming a thought or idea, this voice recording capability of the iPhone is really very useful. In this article, I’m going to take you through the step-by-step process of Voice Record on iPhone and give you a few important tips and tricks you can use for the best outcome.
Table of Contents
Understanding the Voice Memos App
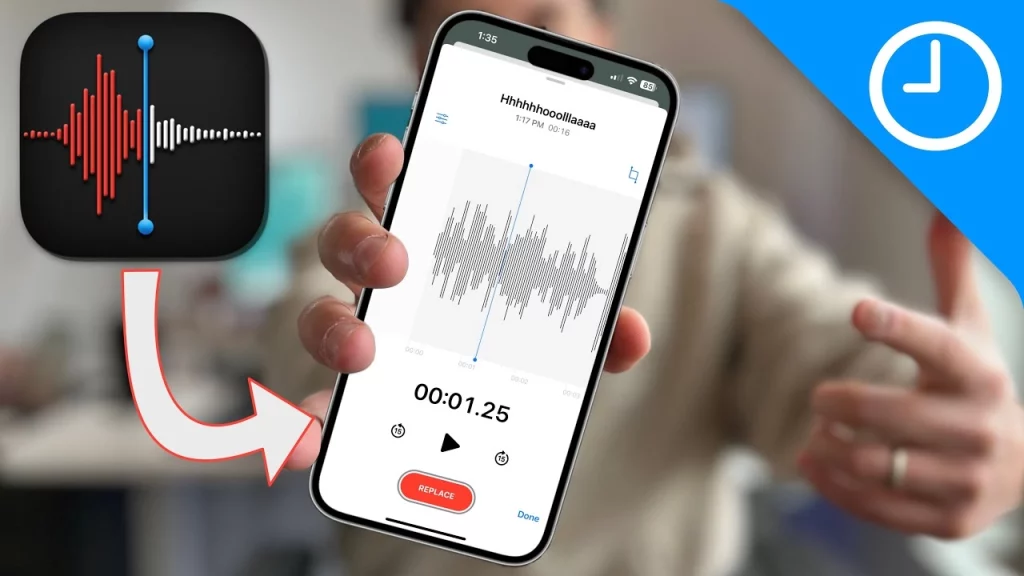
The Voice Memos app is a pre-installed app on your iPhone, and it’s designed to be a simple and intuitive tool for recording audio. The app’s interface is clean and straightforward, with a large red “Record” button at the centre, allowing you to start and stop recordings with ease. You can also access a list of your previous recordings, which can be played back, edited, and shared with others.
Guide to Voice Record on iPhone
- Open the Voice Memos App: Find the Voice Memos app on your iPhone and tap to open it.
- Start Recording: Tap the big red “Record” button at the centre of the screen once the app is opened. It will start recording, and the timer that pops up at the top of the screen will show the time for which the recording has been running.
- Record Audio: Speak clearly, and make sure that the volume is consistent towards the bottom of the iPhone, where the microphone usually is. Make sure that your hand or anything else does not block the microphone.
- Stop Recording: Once done, tap the “Stop” button at the bottom. It automatically saves in the application library.
- Review and edit your recording: After you’ve stopped recording, your recording will be in the library in the app in which you recorded it. You can now trim this recording, add notes or tags to it, or even share it with other people.

Adjusting Recording Settings
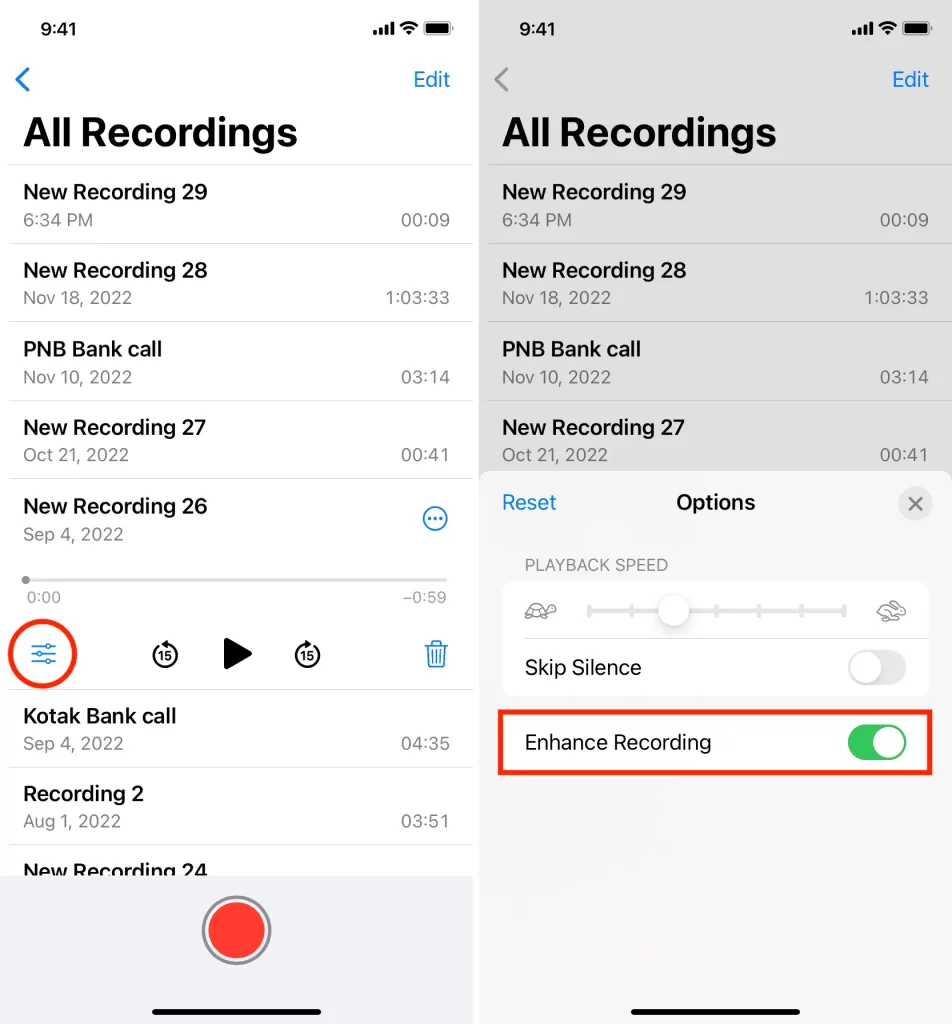
The Voice Memos app allows you to adjust a few things to fit the application’s ideal use. Tap the three-dot menu icon in the top right of the app, and then tap on Settings.
Here, you can:
- Adjust for Recording Quality: This toggle button switches between “High Quality” and “Standard Quality” to achieve a trade-off between recording quality and the size of the recording file.
- Audio Leveling: This option automatically adjusts the volume of your recordings to an even audio level.
- Noise Cancellation: This will help reduce background noise and clean up your recordings to a fair extent.

Tips and Tricks for Better Voice Recording
- Find a Quiet Environment: Find a quiet environment where the background noise is minimal for quality recordings. This will let your voice stand out and be well understood.
- Hold the iPhone Correctly: Hold the iPhone about 6-12 inches away from your mouth, keeping the microphone as clear as possible.
- Speak Clearly and at a Consistent Volume: Pronounce your words clearly and maintain the volume during recording: no mumbling and no sudden changes in volume.
- Use External Microphones: For more professional recordings, consider an external microphone such as a Lavalier or shotgun microphone. These can then be attached to your iPhone via the Lightning port or a headphone adapter.
- Editing Recordings: After recording, take some time to review and edit the recordings. You can trim, split, or combine recordings and add some notes or tags that can be helpful in organizing your audio files.
Also Read: How to Cast from an iPhone Like a Pro
Frequently Asked Questions
Q: How do I share voice recordings?
A: Sharing of recordings is easy with the Voice Memos app: tap on any recording, then select the share icon-square with an upward-pointing arrow to send through email, messaging apps, and cloud storage options.
Q: How long can I record for?
A: It depends on how much free space you have on your iPhone. The recordings will go on until you stop it or your storage does.
Q: How can I edit my recordings?
A: You’re able to trim, split, and combine recordings within the app Voice Memos and even add notes or tags to help you manage your audio files.
Conclusion
The Voice Memos app lets you make great audio recordings directly from your iPhone. By the end of this tutorial, with the step-by-step process and some extra tips and tricks, you will perfectly be on your way to making high-quality voice recordings that can be put to many uses-from personal voice notes to professional interviews and meetings.
Want to start recording your voice right on your iPhone? Well, download the Voice Memos application today and give it a try! If you have any questions or problems, please do not hesitate to contact our support team.


