Step-by-Step Guide: Installing macOS on a Windows PC
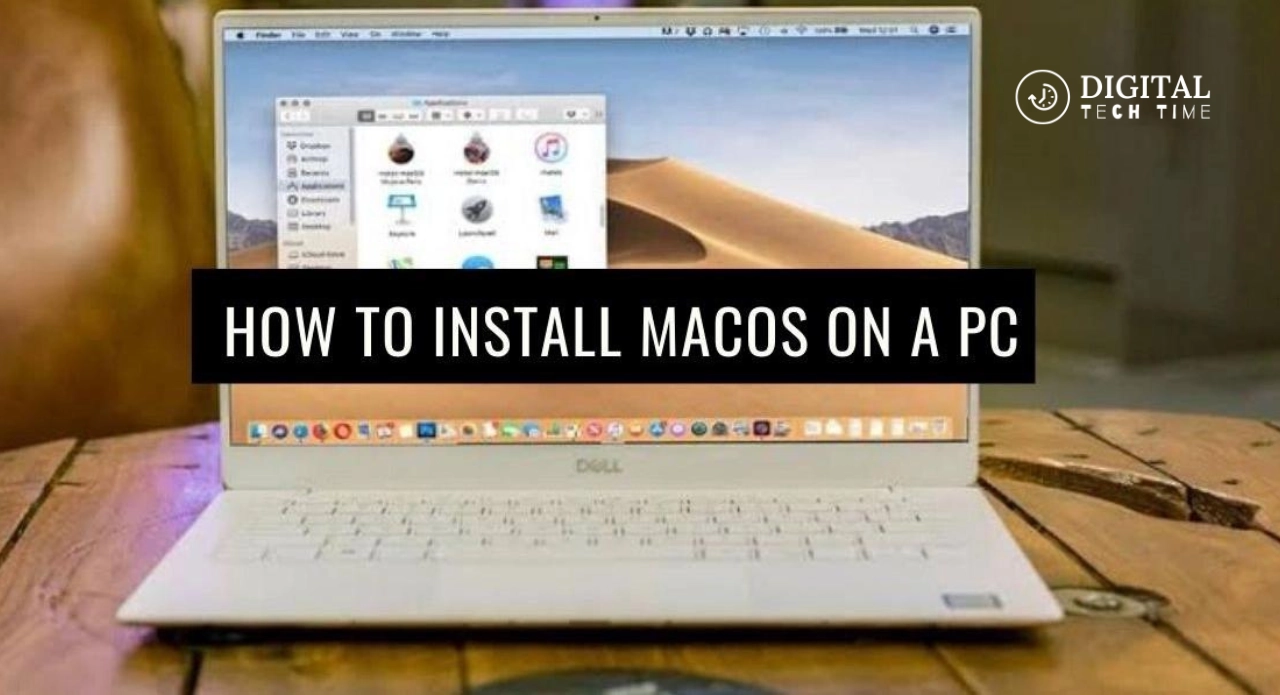
As a tech enthusiast, I’ve always been intrigued by running macOS on a Windows PC. The sleek design, user-friendly interface, and powerful applications of Apple’s operating system have long been a draw for many users. However, the traditional method of dual-booting or using separate Mac hardware has often been a barrier for primarily Windows-based users.
The landscape for installing macOS on a Windows PC has evolved, making it more accessible and straightforward. In this comprehensive guide, I’ll walk you through installing macOS Sonoma on your Windows computer using VirtualBox, a powerful virtualization software.
Table of Contents
System Requirements for Installing macOS on a Windows PC
Before we dive into the installation process, ensuring that your Windows PC meets the necessary system requirements is essential. To successfully install macOS on your Windows PC, you’ll need the following:
1. Hardware Compatibility: Your Windows PC should have a compatible hardware configuration, including a processor that supports virtualization technology, such as Intel VT-x or AMD-V. You’ll also need at least 8GB of RAM and at least 50GB of available storage space.
2. UEFI-based Motherboard: Your Windows PC should have a UEFI-based motherboard, as the traditional BIOS-based systems are incompatible with the macOS installation process.
3. Supported Graphics Card: To ensure a smooth and seamless experience, your Windows PC should have a graphics card compatible with macOS. This typically includes Nvidia and AMD graphics cards, but it’s essential to check the specific compatibility requirements.
4. Backup and Preparation: Before proceeding with the installation, it’s crucial to back up all your essential data and files, as the installation process may involve partitioning your hard drive or creating a virtual machine.
By ensuring that your Windows PC meets these system requirements, you’ll be well on your way to a successful macOS installation.
Step 1: Download VirtualBox and its Extension
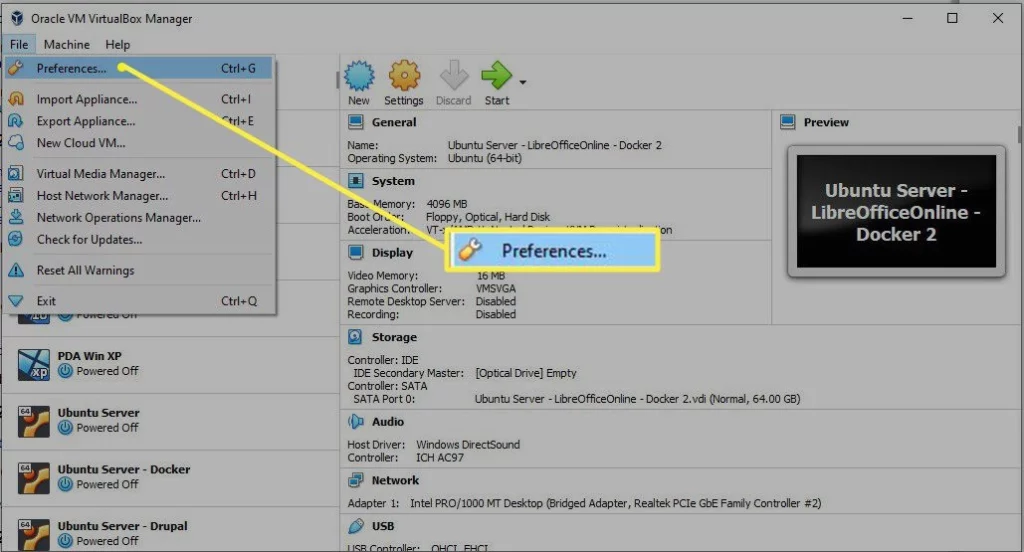
The first step in our journey is to download VirtualBox, a free and open-source virtualization software that allows you to create and run virtual machines on your Windows PC. Head over to the official VirtualBox website (www.virtualbox.org) and download the latest version for your operating system.
Once the download is complete, install VirtualBox on your Windows machine. During the installation process, you’ll be prompted to install the VirtualBox Extension Pack, which adds additional features and functionality to the software. Make sure to download and install the Extension Pack, as it will be essential for running macOS in a virtual environment.
Step 2: Download macOS Sonoma
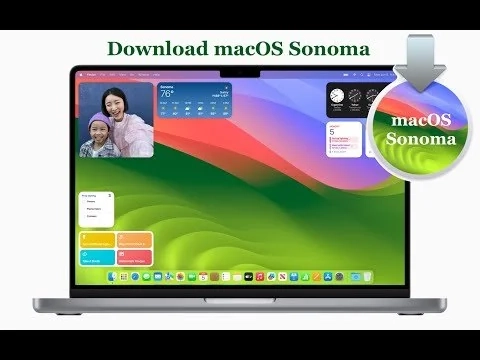
The next step is to obtain a copy of the macOS Sonoma operating system. Since Apple doesn’t officially provide a way for users to download and install macOS on non-Apple hardware, we’ll need to rely on third-party sources. I recommend visiting reputable online forums and communities where users share pre-built macOS images compatible with VirtualBox.
Be cautious when downloading these images, as Apple may not officially support them and could potentially contain malware or other security risks. Ensure that you only download from trusted sources and verify the integrity of the files before proceeding.
Step 3: Set up VirtualBox
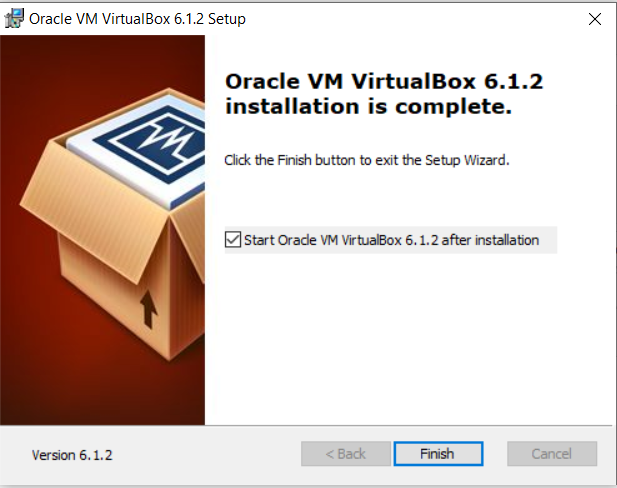
Now that you have VirtualBox and the macOS Sonoma image, it’s time to set up the virtual machine. Launch VirtualBox, and click on the “New” button in the main window to create a new virtual machine.
In the wizard that appears, follow these steps:
- Name and operating system: Give your virtual machine a descriptive name (e.g., “macOS Sonoma”) and select “macOS” as the operating system type and version.
- Memory size: Allocate a sufficient amount of RAM for your virtual machine, typically between 4GB and 8GB, depending on the hardware capabilities of your Windows PC.
- Virtual hard disk: Choose “Create a virtual hard disk now” and select the appropriate file type, such as VDI (VirtualBox Disk Image).
- Hard disk size: Allocate suitable storage space for your virtual macOS installation, usually between 50GB and 100 GB.
Once you’ve completed the wizard, your virtual machine will be created, and you’ll be ready to configure it further.
Step 4: Configure VirtualBox Settings
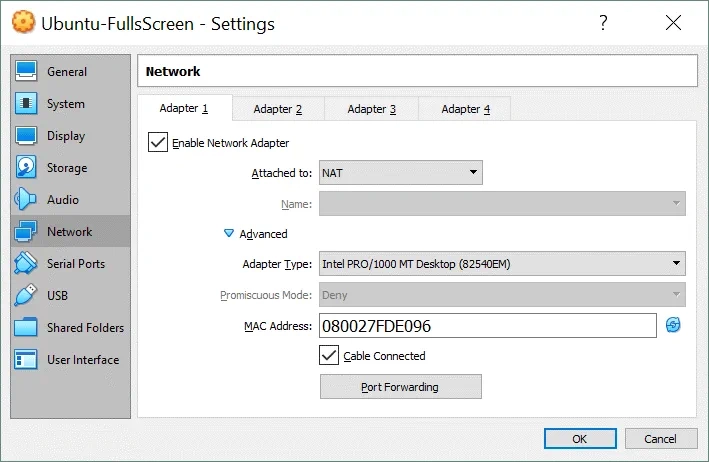
Before launching your macOS virtual machine, it’s essential to fine-tune the settings to ensure optimal performance and compatibility. Select your newly created macOS virtual machine in the VirtualBox main window and click the “Settings” button.
In the Settings window, navigate through the various tabs and make the following adjustments:
- System: Increase the processor cores and enable the “Enable PAE/NX” option for better performance.
- Display: Increase the video memory and enable 3D acceleration for a smoother visual experience.
- Storage: Click on the “Empty” entry under the “Storage Devices” section, then click on the CD/DVD icon and select “Choose a virtual CD/DVD file.” Here, you’ll need to navigate to the macOS Sonoma image you downloaded earlier and select it.
- Audio: Ensure the audio controller is set to the appropriate type, such as Intel HD Audio.
- Network: Depending on your network setup, you may need to configure the network adapter to match your Windows PC’s network settings.
After making these adjustments, you can launch your macOS virtual machine.
Step 5: Launch macOS
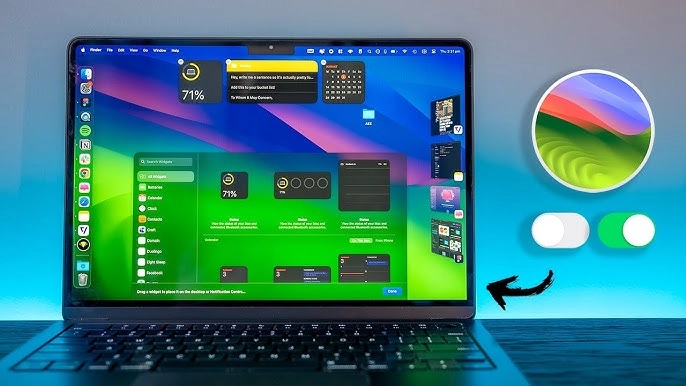
With the virtual machine configured, it’s time to start the macOS installation process. Click the “Start” button in the VirtualBox main window to launch the virtual machine.
The virtual machine will boot up, and the macOS Sonoma installation wizard should appear. Follow the on-screen instructions to complete the installation, including setting up your user account, configuring the system preferences, and installing any necessary software or applications.
During the installation process, you may encounter some compatibility issues or errors. Don’t worry; this is common when running macOS on non-Apple hardware. Refer to online forums and communities for troubleshooting tips and workarounds, as solutions are often available.
Once the installation is complete, you’ll have a fully functional macOS Sonoma virtual machine running on your Windows PC. You can now explore the operating system, use your favorite macOS applications, and enjoy the best of both worlds – the versatility of Windows and the elegance of macOS.
Related Post: How to Connect Multiple Monitors to Windows 10
Frequently Asked Questions
Q: Is it legal to install macOS on a non-Apple computer?
A: The legality of installing macOS on non-Apple hardware is a gray area. While Apple’s licensing agreement prohibits macOS installation on non-Apple hardware, many users have successfully done so using virtualization software like VirtualBox. However, it’s important to note that this may violate Apple’s terms of service, and you should proceed with caution.
Q: Will I encounter performance issues running macOS on a virtual machine?
A: Running macOS on a virtual machine can lead to performance limitations compared to running it on native Apple hardware. However, with the advancements in virtualization technology and the hardware capabilities of modern Windows PCs, the performance impact is often minimal, especially if you allocate sufficient system resources (RAM, CPU cores, and storage) to the virtual machine.
Q: Can I use my Windows applications alongside macOS?
A: Yes, one of the benefits of running macOS on a virtual machine is the ability to switch between your Windows applications and the macOS environment seamlessly. VirtualBox provides various integration features, such as shared folders and clipboard sharing, allowing you to transfer files and data between the two operating systems quickly.
Q: Will I be able to receive software updates for macOS Sonoma?
A: Unfortunately, since you’re installing macOS on non-Apple hardware, you won’t be able to receive official software updates from Apple. However, the macOS community often provides updated installation images, including the latest security patches and feature updates. It’s essential to stay up-to-date with these community-provided updates to ensure the security and stability of your macOS virtual machine.
Conclusion and final thoughts
In conclusion, installing macOS Sonoma on your Windows PC using VirtualBox is a great way to explore the Apple ecosystem and take advantage of the unique features and applications that macOS has to offer. Following the step-by-step guide outlined in this article, you can set up a virtual macOS environment on your Windows computer and enjoy the best of both worlds.

