How to Change the Cursor on Chromebook: Step-by-Step Guide
As a Chromebook user, the default cursor sometimes feels lackluster or challenging, especially on larger displays. Fortunately, the Chromebook offers several options to customize your cursor, allowing you to make it more visually appealing and easier to use. In this comprehensive guide, we’ll walk you through the step-by-step process of changing the cursor on your Chromebook and explore some additional customization possibilities.
Table of Contents
Why change the cursor on the Chromebook?
Customizing your Chromebook’s cursor can provide several benefits. Firstly, it can improve your overall user experience by making the cursor more visually distinct and more accessible to locate on the screen. This can be particularly helpful for users with visual impairments or those working in environments with bright or distracting backgrounds. Additionally, changing the cursor size and color can make it more accessible and comfortable, reducing eye strain and improving productivity.
Step 1: Accessing the Chromebook settings
To change your Chromebook’s cursor, you’ll need to access the device’s settings. You can do this by clicking on the time in the bottom right corner of your screen and then selecting the gear icon to open the settings menu.

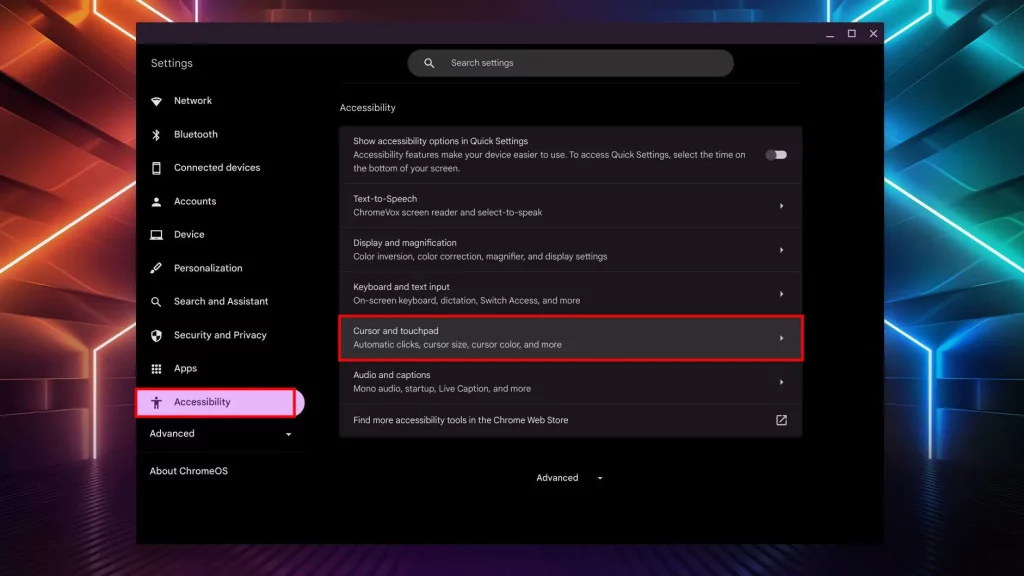
Step 2: Navigating to the accessibility options
Once you’re in the settings menu, locate the “Accessibility” section. This is where you’ll find the options for customizing your Chromebook’s cursor.

Step 3: Changing the cursor size and color
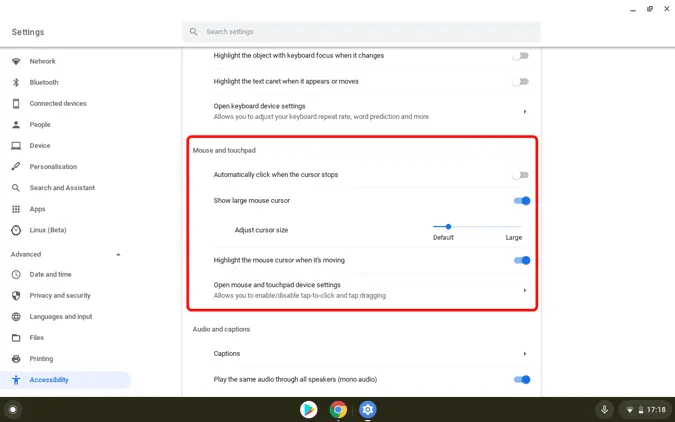
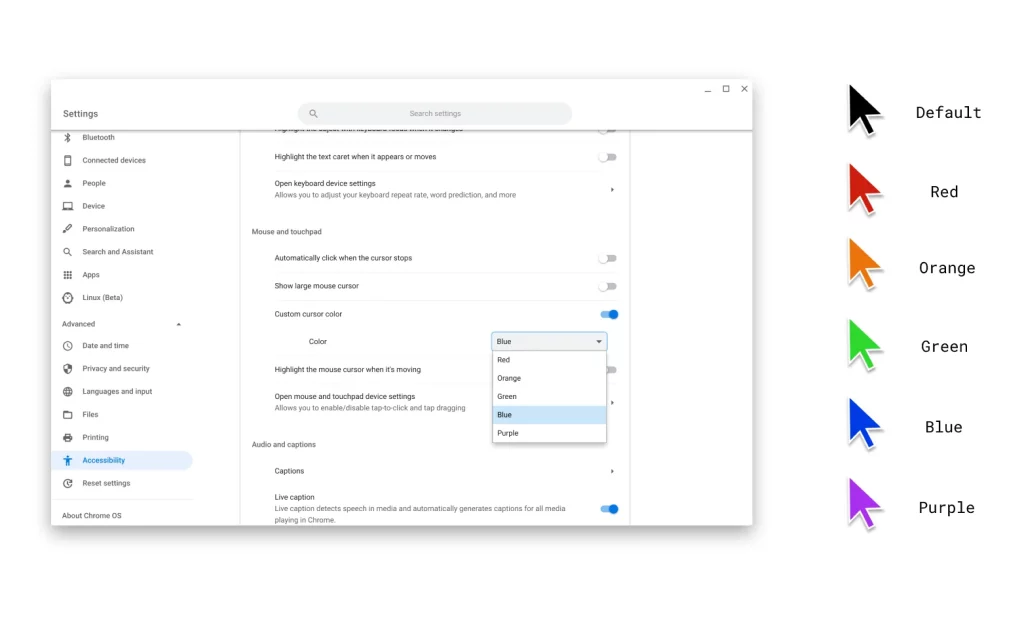
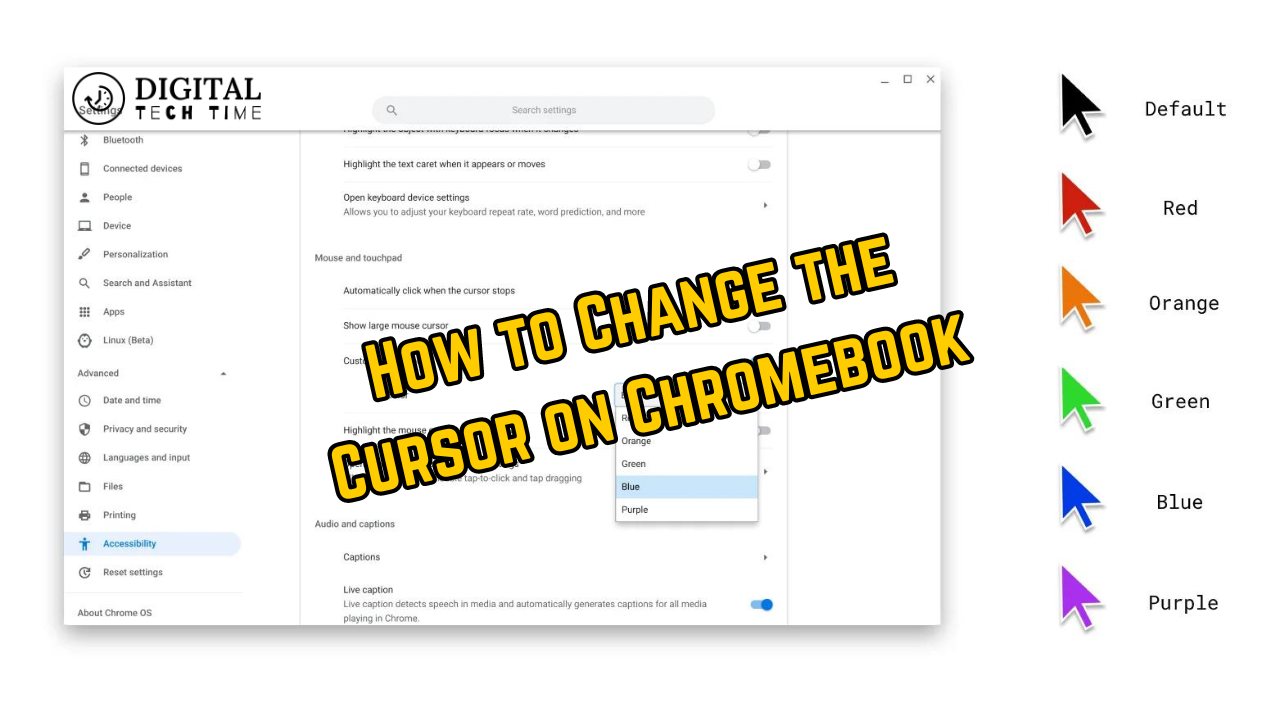
Within the accessibility options, you’ll see a section dedicated to “Pointer” settings. Here, you can adjust the size and color of your cursor to your liking. Experiment with different sizes and colors to best suit your needs and preferences.
- Cursor Size: Use the slider to adjust the size of your cursor, making it larger or smaller as desired.
- Cursor Color: Click on the color swatch to open a color picker, allowing you to choose a custom color for your cursor.

Remember to save your changes before exiting the settings menu.
Step 4: Using custom cursor extensions
Suppose you’re looking for even more customization options. In that case, Chromebook allows you to install third-party extensions that provide additional cursor customization features. These extensions can offer a more comprehensive range of cursor styles, animations, and even the ability to use custom cursor images.

To install a custom cursor extension, follow these steps:
- Open the Chrome Web Store and search for “cursor extensions” or “custom cursor” to find available options.
- Review the extensions and their features to find the best suits your needs.
- Click on the “Add to Chrome” button to install the extension.
- Once the extension is installed, you can access its settings and customize your cursor further.
Step 5: Troubleshooting common issues
While changing the cursor on your Chromebook is generally a straightforward process, you may encounter some common issues. Here are a few troubleshooting tips:
- Cursor not changing: If the cursor doesn’t change, you’ve made the adjustments; try restarting your Chromebook to ensure the changes take effect.
- Custom cursor extension not working: If a custom cursor extension is not functioning as expected, check for updates or try reinstalling the extension. You can also try disabling and re-enabling the extension to see if that resolves the issue.
- Cursor issues with specific applications: Some applications may not fully support custom cursor settings. If you encounter problems with the cursor in a particular app, try reverting to the default cursor settings or checking for any app-specific cursor settings.
Also Read: How to Add or Remove Google Chrome extension
Frequently Asked Questions
Q: Can I use my custom cursor images on Chromebook?
A: Yes, you can use custom cursor images on Chromebook by installing a compatible cursor extension from the Chrome Web Store. These extensions typically allow you to upload or select your cursor images.
Q: Will changing the cursor affect the performance of my Chromebook?
A: Adjusting the cursor size and color within the Chromebook settings should not significantly impact the device’s performance. However, using resource-intensive custom cursor extensions may affect overall system performance, especially on older or less powerful Chromebook models.
Q: Can I revert to the default cursor at any time?
A: Yes, you can quickly revert to the default cursor settings on your Chromebook. Navigate to the accessibility options in the settings menu, select the default cursor size and color, or uninstall any custom cursor extensions you may have installed.
Conclusion
Customizing the cursor on your Chromebook is a simple yet effective way to enhance your overall user experience. Adjusting the size, color, and custom cursor extensions can make your Chromebook’s cursor more visually appealing and easier to use. Follow the step-by-step guide outlined in this article, and you’ll be well on your way to a more personalized and efficient Chromebook experience.
To learn more about customizing your Chromebook, check out the official Chromebook support website: [Chromebook Support].


