How to Compare Two Folders in Windows 10: A Full Guide
As a seasoned Windows user, I understand the importance of efficiently managing and organizing digital files. One common scenario you may encounter is the need to compare the contents of two folders, whether it’s to ensure data consistency, identify differences, or keep your file structure organized. In this comprehensive guide, I will walk you through the various methods available in Windows 10 to effectively compare two folders and provide valuable tips and troubleshooting advice.
Table of Contents
Why Would You Need to Compare Folders?
There are several reasons why you might need to compare folders in Windows 10:
- Data Consistency: When working with multiple copies of duplicate files, it’s essential to ensure that the contents of the folders are identical. This is particularly important when backing up data or synchronizing files across different devices.
- File Organization: As your digital file collection grows, it’s common to have multiple versions or copies of duplicate files stored in different locations. Comparing folders can help you identify and consolidate these duplicates, keeping your file structure clean and organized.
- Troubleshooting: If you encounter issues with missing or corrupted files, comparing folders can be a valuable troubleshooting step to identify the source of the problem and take appropriate action.
- Collaboration: When working on shared projects or documents with colleagues, comparing folders can help you identify and resolve any discrepancies or conflicts in the files.
Methods for Comparing Folders in Windows 10
Windows 10 offers two main approaches for comparing folders: using the built-in File Explorer and leveraging third-party applications designed for this purpose.
Using the Built-in File Explorer to Compare Folders
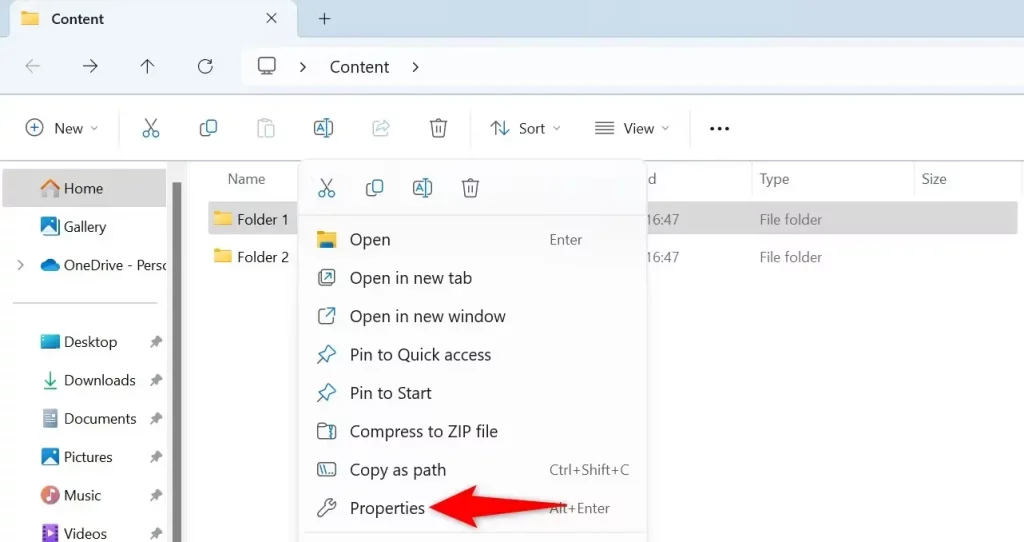
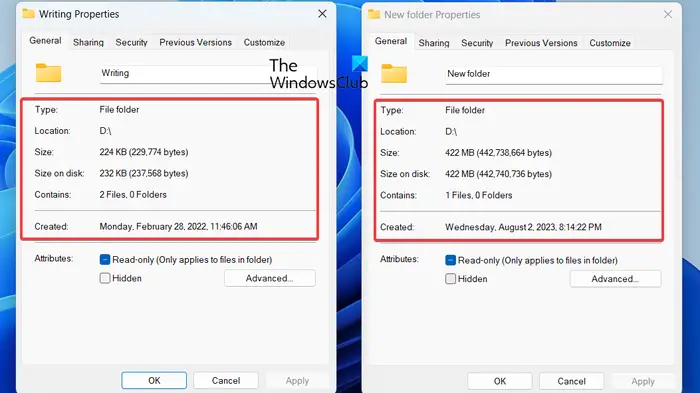
The File Explorer in Windows 10 provides a basic yet effective way to compare the contents of two folders. This method is suitable for quick comparisons and simple file management tasks.
Third-party applications for Comparing Folders
While the built-in File Explorer is a good starting point, a variety of third-party applications offer more advanced features and capabilities for comparing folders. These tools can provide a more comprehensive and detailed comparison, making identifying differences and managing your files more accessible.
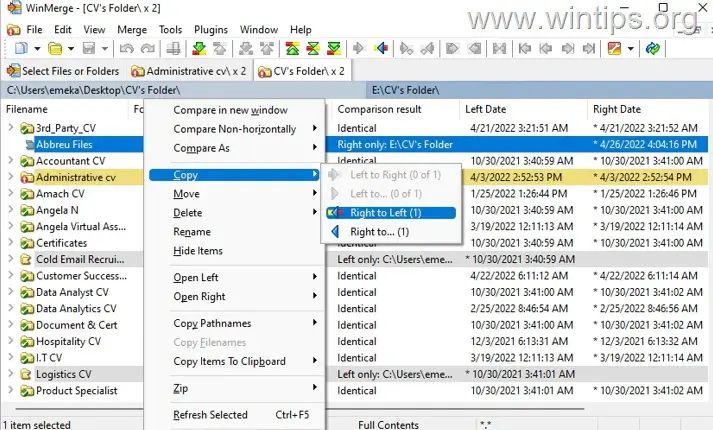
Some popular third-party applications for comparing folders in Windows 10 include:
- WinMerge: A free and open-source file and folder comparison tool that allows you to view and merge differences between files and directories.
- Beyond Compare: A powerful comparison tool that offers advanced features like support for various file types, synchronization, and integration with cloud storage services.
- FreeFileSync: A free and user-friendly tool that compares folders and provides powerful file synchronization capabilities.
- DirDiff: A lightweight, easy-to-use folder comparison utility that quickly identifies directory differences.
Step-by-Step Guide on Comparing Folders in Windows 10 Using File Explorer
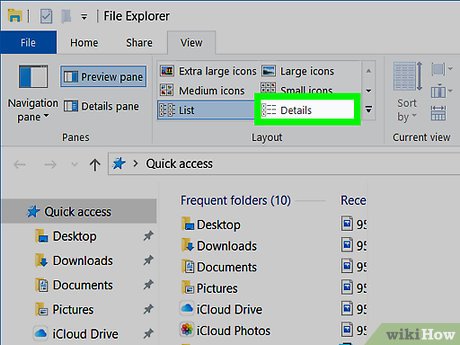
- Open File Explorer and navigate to the first folder you want to compare.
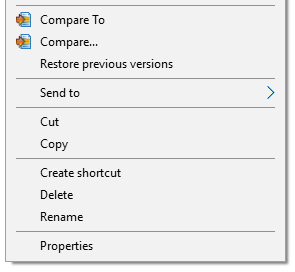
- Right-click on the folder and select “Compare” from the context menu.
- In the “Compare Folders” window, click on the “Browse” button next to the “Folder to compare” field and select the second folder you want to compare.
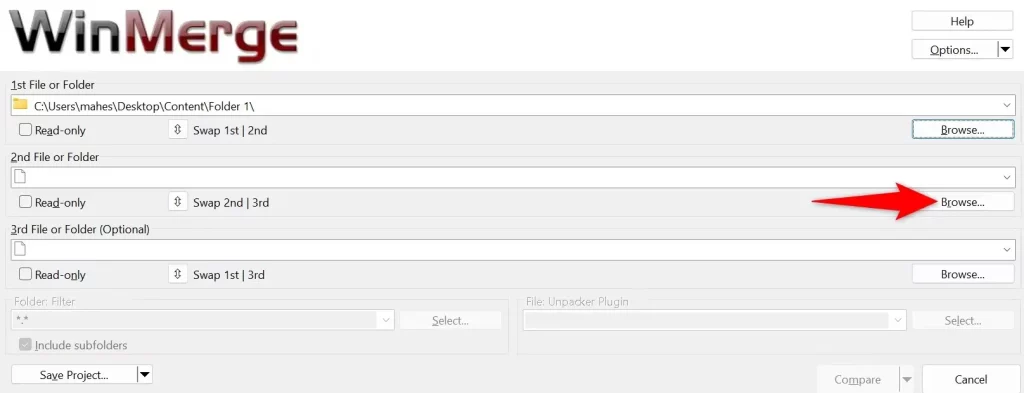
- Once you’ve selected the folders, click the “Compare” button to initiate the comparison process.
- The File Explorer will display the comparison results, highlighting differences between the two folders.
Step-by-Step Guide on Comparing Folders in Windows 10 Using Third-Party Applications
- Download and install your choice third-party comparison tool (e.g., WinMerge, Beyond Compare, FreeFileSync, or DirDiff).
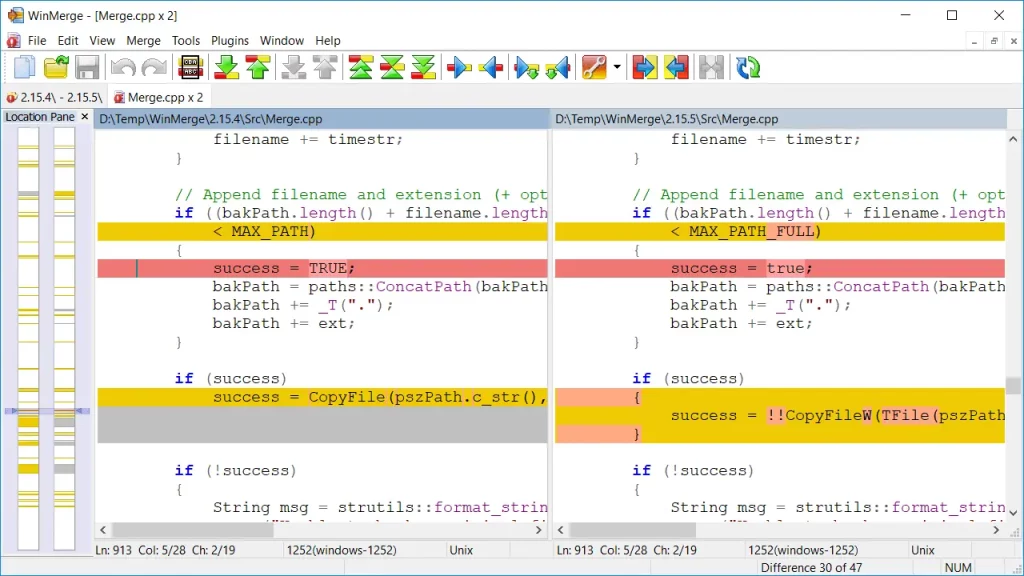
- Launch the application and select the “Compare Folders” or “Directory Comparison” option.
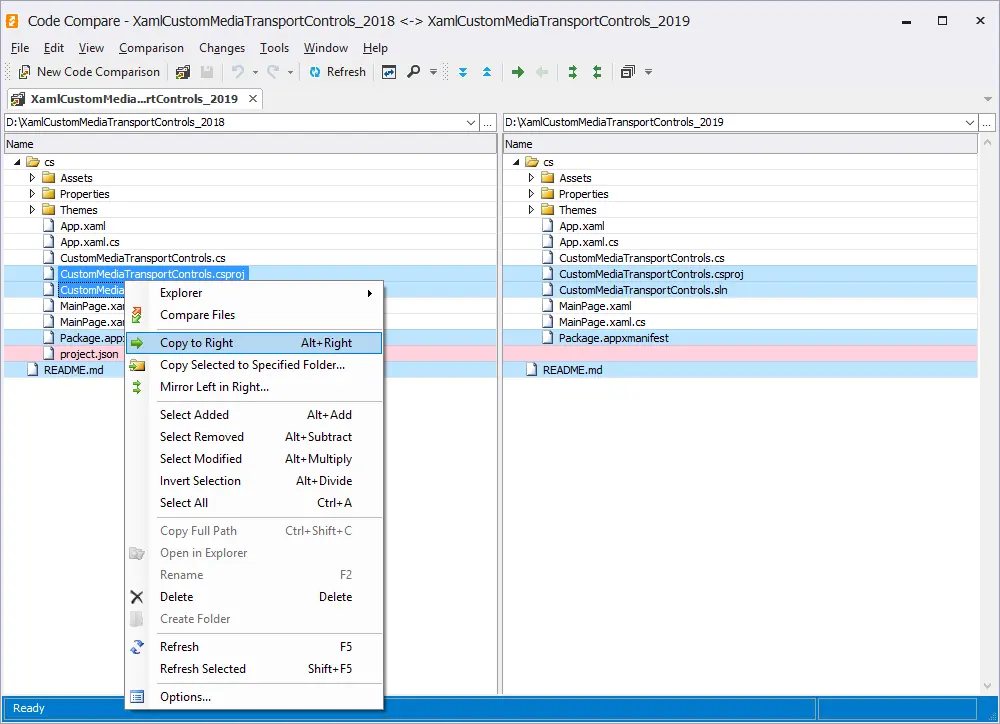
- Browse and select the two folders you want to compare in the comparison tool’s interface.
- Click the “Compare” or “Analyze” button to start the comparison process.
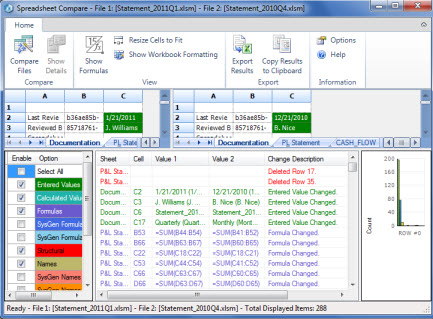
- The third-party application will now display the comparison results, providing detailed information about the differences between the folders, such as file additions, deletions, and modifications.
Tips for Effectively Comparing Folders in Windows 10
- Understand the Comparison Modes: Familiarize yourself with the different comparison modes (e.g., file contents, file names, file sizes) offered by File Explorer or third-party tools, and choose the one that best suits your needs.
- Use Filters and Sorting: Leverage the filtering and sorting options available in the comparison tools to focus on specific file types, sizes, or modification dates, making it easier to identify the relevant differences.
- Utilize Comparison Previews: Many third-party tools provide a visual comparison preview, allowing you to identify and navigate the differences between the folders quickly.
- Consider Synchronization: If you need to keep two folders in sync, explore the synchronization features offered by third-party comparison tools, which can automate copying or merging the differences.
- Document Your Findings: Keep track of the comparison results, especially if you need to refer back to them or share the information with others. Some tools offer the ability to generate reports or export comparison data.
Troubleshooting Common Issues When Comparing Folders
- Permissions Issues: If you encounter access or permission-related errors when comparing folders, ensure you have the necessary read and write permissions for both the source and destination folders.
- Large Folder Sizes: Comparing folders with many files or folders can sometimes slow down the process. Consider breaking down the comparison into smaller, more manageable steps or using a more robust third-party tool.
- Unexpected Differences: If the comparison results show differences that you don’t expect, double-check the comparison settings, file types, and filters to ensure that you’re comparing the folders as intended.
- Synchronization Conflicts: When using synchronization features, be aware of potential conflicts, such as file name collisions or overwriting of newer files. Review the comparison results carefully before proceeding with any file actions.
Frequently Asked Question
Q: Why are there two Windows folders?
A: One possible cause of the “2 Windows folders in C drive” issue is a virus or malware infection. Thus, you can run a virus scan via Windows Defender.
Q: Can two folders have the same name?
A: Yes, unfortunately this can happen in the case of conflicts. The documents (and folders) have different id’s, but the same name. You can rename and/or exclude them. If you want to rename, I would advise to first rename the correct one,
Q: Why do I have 2 program files folders in Windows 10?
A: The Windows separated and created two different directories of the 32-bit program and 64-bit program. The Program Files stores all the 64-bit programs and the Program Files (x86) stores all the 32-bit programs.
Q: Can you link two folders together?
A: You can sync folders and files over the cloud using cloud storage apps like Google Drive, and Dropbox. You can use FreeFileSync to sync a folder to another local folder or flash drive.
Conclusion
Comparing folders in Windows 10 is a valuable skill that can help you maintain data consistency, organize your file structure, and troubleshoot issues more effectively. By leveraging the built-in File Explorer and exploring the capabilities of third-party comparison tools, you can streamline your folder management tasks and ensure that your digital files are well-organized and up-to-date.
If you found this guide helpful, share it with your friends and colleagues who may also need to compare folders in Windows 10. And remember to subscribe to our newsletter for more Windows tips and tricks!
Related Article: BIOS Tuning for Enhanced RAM Overclocking: A Detailed Guide


