Fix Windows Store Not Loading or Working in Windows 10
Many Windows users experience problems with the Windows Store not loading or working in Windows 10. Despite recent attempts by Microsoft to resolve this issue with updates, some users still experience problems. Often, incorrect date and time settings are the cause, but there are other reasons. Here, we provide a comprehensive list of possible solutions for the Windows Store not loading problem in Windows 10.
Table of Contents
Step-by-Step Guide
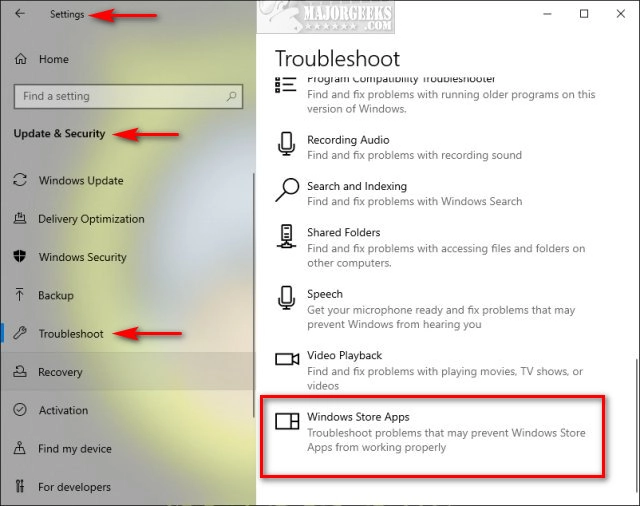
Method 1: Run Windows Apps Troubleshooter
Visit the Troubleshooter Link
- Open Your Web Browser:
- Launch your preferred web browser (e.g., Edge, Chrome, Firefox).
- Go to the Microsoft Support Page:
- Navigate to the official Microsoft support page for the Windows Apps Troubleshooter. You can use the following link: Windows Apps Troubleshooter
- Download the Troubleshooter:
- On the support page, find and click the Download button for the troubleshooter tool. This will download a file named
WindowsStoreApps.diagcab.
- On the support page, find and click the Download button for the troubleshooter tool. This will download a file named
Run the Downloaded File
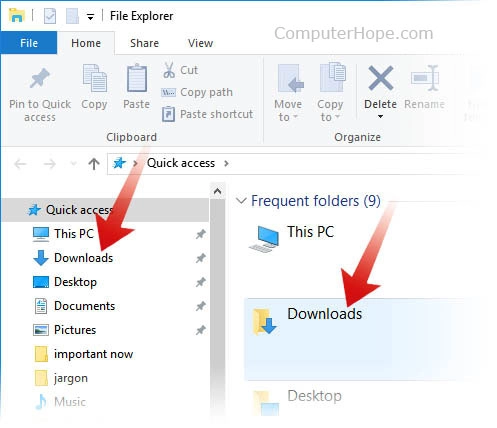
- Locate the Downloaded File:
- Open your Downloads folder or the location where the file was saved.
- Run the Troubleshooter:
- Double-click on
WindowsStoreApps.diagcabto open the troubleshooter. If prompted by User Account Control (UAC), click Yes to allow the program to run.
- Double-click on
Configure the Troubleshooter
- Open Advanced Settings:
- In the troubleshooter window, click on the Advanced link.
- Apply Repairs Automatically:
- Ensure the checkbox next to “Apply repairs automatically” is checked. This setting allows the troubleshooter to automatically fix any detected issues.
Complete the Troubleshooter Process
- Start the Troubleshooter:
- Click Next to start the troubleshooting process.
- Follow On-Screen Instructions:
- The troubleshooter will scan for issues related to the Windows Store and other built-in apps. Follow any additional on-screen instructions to complete the process.
- Review the Results:
- Once the troubleshooter finishes, it will display a summary of the issues it found and the actions taken. If it prompts you to make any additional changes, follow the instructions provided.
Reboot Your PC
- Restart Your Computer:
- To ensure all changes take effect, it’s important to restart your computer. Click the Start menu, select the Power button, and then click Restart.
- Verify the Fix:
- After your computer restarts, try opening the Windows Store to see if the issue has been resolved.
Method 2: Reset Windows Store
Open Run Dialog
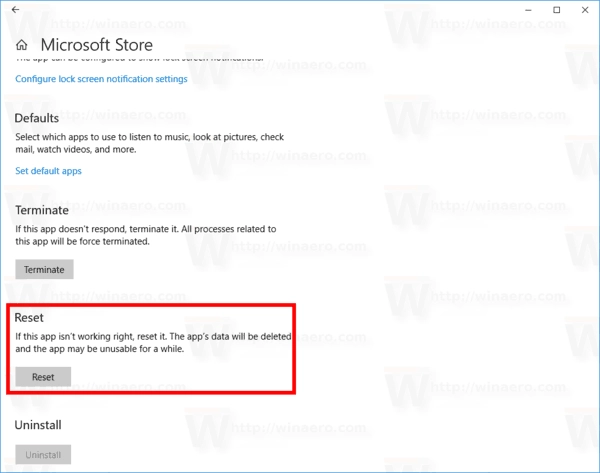
- Press Windows Key + R:
- Simultaneously press the
Windowskey and theRkey on your keyboard. This will open the Run dialog box.
- Simultaneously press the
- Type Wsreset.exe:
- In the Run dialog box, type
Wsreset.exe(without quotes).
- In the Run dialog box, type
- Execute the Command:
- Press
Enteror click OK. This command will initiate the reset process for the Windows Store.
- Press
Method 3: Set Date and Time
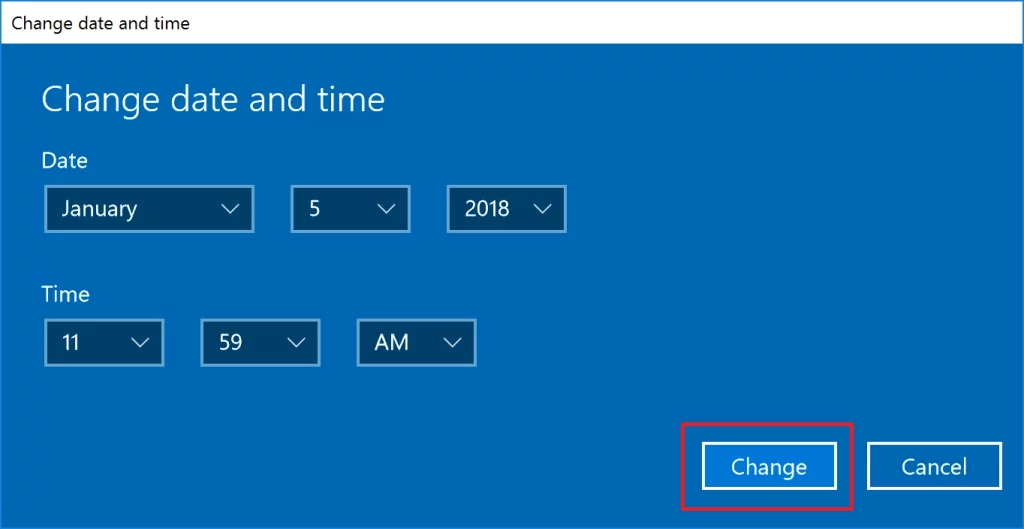
Access Date and Time Settings
- Right-click on the Date and Time:
- Locate the date and time display on the taskbar, usually at the bottom-right corner of your screen.
- Right-click on the date and time display.
- Select Adjust Date/Time:
- From the context menu, select Adjust date/time. This will open the Date & Time settings window.
Adjust Automatic Settings
- Check Automatic Settings:
- Find the option labeled Set time automatically in the Date & Time settings window.
- Toggle the Setting:
- If “Set time automatically” is already checked but the date and time are incorrect, toggle the setting off by clicking the switch to the Off position.
- Please wait a few seconds, then toggle it back on by clicking the switch to the On position. This should automatically correct the date and time.
Manually Change the Date and Time
- Access Change Date and Time:
- If the automatic setting doesn’t correct the date and time, you must set them manually. Ensure “Set time automatically” is turned off.
- Click on the Change button under the Set the date and time manually section.
- Set the Correct Date and Time:
- In the dialog that appears, manually set the correct date and time.
- After correctly setting the date and time, click Change to apply the settings.
Method 4: Disable Proxy Connection
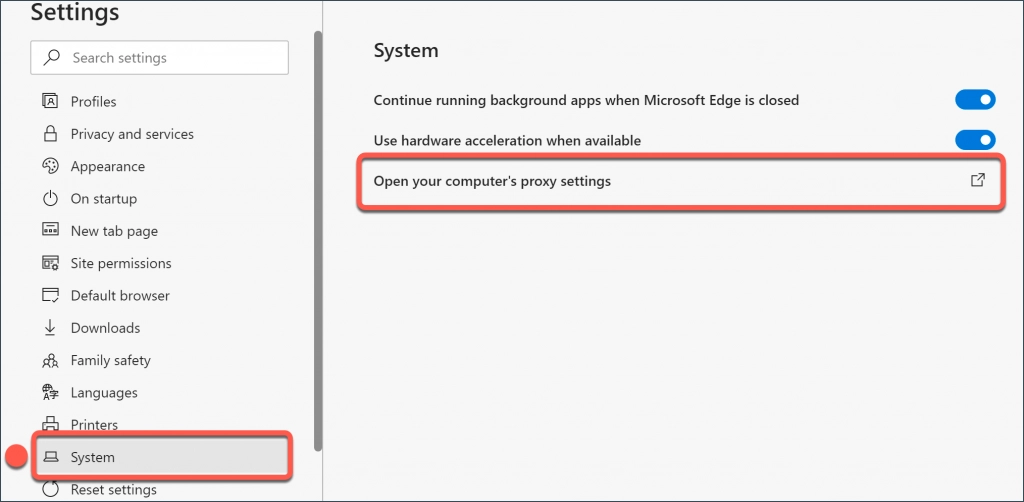
Open Internet Properties
- Press Windows Key + R:
- Simultaneously press the Windows and R keys on your keyboard to open the Run dialog box.
- Type inetcpl.CPL:
- Type “inetcpl. cpl” (without quotes) in the Run dialog box and press Enter. This command opens the Internet Properties window.
Configure LAN Settings
- Go to the Connections Tab:
- Click on the Connections tab at the top in the Internet Properties window.
- Open LAN Settings:
- Under the Connections tab, find and click on the LAN settings button at the bottom.
Adjust Proxy Settings
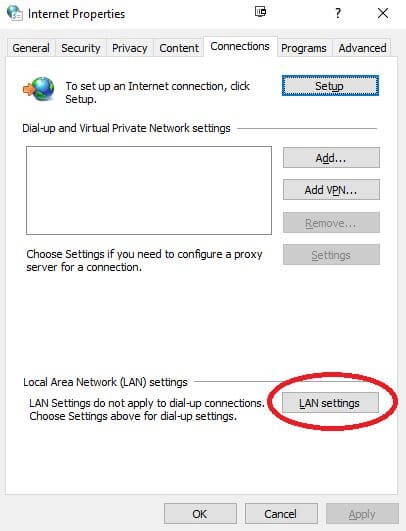
- Uncheck Use a Proxy Server for your LAN:
- Find the Proxy server section in the Local Area Network (LAN) Settings window.
- Uncheck the box next to “Use a proxy server for your LAN (These settings will not apply to dial-up or VPN connections).”
- Ensure Automatically Detect Settings is Checked:
- In the same window, ensure the box next to “Automatically detect settings” is checked.
Apply Changes
- Save and Close LAN Settings:
- Click OK in the LAN Settings window to save your changes and close the window.
- Apply Changes in Internet Properties:
- Back in the Internet Properties window, click Apply and OK to confirm and close the settings window.
Method 5: Re-register Windows Store Apps
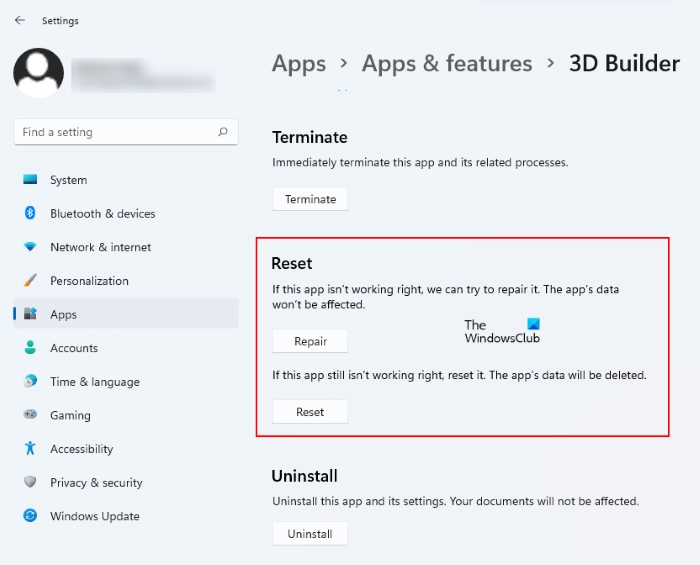
Open Windows PowerShell as Administrator
- Open the Windows Search Bar:
- Click on the taskbar’s search icon (magnifying glass) or press Windows Key + S to open the search bar.
- Type Powershell:
- In the search bar, type Powershell.
- Run as Administrator:
- Right-click on Windows PowerShell from the search results, and select Run as administrator. If prompted by User Account Control (UAC), click Yes to allow the program to run with administrative privileges.
Execute Command
- In the PowerShell window, type the following command:
- Get-AppXPackage | Foreach {Add-AppxPackage -DisableDevelopmentMode -Register “$($_.InstallLocation)\AppXManifest.xml”}
- Press Enter to execute the command.
Wait for the Process to Complete
- Observe the Command Execution:
- The command will start executing and re-registering all Windows Store apps. This process might take a few moments, so wait patiently for it to complete.
- You may see several lines of output in the PowerShell window indicating the command’s progress.
- Completion:
- The PowerShell prompt will reappear once the process is complete, indicating that the command has finished executing.
Restart Your PC
- Restart Your Computer:
- To apply the changes, restart your computer. Click the Start menu, select the Power button, and then Restart.
- Verify the Fix:
- After your computer restarts, open the Windows Store to check if the issue has been resolved.
Method 6: Restore System Health
Boot into Safe Mode
- Restart Your Computer:
- Click the Start menu, select the Power button, hold down the Shift key, and click Restart. This will restart your computer and open the Advanced Boot Options menu.
- Access Advanced Options:
- From the Choose an option screen, select Troubleshoot > Advanced options > Startup Settings > Restart.
- Enable Safe Mode:
- After your computer restarts, you will see a list of options. Press the appropriate number key to select Safe Mode with Networking.
Open Command Prompt as Administrator
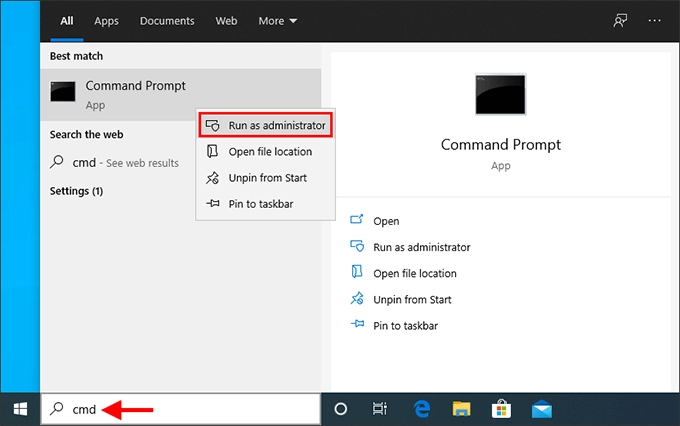
- Open the Windows Search Bar:
- To open the search bar, click on the taskbar’s search icon (a magnifying glass) or press Windows Key + S.
- Type cmd:
- In the search bar, type cmd.
- Run as Administrator:
- Right-click on Command Prompt from the search results, and select Run as administrator. If prompted by User Account Control (UAC), click Yes to allow the program to run with administrative privileges.
Execute DISM Command
- Enter the Command:
- In the Command Prompt window, type the following command:
- bash
- Copy code
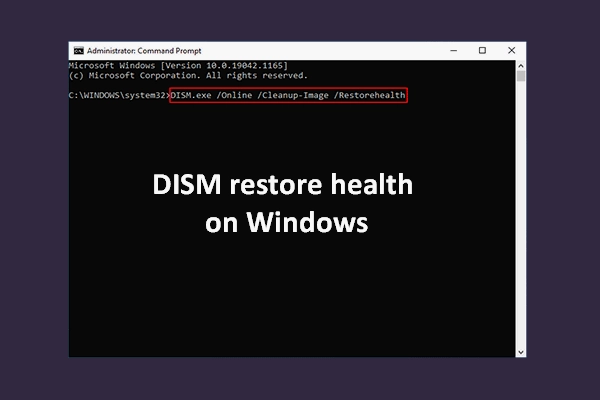
- Dism.exe /Online /Cleanup-Image /RestoreHealth
- Press Enter to execute the command.
- Wait for the Process to Complete:
- The DISM tool will run and scan your system for issues. This process may take some time, so be patient and wait for it to complete. You will see a progress bar indicating the scan and repair process status.
Restart Your PC
- Restart Your Computer:
- Once the DISM command has finished executing and you see the message indicating the process is complete, restart your computer. Click the Start menu, select the Power button, and then Restart.
- Verify the Fix:
- After your computer restarts, try opening the Windows Store to check if the issue has been resolved. You may also try to reset the Windows Store again by following Method 2.
Related Post: 9 Common Windows 10 Problems and Their Simple Solutions
Frequently Asked Questions (FAQs)
What is the Legacy Advanced Boot Option in Windows 10?
The Legacy Advanced Boot Option allows users to access various troubleshooting and recovery tools before the operating system fully loads. These options include Safe Mode, Command Prompt, and System Restore, which can be crucial for diagnosing and fixing issues that prevent Windows from starting normally.
Why would I need to enable the Legacy Advanced Boot Option?
Enabling the Legacy Advanced Boot Option can be helpful if you need to troubleshoot startup issues, perform system repairs, or access Safe Mode. It provides more control and options for fixing problems that might prevent your system from booting correctly.
How do I enable the Legacy Advanced Boot Option in Windows 10?
To enable the Legacy Advanced Boot Option:
- Open Command Prompt with administrative privileges.
- Type bcdedit /set {default} boot menu policy legacy and press Enter.
- Restart your computer.
What should I do if I can’t access the Command Prompt with administrative privileges?
If you can’t access the Command Prompt with administrative privileges:
- Boot into Safe Mode.
- Open Command Prompt with administrative privileges from there.
- Run the necessary commands.
How do I restart my computer to see the changes?
To restart your computer:
- Click on the Start Menu.
- Select the Power icon.
- Choose Restart.
Alternatively, you can use the Alt + F4 shortcut from the desktop to open the Shut Down Windows dialog box and select Restart.
Conclusion
Following these steps should help you fix the Windows Store not loading or working in Windows 10. If you continue to experience problems, consider seeking further assistance from Microsoft Support or community forums. If you have any questions or need additional help, please ask in the comments section below.


