How to Remove eSIM from Android Phone: A Step-by-Step Guide
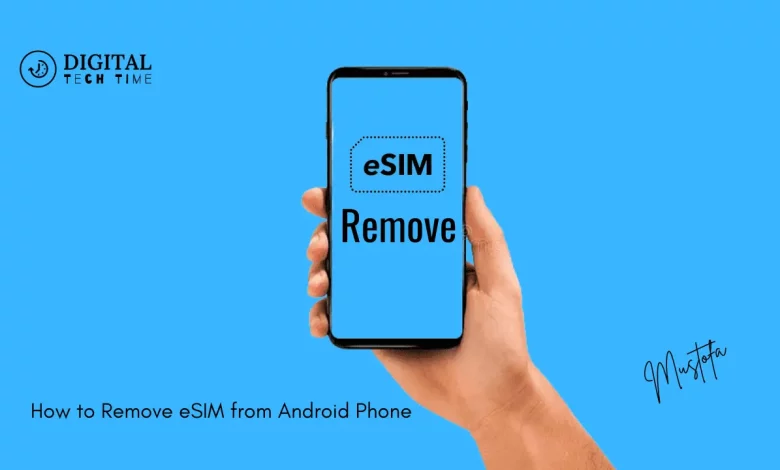
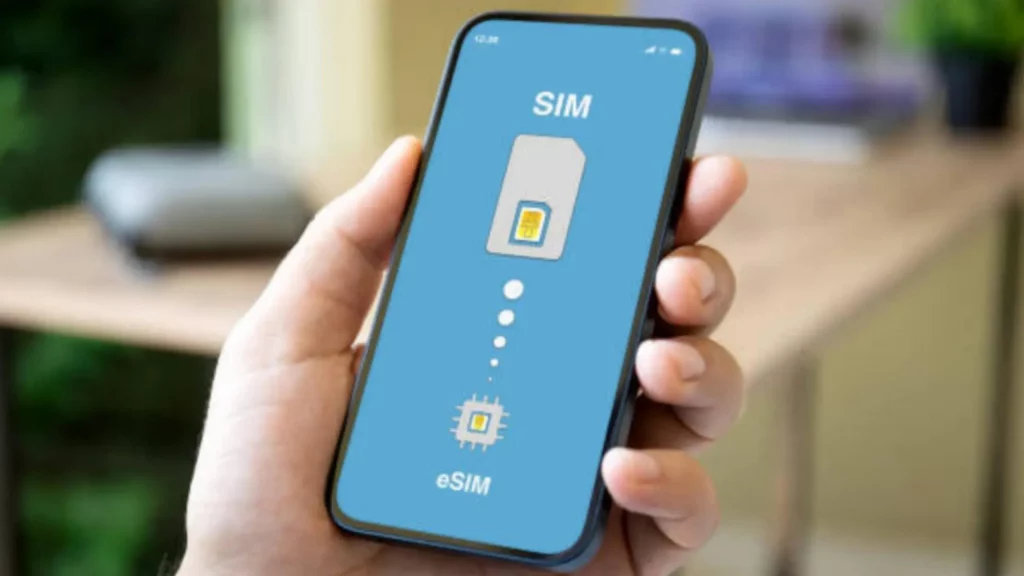
An eSIM, or embedded SIM, is a digital SIM card built into your Android phone. Unlike a traditional physical SIM card, an eSIM is programmed directly into your device’s hardware, allowing you to switch between different cellular networks easily without having to physically swap out a SIM card.
Table of Contents
Why would you need to remove an eSIM from your Android phone?
There are a few common reasons why you might need to remove the eSIM from your Android phone:
- Switching to a different carrier: If you’re changing your cellular service provider, remove the existing eSIM and activate a new one with your new carrier.
- Troubleshooting connectivity issues: Sometimes, removing and reinserting the eSIM can help resolve connectivity problems or other technical issues with your cellular service.
- Resetting your device: If you’re performing a factory reset on your Android phone, you’ll need to remove the eSIM before the reset to ensure a clean slate for your device.
Can all Android phones have their eSIM removed?
While eSIMs are becoming more common in modern Android devices, not all phones can physically remove the embedded SIM card. The process of removing an eSIM can vary depending on your specific Android phone model and the carrier you’re using.
Before removing your eSIM, check with your device manufacturer or cellular provider to ensure your phone supports this functionality.
Step 1: Back up your data
Before you begin removing your eSIM, it’s crucial to back up all of your important data, including contacts, messages, photos, and any other critical information. This will ensure that you don’t lose any vital data during the removal process.
You can use various methods to back up your data, such as cloud storage services, external hard drives, or manually transferring files to your computer.
Step 2: Disable the eSIM
The first step in removing your eSIM is to turn it off on your Android phone. To do this, follow these steps:
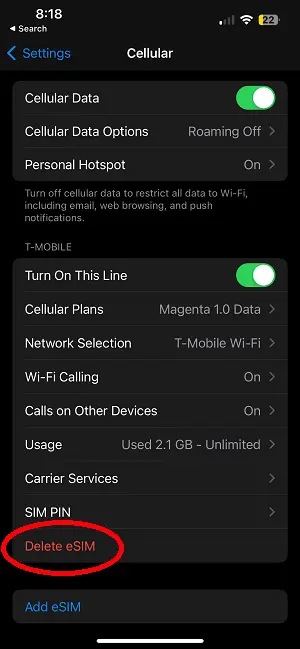
- Go to your phone’s Settings menu.
- Locate the “Cellular” or “Mobile Network” section.
- Look for an option to “Disable eSIM” or “Remove eSIM.”
- Tap the option to disable or remove the eSIM.
Once the eSIM is disabled, your phone can no longer connect to your cellular network using the embedded SIM.
Step 3: Locate the SIM tray
The next step is to locate the SIM tray on your Android phone. The location of the SIM tray can vary depending on your device, but it’s typically located on the side or the bottom of the phone.
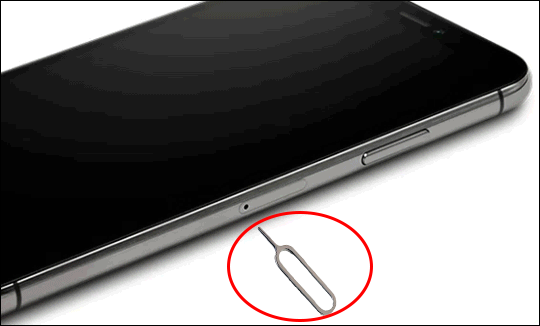
Look closely at the edges of your phone to find a small hole or slot where the SIM tray is located.
Step 4: Remove the SIM tray
Once you’ve located the SIM tray, use a small tool, such as a SIM ejector tool or a paperclip, to gently push the tray out of the phone. Be careful not to apply too much force, as you don’t want to damage the tray or the phone’s internals.
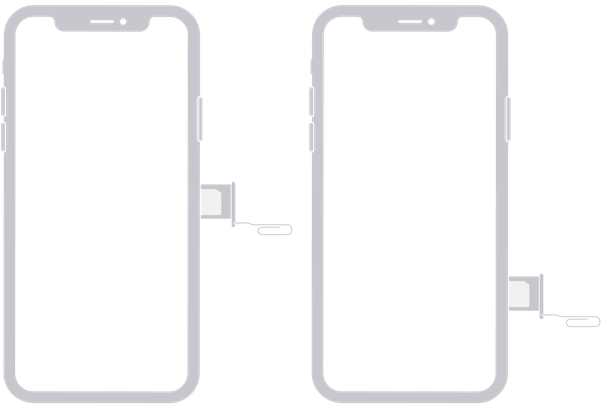
Step 5: Remove the eSIM
With the SIM tray removed, you should see the eSIM chip inside. Carefully remove the eSIM chip from the tray.
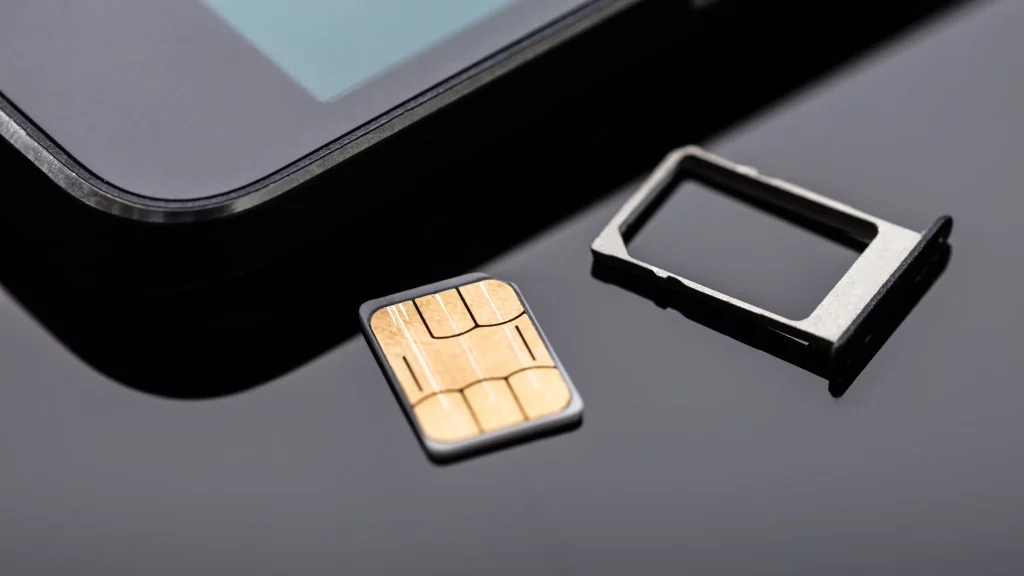
Step 6: Reinsert the SIM tray
After removing the eSIM, gently slide the SIM tray back into the phone, ensuring it’s fully inserted and secured.
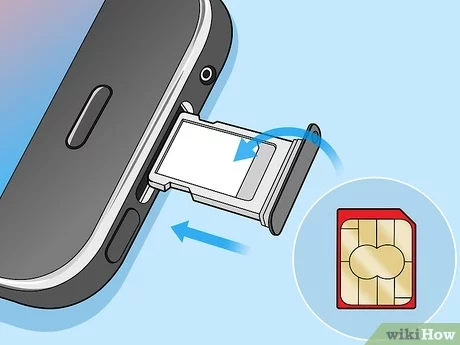
Step 7: Enable the new SIM or reinsert the previous SIM
Depending on your needs, you can now either enable a new SIM card or reinsert the previous SIM card you used before removing the eSIM.
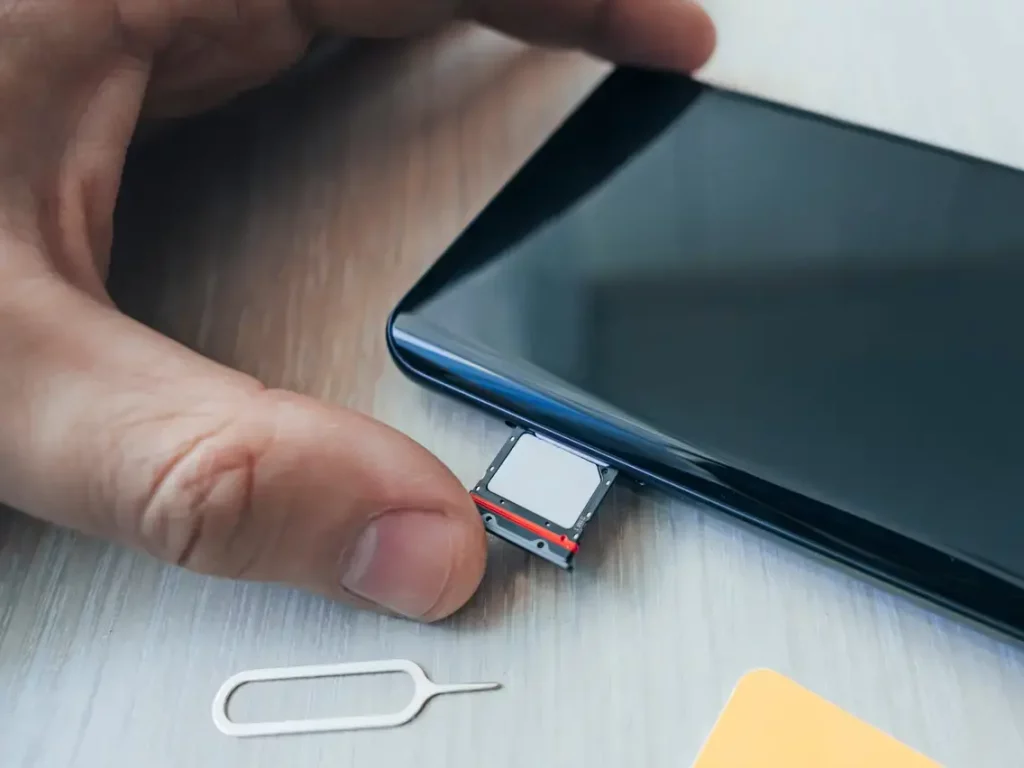
If you’re switching to a new carrier or SIM card, follow the instructions provided by your new carrier to activate the new SIM. If you’re reinstalling the previous SIM, turn on your phone and wait for it to connect to the cellular network.
Common troubleshooting tips
If you encounter any issues during the eSIM removal process, here are some troubleshooting tips to try:
- Check the SIM tray: Make sure the SIM tray is fully inserted and secured. A loose or improperly inserted tray can cause connectivity issues.
- Restart your phone: If your phone is not recognizing the new SIM or eSIM, try restarting your device.
- Contact your carrier: If you’re still having trouble, contact your cellular provider for further assistance. They may be able to provide more specific instructions or troubleshoot the issue with you.
Frequently Asked Question
Q: Can I remove the eSIM and use a physical SIM card instead?
A: In most cases, you can remove the eSIM and use a traditional physical SIM card instead. However, remember that not all Android phones support eSIM and physical SIM functionality.
Q: Will I lose my phone number if I remove the eSIM?
A: No, you should not lose your phone number if you properly activate a new SIM card or eSIM with your carrier.
Q: Can I reuse the eSIM after removing it?
A: You can typically reuse the eSIM after removing it from your phone. However, you may need to contact your carrier to have the eSIM reactivated or transferred to a new device.
Q: Do I need to contact my carrier before removing the eSIM?
A: It’s generally a good idea to contact your carrier before removing the eSIM, as they may have specific instructions or requirements for the process. This can help ensure a smooth transition and avoid any service disruptions.
Conclusion
Removing the eSIM from your Android phone can be straightforward, but following the steps carefully is essential to avoid data loss or connectivity issues. By backing up your data, turning off the eSIM, and adequately removing and reinstalling the SIM tray, you can successfully remove the eSIM and switch to a new carrier or SIM card as needed.
If you need further assistance removing your eSIM or have any other questions about your Android device, please get in touch with our customer support team. We’re here to help you navigate the process and ensure a seamless transition.
Related Article: How to Delete City Weather Channel App on Android


