How to Trim MP3 Files on Windows 10: A Step-by-Step Guide
As an experienced human writer, I’m excited to share a comprehensive guide on trimming MP3 files on your Windows 10 computer. Trimming MP3 files can be helpful, whether you’re a podcaster, musician, or simply someone who wants to clean up their audio collection. In this article, I’ll walk you through the step-by-step process of trimming your MP3 files, from downloading the necessary software to saving the trimmed file.
Table of Contents
Why Would You Want to Trim MP3 Files?
There are several reasons to trim your MP3 files. You may have an audio file that starts or ends with unwanted silence or noise and want to remove those sections. You may have a more extended audio recording to split into smaller, more manageable files. You can also create custom ringtones or audio clips for personal use. Regardless of your reasons, trimming MP3 files can be a valuable skill in your digital toolbox.
Tools and Software Needed for Trimming MP3 Files on Windows 10
Before diving into the step-by-step process, let’s look at the tools and software you’ll need to get the job done. To trim MP3 files on Windows 10, you’ll typically need reliable audio editing software. Some popular options include:
- Audacity: A free, open-source audio editing software that offers a wide range of features, including the ability to trim MP3 files.
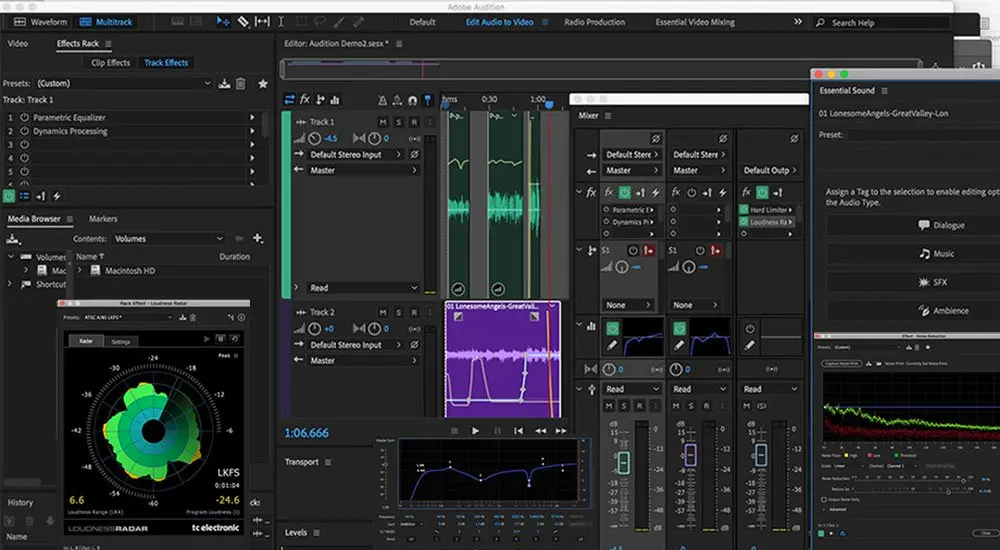
- Adobe Audition: A professional-grade audio editing software that provides advanced tools for trimming, editing, and processing audio files.
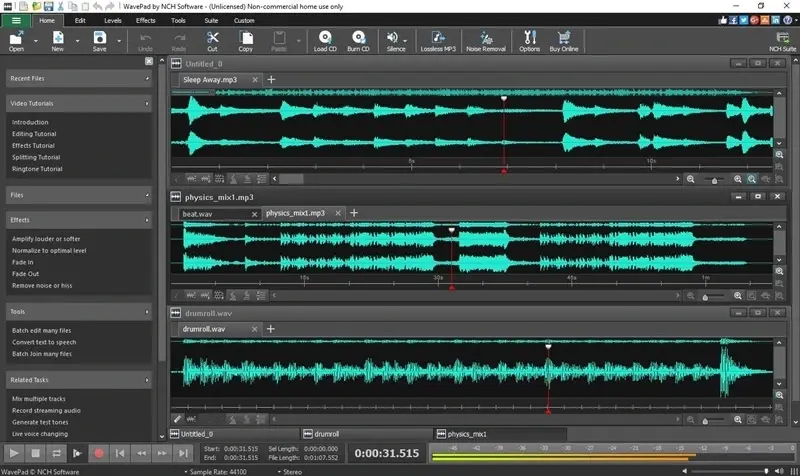
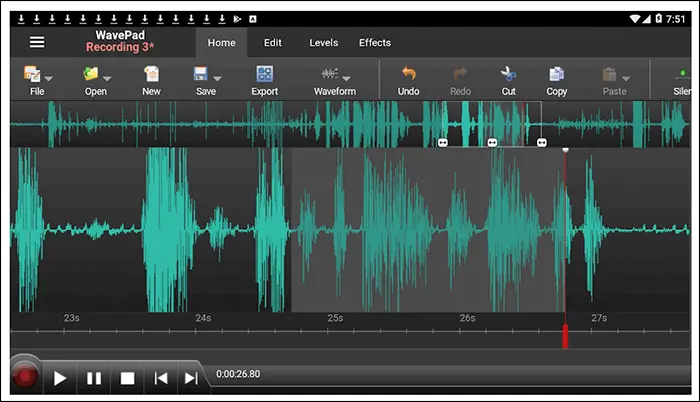
- WavePad: A user-friendly audio editing software that offers a simple and intuitive interface for trimming MP3 files.
In this guide, we’ll use Audacity as our example software, as it is a free and widely used option for trimming MP3 files on Windows 10. However, the general principles and steps should also apply to other audio editing software.
Step 1: Downloading and Installing a Reliable MP3 Trimming Software
The first step is to download and install the audio editing software of your choice. In this case, we’ll be using Audacity. You can download Audacity for free from the official website (https://www.audacityteam.org/download/). Once the download is complete, follow the on-screen instructions to install the software on your Windows 10 computer.
Step 2: Opening the MP3 File in the Software
After installing Audacity, launch the software and navigate to the “File” menu. Select “Open” and locate the MP3 file you want to trim. Once the file is loaded, you should see the waveform representation of the audio in the main Audacity window.

Step 3: Selecting the Portion of the MP3 File You Want to Trim
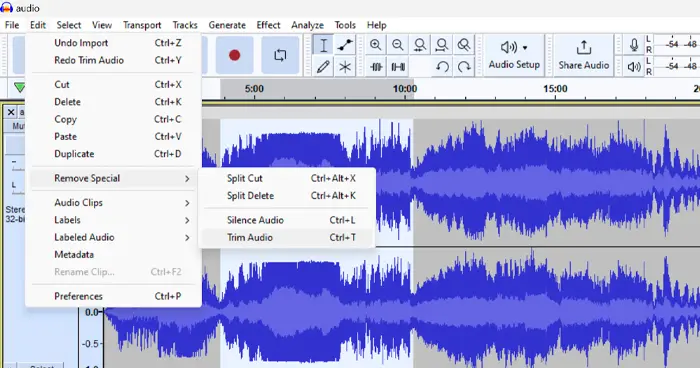
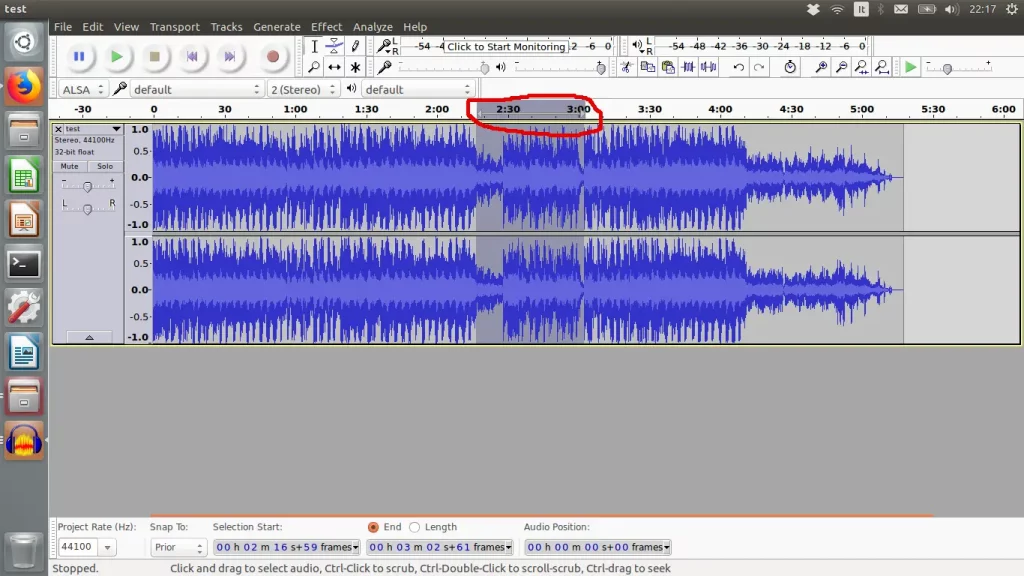
To trim the MP3 file, you’ll need to select the portion of the audio that you want to keep. You can do this in Audacity by clicking and dragging the mouse cursor over the waveform to select the desired section. The assigned area will be highlighted in the Audacity window.
Step 4: Trimming the Selected Portion of the MP3 File
It’s time to trim the audio with the desired section of the MP3 file selected. In Audacity, go to the “Edit” menu and select “Trim.” This will remove the unselected audio portions, leaving you with the trimmed version.
Step 5: Saving the Trimmed MP3 File
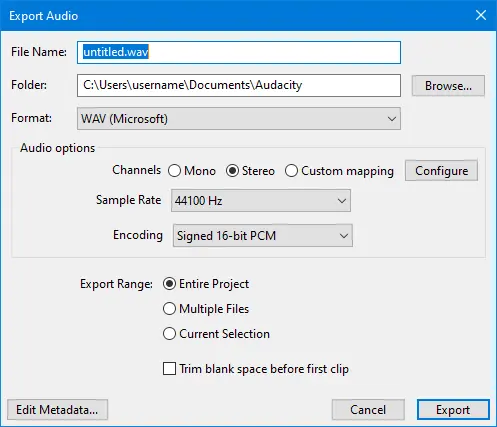
Once you’ve trimmed the MP3 file to your liking, it’s time to save the modified version. In Audacity, go to the “File” menu and select “Export” -> “Export Audio.” This will open a save dialog box where you can choose the file name, location, and format (in this case, MP3) for the trimmed audio file.
Additional Tips and Tricks for Trimming MP3 Files on Windows 10
Here are a few additional tips and tricks to help you get the most out of trimming your MP3 files on Windows 10:
- Use Keyboard Shortcuts: Audacity offers a range of keyboard shortcuts to help you work more efficiently. For example, you can use the “Ctrl + A” shortcut to select the entire audio file or the “Ctrl + R” shortcut to start and stop recording.
- Adjust the Zoom Level: Zooming in and out of the waveform can help you more precisely select the portion of the audio you want to trim. You can zoom in and out using the “+” and “-” keys.
- Apply Audio Effects: Audacity also allows you to apply various audio effects to your trimmed MP3 files, such as noise reduction, equalization, or fade-in/fade-out. Experiment with these features to enhance the quality of your trimmed audio.
- Batch Process Multiple Files: If you need to trim multiple MP3 files, you can use Audacity’s batch processing feature to automate the process. This can save you a significant amount of time and effort.
Frequently Asked Question
Q: Can I trim MP3 files without using any software?
A: While it is possible to trim MP3 files using built-in Windows tools, the process is generally more complicated and limited in functionality than dedicated audio editing software like Audacity.
Q: Does trimming an MP3 file reduce its quality?
A: Trimming an MP3 file does not inherently reduce its quality as long as you are not making any other changes to the audio. The trimmed file will maintain the same audio quality as the original.
Q: Can I trim MP3 files on my mobile device?
A: Yes, there are various mobile apps available that allow you to trim MP3 files on your smartphone or tablet. However, the process and features may differ from the desktop software experience.
Q: How do I know where to trim my MP3 file?
A: When trimming an MP3 file, it’s generally best to visually inspect the waveform and identify the sections you want to keep or remove. You can also use audio playback to help you pinpoint the desired start and end points for the trimmed file.
Conclusion
Following the steps outlined in this guide, you can effectively trim your MP3 files on your Windows 10 computer using Audacity or other audio editing software. Trimming your audio files can help you create cleaner, more polished audio recordings for personal or professional use. Experiment with the various features and settings to find the best workflow.
If you found this guide helpful, share it with your friends and colleagues who may also need to trim their MP3 files on Windows 10. And remember to subscribe to our blog for more tips and tricks to help you get the most out of your digital audio experiences.
Related Article: How to Connect Note 5 to a TV Without Wi-Fi: A Simple Guide

