How to Easily Transfer Spotify Playlists to YouTube Music
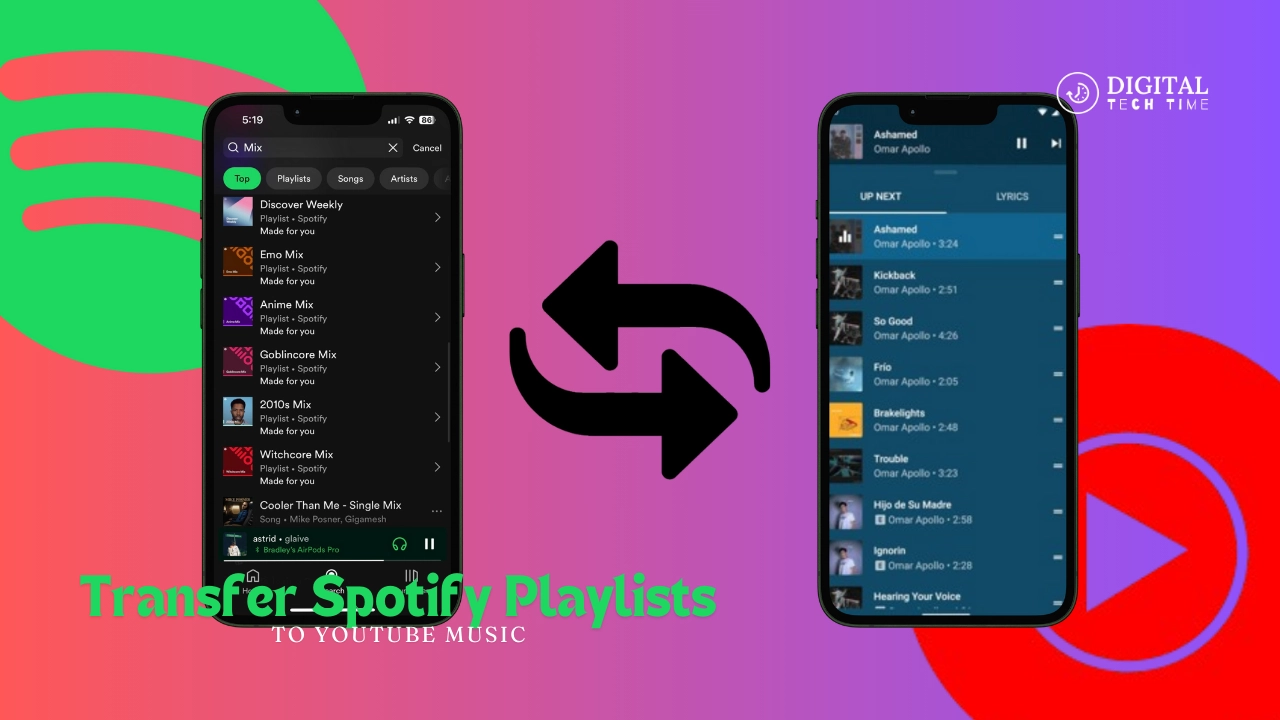
I am a big music lover, and over the years, I have made playlists on Spotify; each song was strategically chosen according to my mood or the situation at that moment. But with YouTube Music coming up, I found myself stuck between the two, and giving up on my curated playlist actually made me frown. That was until I found an easy way to Transfer Spotify Playlists to YouTube Music. In the process of doing so, I will take you through the steps one by one so that your transition is smooth and all your dear playlists remain intact in this comprehensive guide.
Table of Contents
Step 1: Exporting Spotify playlists
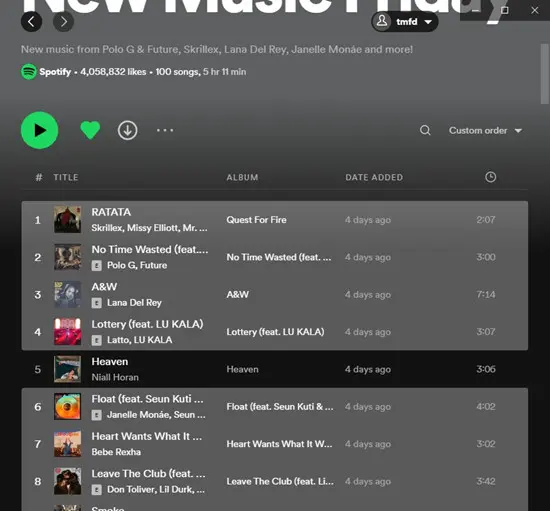
First of all, to transfer your playlists from Spotify to YouTube Music, you need to export them from Spotify. Here’s how you can do it:
- Open the Spotify desktop application or web player.
- Head then to the playlist you want to export.
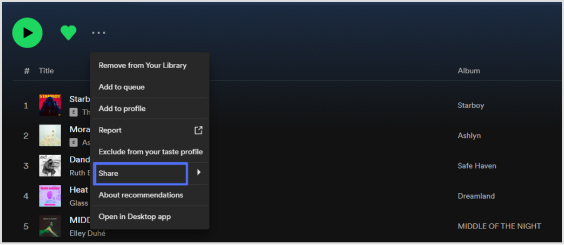
- Right-click on it and select “Share” > “Copy Playlist Link.”
Otherwise, do this:
- Go to the Spotify web player and sign into your account.
- Click the playlist you want to export.
- Copy the URL address from the address bar of your browser.

Whichever of these methods you decide to use, you will have a link that can be used to access your playlist during the conversion process.
Step 2: Converting Spotify playlists to YouTube Music format
Once you have the Spotify playlist link, you would like to convert it into a YouTube Music-compatible one. Luckily, you can employ web services to help you with that. Among them, FreeYourMusic is one of the most handy and user-friendly services.
Here is how you do it in FreeYourMusic:
- Go to FreeYourMusic.
- Paste the link to the Spotify playlist that you copied into the field provided.
- Click “Transfer.”
- FreeYourMusic automatically generates a link to your playlist that is suitable for YouTube Music.
As FreeYourMusic is a third-party tool, while being used and trusted by many users worldwide, be very aware of sharing your personal information or links to playlists with any online services.
Step 3: Importing playlists to YouTube Music
With the YouTube Music-compatible playlist link in your hand, you are ready to import your playlists into the YouTube Music platform. Here’s how:
- Open the YouTube Music app or web player.
- Click the tab “Library.”
- Click the “Playlists” item on the left-hand menu.
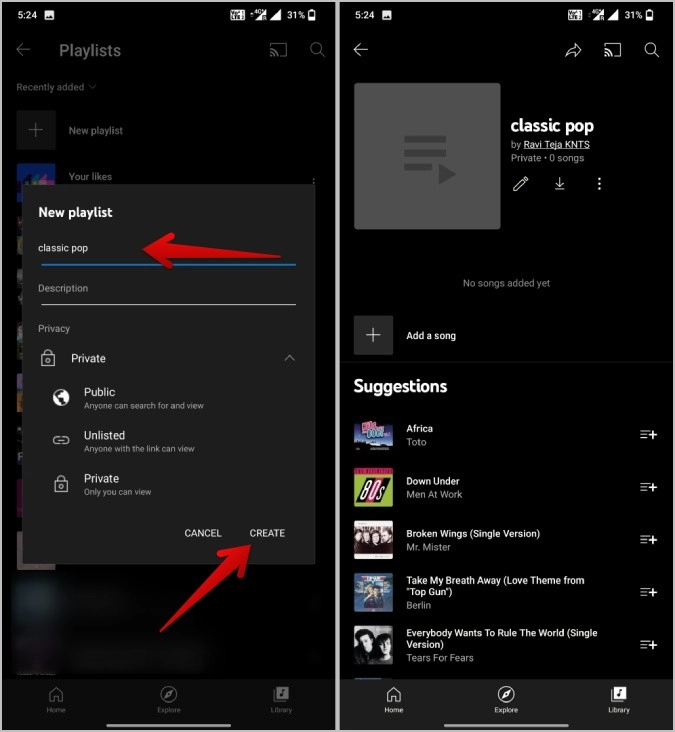
- Click on the “+” button to create a new playlist.
- Paste the YouTube Music-compatible playlist link you created from FreeYourMusic.
- YouTube Music will automatically add the playlist and fill it with the songs from your Spotify playlist.
But if, for whatever reason, it doesn’t go that well, missing or unavailable tracks, for example, YouTube Music will give you a list of those songs it couldn’t find, so you may add them by hand later or find suitable replacements.
Tips for a seamless playlist transfer
To make your migration from Spotify to YouTube Music seamless, here are the tips for you:
- Backup Your Playlists: Before you make any drastic changes, you should always make sure you keep a backup of your Spotify playlists in case you want to go back to the way your original playlists were.
- Find any duplicates: Now that you have uploaded your playlists to YouTube Music, this would be a great time to check out any duplicate tracks. Chances are that if some song had popped up in multiple playlists, YouTube Music has duplicated the track.
- Check the Audio Quality: While Spotify and YouTube Music offer comparable audio qualities, it is worth checking the quality settings in YouTube Music to make sure your listening experience remains optimal.
- The features of YouTube Music: YouTube Music has a lot to offer; it even plays official music videos along with the audio. Spend some time familiarizing yourself and tailoring your experience with this.
Alternative methods for Transfer Spotify Playlists to YouTube Music
One of the most popular and easiest ways to export playlists from Spotify to YouTube Music is through the use of the FreeYourMusic method. Well, it is not the only way; there are other ways this can be done, some of which are listed below:
- Manual transfer: For relatively small playlists, you should be able to do this job manually by searching for and adding each track to YouTube Music. This could be very time-consuming, but you would have total control over your playlists.
- Third-party applications: A number of third-party applications and browser extensions also support transferring playlists from one service to another; examples include Soundiiz and Stamp. Both services support Spotify and YouTube Music.
- Collaborative playlists: If you’ve shared playlists with friends on Spotify or collaborated on playlists, you can rebuild those in YouTube Music by inviting your collaborators to create and add to new playlists.
Also Read: How to Remove YouTube Account on Smart TV: Ultimate Guide
Frequently asked questions
Q: Can I transfer Spotify playlists to YouTube Music for free?
A: Yes, transferring Spotify playlists to YouTube Music doesn’t cost anything. You will need only one thing Spotify account, and another from YouTube Music is also free.
Q: Will the audio quality be maintained after I transfer my playlists?
A: Audio quality may slightly vary depending on the quality settings in YouTube Music, but for the average listener, audio quality is about the same for both services.
Q: Can I import my favorite tracks or saved albums from Spotify into YouTube Music?
A: Unfortunately, with this guide, only the playlists can be transferred. The songs that are liked and the albums that are saved cannot be moved using these methods. You will have to recreate them manually in YouTube Music.
Q: Do I need a premium subscription to transfer playlists?
A: No, you don’t need Spotify and YouTube Music premium subscriptions to transfer playlists. You can do that with free accounts on both services.
Q: Will the playlist order and metadata remain after transferring them?
A: Generally speaking, the playlist order and metadata-like information, such as track names, artists, and album details, will remain after transferring. Minor discrepancies or missing information may apply to various degrees, depending on the data quality delivered by the streaming platforms.
Conclusion
It will take you only a few steps to transfer your well-organized Spotify playlists into YouTube Music. You can now see how easy it is to transfer your music library by following the guide in this article, and you will go seamlessly without losing a bit of information from your playlists. Keep in mind that patience, attention to detail, and an adventurous sense toward the unique features offered by YouTube Music are the keys to a successful transfer. Now, what’s holding you back? Begin transferring your playlists today, and let the groove blast on the new platform!
For a seamless transition, follow our steps to the letter, and don’t be afraid to go back and repeat those steps when necessary. Patience and attention to detail will go a long way toward your successful playlist transfer. Check-in for more tips and tricks on improving your music streaming experience!
