Quick Fixes for a Non-Working Wireless Mouse in Windows
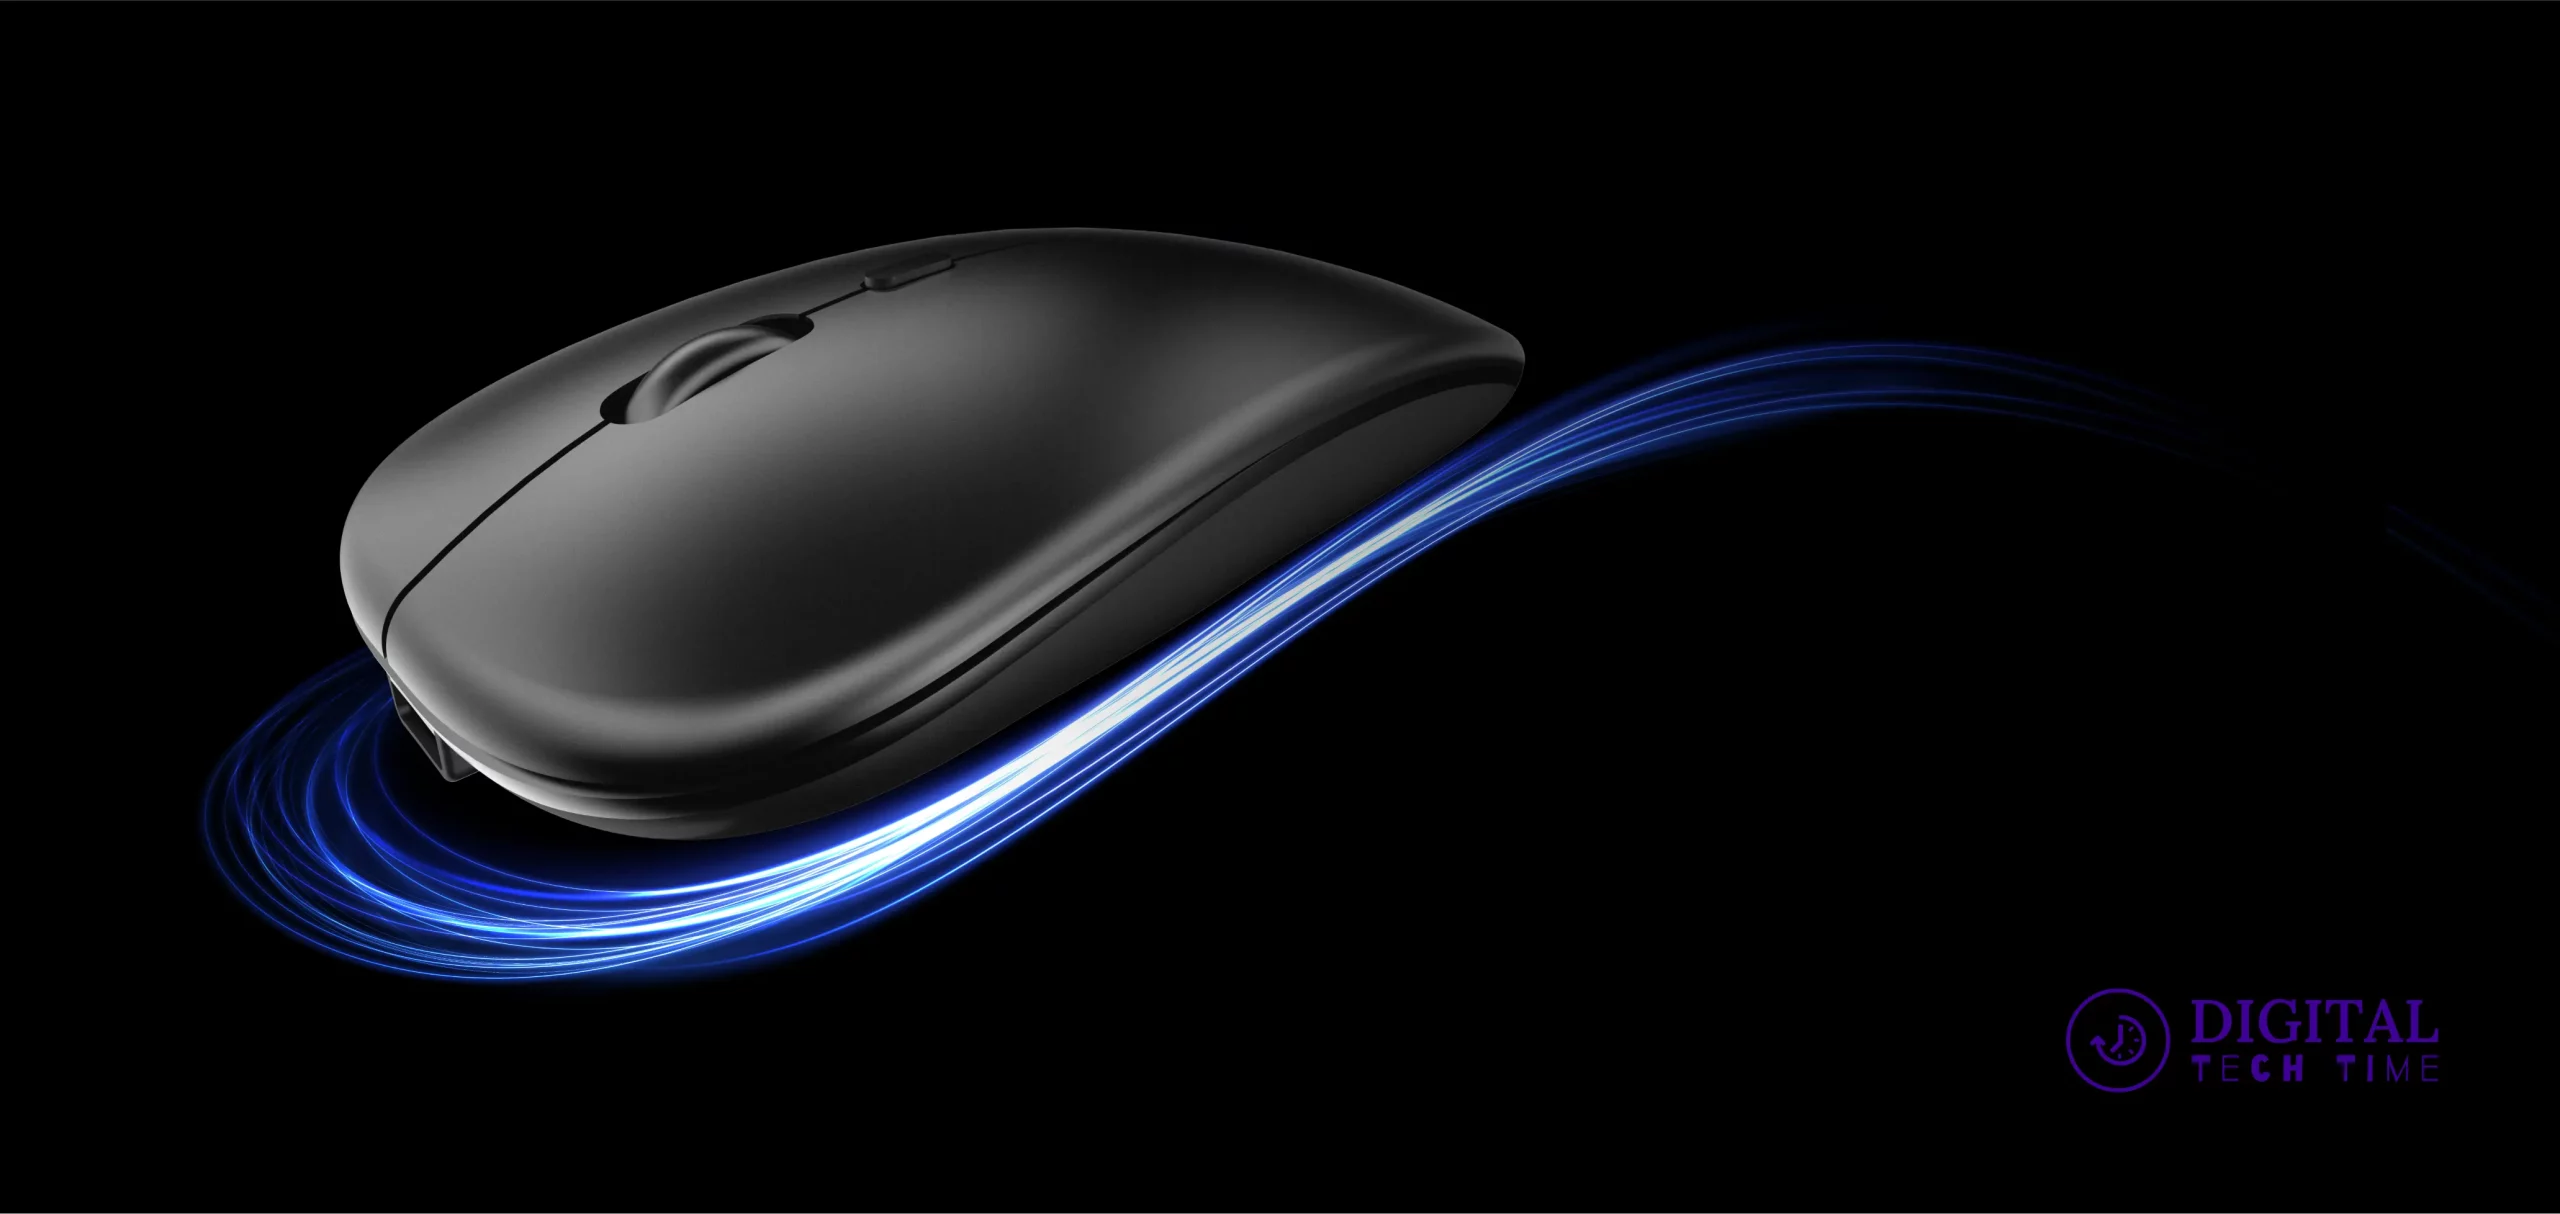
We cannot stress enough our reliance on peripherals such as the wireless mouse in today’s digital space. With increasing shifts to ever-more complicated operating systems like Windows 11, the smoothness of operations by these devices becomes imperative for running a seamless workflow. Under such circumstances, rendering your wireless mouse helpless could hamper productivity and cause unnecessary frustration. This is a comprehensive troubleshooting guide in which I walk you through different strategies to fix a simple dilemma: when a wireless mouse isn’t working in Windows 11.
Table of Contents
Check the Batteries
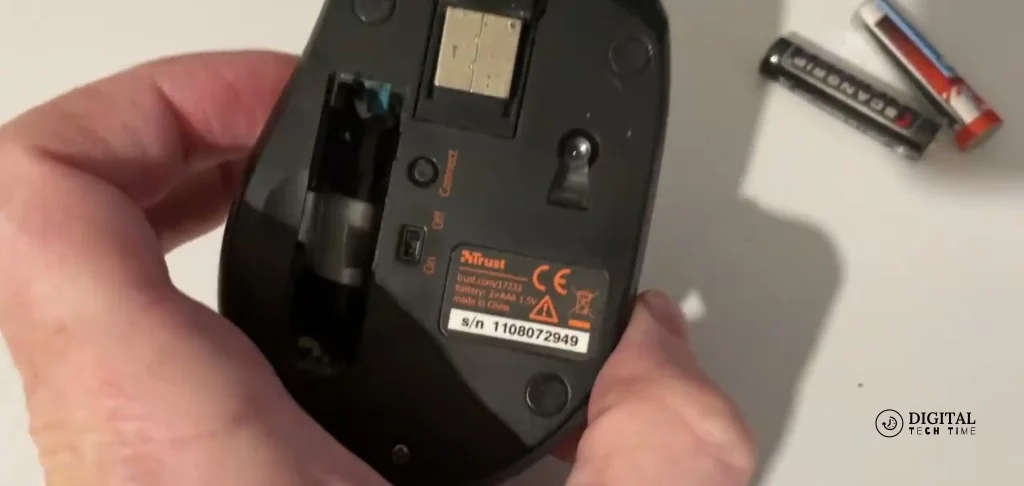
The most obvious problem could be your wireless mouse’s power source. Some drained batteries are commonly the culprit for a non-responsive mouse. Check that the batteries are correctly installed and the charge is enough. Changing old batteries with new ones can immediately fix the problem and give your mouse the power it needs to work efficiently.
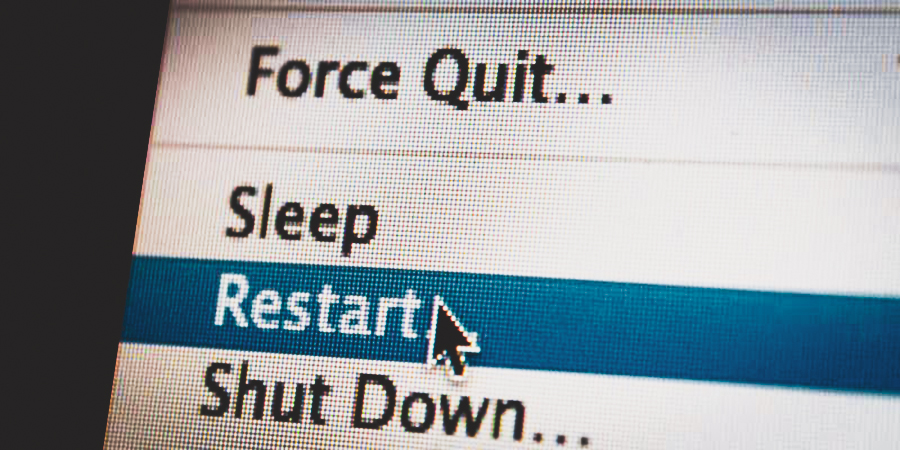
Restart the Mouse and the Computer
Switch off the mouse: The power switch may be at the bottom or side of the mouse. Slide it to the “Off” position.
Observe a few seconds: Hold the mouse off for a few seconds.
Switch on the mouse: Slide it again to the “On” side. After turning it on, the mouse shall pair up again with the computer.
Update or Reinstall the Mouse Driver
Update the Driver:
Open Device Manager: Right-click the Start button, then select Device Manager.
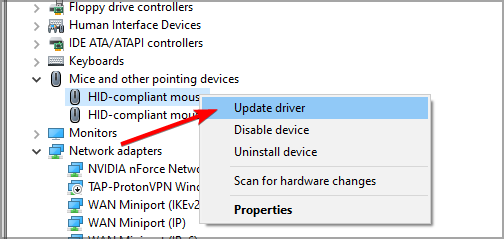
Find the Mouse: Expand the Mice and other pointing devices section. Find your wireless mouse in the list.
Update Driver: Right-click on the mouse and select Update Driver. Choose Search automatically for updated driver software. Windows will automatically search for and install any available updates.
Reinstall the Driver:
- Open Device Manager (as above).
- Locate the Mouse:
- Expand the Mice and other pointing devices section.
- Uninstall Driver:
- Right-click on your wireless mouse and select Uninstall device.
- Confirm the uninstallation.
- Reboot Your Computer:
- Restart your computer. Windows will automatically reinstall the driver upon reboot.
Check for Hardware Damage
Visual Inspection:
- Check the Body: Check for visible cracks, dents, or broken parts on the mouse body.
- Check the Buttons: All buttons should be present, and not a single one should be stuck or jammed.
- Check the Scroll Wheel: The scroll wheel should be okay, with no restriction to its functioning.
Check the Connection:
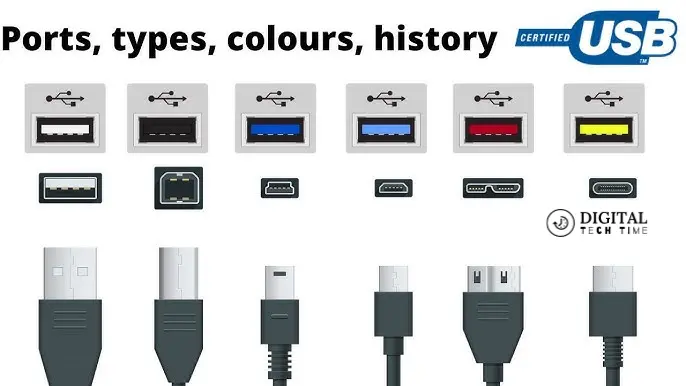
- USB Receiver: If your mouse uses a USB receiver, ensure it is correctly plugged into the USB port. You can also try plugging it into different ports to ascertain whether there is a problem with the port.
- Bluetooth Connection: If it’s a mouse, test whether it is paired correctly with your device. You may need to unpair it and then pair it again.
Test on Another Device: Connect the mouse to another computer or device and check if it is working. This step will help determine whether there is a problem with the mouse or the original device.
Check for Interference: Try keeping other wireless devices away that may be disrupting your connection. Bring the mouse closer to the receiver or test at another location.
Software Problems: Sometimes, it may be something other than a hardware failure. Ensure that drivers are up to date and there are no software conflicts.
Listen for Sounds: If your mouse has mechanical parts, such as a scroll wheel, listen for any unusual sounds when using it.
If you find any damage or if the mouse still doesn’t work after these checks, it may need to be repaired or replaced
Adjust Mouse Settings in Windows 11
To adjust mouse settings in Windows 11, follow these steps:
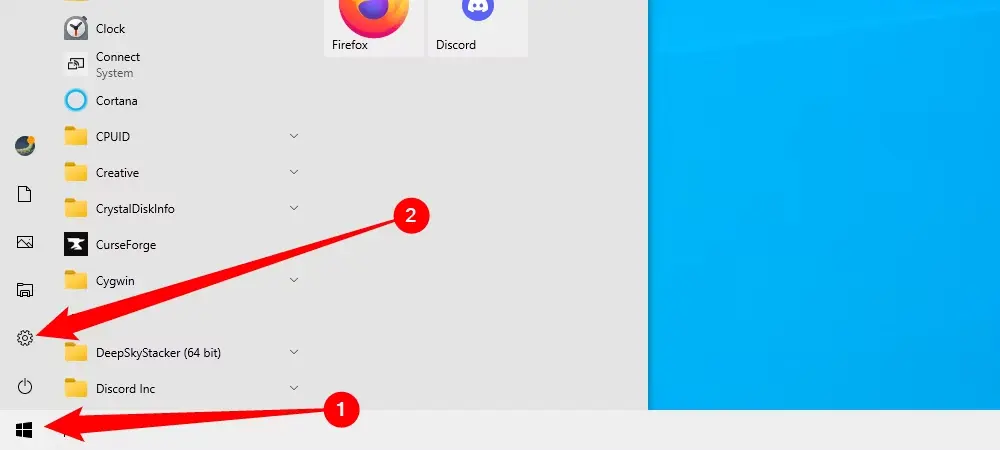
Open Settings:
- Click on the Start button (Windows icon) on the taskbar.
- Select Settings (gear icon) or press Windows + I on your keyboard.
Navigate to Devices:
- In the Settings window, click on Devices from the left sidebar.
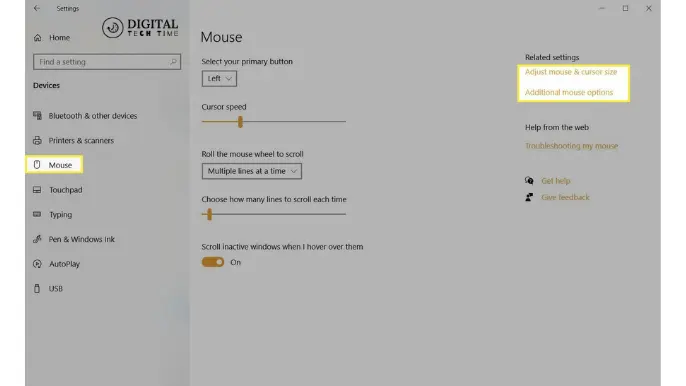
Select Mouse:
- Click on Mouse in the Devices section.
Adjust Mouse Settings:
- Primary Button: Choose whether you want the left or right button to be the primary button.
- Scroll Options: Adjust the scroll wheel settings:
- You can choose how many lines to scroll at a time or enable smooth scrolling.
- Pointer Speed: Click on Additional mouse options at the bottom of the page to open the Mouse Properties window.
- In the Pointer Options tab, adjust the pointer speed using the slider.
- You can also turn on or off the Enhance pointer precision option.
Configure Other Settings:
- Mouse Properties: In the Mouse Properties window, you can also adjust settings for:
- Buttons: Customize button functions.
- Wheel: Set vertical and horizontal scrolling options.
- Pointer: Change the pointer appearance and speed.
- Hardware: Check the status of your mouse and update drivers if necessary.
Touchpad Settings (if applicable):
- If you’re using a laptop, you can adjust touchpad settings under Devices in the Touchpad section.
Close Settings:
- Once you’ve made your adjustments, close the Settings window.
These steps will help you customize your mouse settings to suit your preferences in Windows 11
Check for Windows Updates
- Open Settings:
- Click on the Start button (Windows icon) on the taskbar.
- Select Settings (gear icon) or press Windows + I on your keyboard.
- Navigate to Windows Update:
- In the Settings window, click on Windows Update from the left sidebar.
- Check for Updates:
- Click on the Check for updates button. Windows will search for any available updates.
- Install Updates:
- If updates are found, follow the prompts to download and install them. You may need to restart your computer to complete the installation.

Reset the Mouse Settings
Open Settings:
- Click on the Start button (Windows icon) on the taskbar.
- Select Settings (gear icon) or press Windows + I on your keyboard.
Navigate to Devices:
- In the Settings window, click on Devices from the left sidebar.
Select Mouse:
- Click on Mouse in the Devices section.
Reset Mouse Settings:
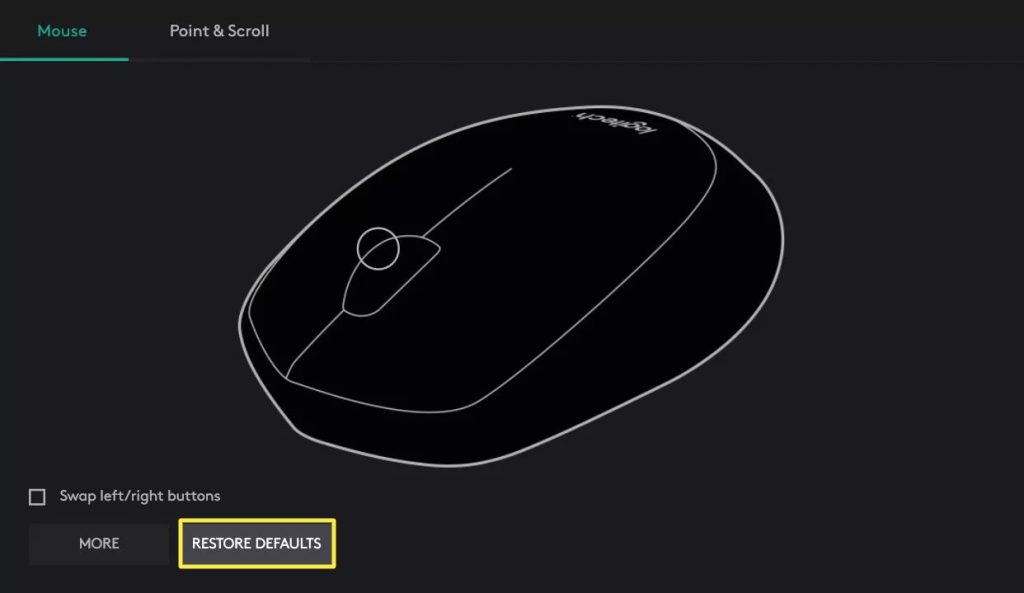
Unfortunately, Windows 11 has no direct “reset” button for mouse settings. However, you can manually revert settings to their defaults:
- Primary Button: Set it back to the left button if it has been changed.
- Scroll Options: Adjust the scroll settings to your preference (e.g., lines to scroll).
- Pointer Speed: Click on Additional mouse options at the bottom of the page, go to the Pointer Options tab, and reset the pointer speed to the default setting (usually around the middle of the slider).
- Enhance Pointer Precision: You can turn this option on or off based on your preference.
Mouse Properties:
In the Mouse Properties window (accessed via Additional mouse options), you can also reset settings in the following tabs:
- Buttons: Ensure button functions are set to default.
- Wheel: Set vertical and horizontal scrolling options to default.
- Pointer: Choose the default pointer scheme if you have changed it.
Reboot Your Computer:
- After making these changes, it’s a good idea to restart your computer to ensure all settings take effect.
Frequently Asked Questions
Q:- What is the weakness of wireless mouse?
A:- A wireless mouse is not as fast and precise as a wired mouse, which doesn’t make them ideal for gaming.
Q:- What is the problem of wireless mouse?
A:- Power issues are the most common. Troubleshoot mouse issues by charging the mouse, replacing its batteries, replacing the charger,
Q:- What is the range of a wireless mouse?
A:- While most wireless keyboards and mice have a maximum effective operating distance of about 30 feet (9 m),
Q:- What makes a good wireless mouse?
A:- New and improved versions of the technologies that mouse makers use to connect devices over the air have made a stable,
Conclusion
Follow these troubleshooting steps to get a wireless mouse working in Windows 11. They ensure that you follow everything from basic to advanced, all in a systematic approach toward resolving the problem. Go ahead with these suggestions individually to identify the root cause and fix it; this will assure you that you can seamlessly work with the wireless mouse on Windows 11.
Remember, technology is supposed to make our lives easier—not more complicated. By swiftly and efficiently overcoming these problems, we can ensure that our peripherals do their job and stay on top of their game in the digital world.
Related Article

