The Ultimate Guide: How to Repair Icon Cache in Windows 10
As a Windows 10 user, you may have encountered various issues with your computer’s icons, such as missing, corrupted, or slow-loading icons. These problems can arise due to a corrupted icon cache, a database Windows uses to store and load icons quickly. In this comprehensive guide, I will walk you through the steps to repair the icon cache in Windows 10, helping you restore your system’s visual integrity and improve your overall user experience.
Table of Contents
Understanding the Need to Repair the Icon Cache
The icon cache plays a crucial role in the smooth functioning of your Windows 10 operating system. It stores commonly used icons, allowing Windows to quickly retrieve and display them without loading them from the file system every time. However, this cache can become corrupted or outdated over time, leading to the various icon-related problems you may have experienced.
Repairing the icon cache can address a wide range of issues, such as:
- Missing or blank icons
- Slow-loading or unresponsive icons
- Inconsistent icon appearances across your system
- Unexpected changes in icon sizes or styles
Addressing these problems can ensure a more consistent and visually appealing user interface, enhancing overall productivity and satisfaction with your Windows 10 experience.
Symptoms of a Corrupted Icon Cache
Before we dive into the repair process, it’s essential to recognize the signs of a corrupted icon cache. Some common symptoms include:
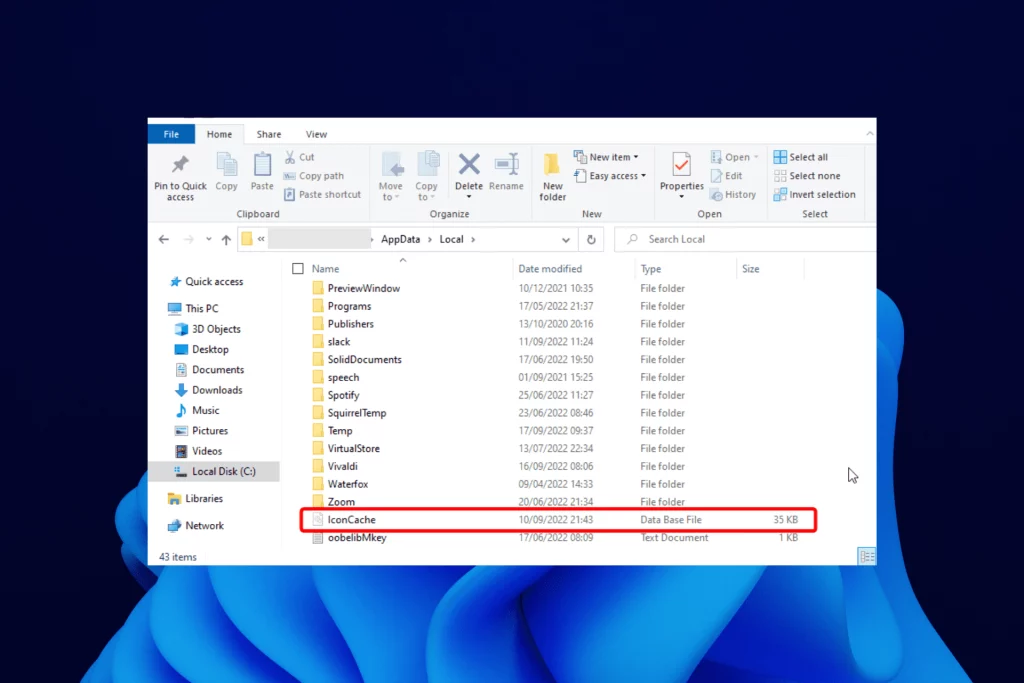
- Missing or Blank Icons: You may notice that icons, such as those for installed applications, folders, or system files, need to be added or added as blank or generic icons.
- Slow Icon Loading: Icons may take longer than usual to load, causing delays in navigating your system or opening files and folders.
- Inconsistent Icon Appearances: The icons on your desktop, in the Start menu, or within File Explorer may need to be more consistent in size, style, or color.
- Unexpected Icon Changes: You may observe sudden and unexplained changes in the appearance of your icons, even for commonly used applications or system elements.
If you experience any of these symptoms, your icon cache has likely become corrupted and needs to be repaired.
Manual Methods to Repair the Icon Cache in Windows 10
You can use several manual methods to repair the icon cache in Windows 10. Let’s explore the step-by-step processes for each:
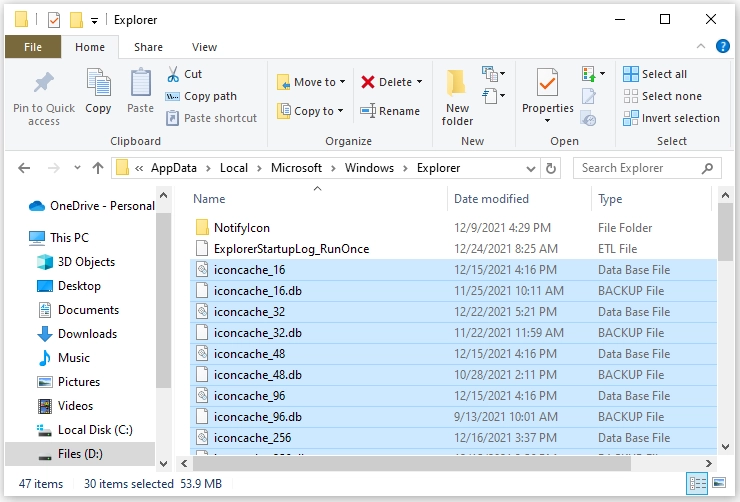
Using Command Prompt to Repair the Icon Cache
- Open the Command Prompt: Press the Windows key + R to open the Run dialog, type “cmd,” and press Enter to launch the Command Prompt.
- Run the Icon Cache Rebuilding Command: In the Command Prompt window, type the following command and press Enter:
- Copy code
- ie4uinit.exe -ClearIconCache
- This command will clear and rebuild the icon cache, resolving any issues with missing or corrupted icons.
- Restart Your Computer: After running the command, restart your computer to ensure the changes take effect.
Using Third-Party Software to Repair the Icon Cache
While the manual method using the Command Prompt is effective, you can also consider using third-party software to streamline the icon cache repair process. One popular option is the “Icon Cache Rebuilder” tool, which automates the cache rebuilding process and provides additional features, such as:
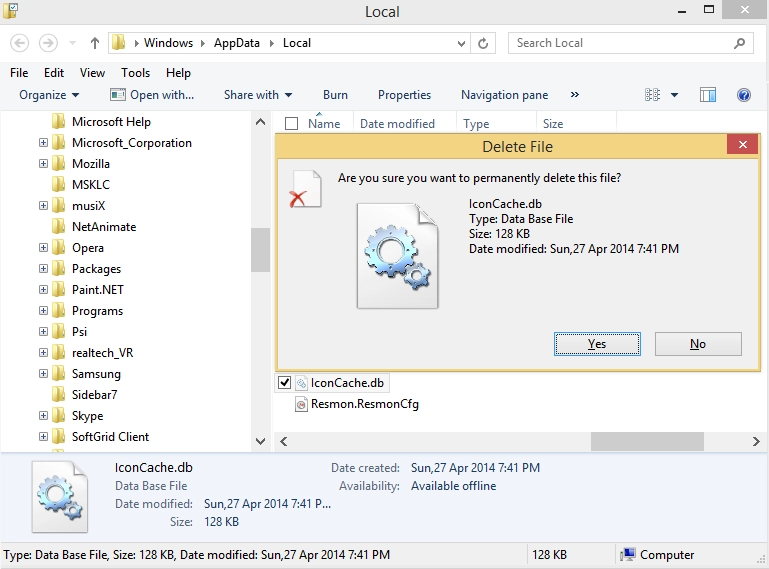
- Automatic Icon Cache Rebuilding: The Tool can automatically detect and rebuild the icon cache, saving you the hassle of manually running the command.
- Scheduled Maintenance: You can set the Tool to periodically check and rebuild the icon cache, ensuring your system’s visual integrity is maintained over time.
- Advanced Troubleshooting: The Tool may offer additional troubleshooting options, such as clearing specific icon cache entries or performing a full cache reset.
A third-party tool can be a convenient and effective way to manage your icon cache, especially if you encounter recurring issues or prefer a more user-friendly interface.
Additional Tips and Precautions for Repairing the Icon Cache
While the methods mentioned above are generally safe and effective, it’s essential to keep the following tips and precautions in mind when repairing the icon cache:
- Backup Your Data: Before attempting any cache repair, ensure you have a recent backup of your important files and data. This will provide a safety net in case any unexpected issues arise during the process.
- Disable Third-Party Icon Caching Software: If you have any third-party icon caching or management software installed, disable or uninstall it before repairing the icon cache. This will prevent conflicts and ensure a clean repair process.
- Avoid Interrupting the Repair Process: Once you’ve initiated the icon cache repair, refrain from interrupting the process or shutting down your computer until it’s completed. Interruptions can lead to further corruption or data loss.
- Monitor System Performance: After repairing the icon cache, closely monitor your system’s performance and visual integrity. If you continue to experience issues, try alternative repair methods or seek further troubleshooting assistance.
By following these tips and precautions, you can ensure a smooth and successful icon cache repair and minimize the risk of any unintended consequences.
Common Issues and Troubleshooting While Repairing the Icon Cache
While the icon cache repair process is straightforward, you may encounter some common issues or challenges. Here are a few potential problems and their corresponding troubleshooting steps:
- Command Prompt Method Fails: If the “ie4uinit.exe -ClearIconCache” command does not work as expected, try the following:
- Ensure you’re running the Command Prompt as an administrator.
- Check for any error messages or unusual behavior during the command execution.
- Try rebooting your computer and attempting the command again.
- Third-Party Tool Doesn’t Resolve the Issue: If the third-party icon cache rebuilder tool doesn’t effectively repair the cache, consider the following:
- Ensure you’re using the latest version of the Tool.
- Check the Tool’s settings and configurations to ensure they’re optimized for your system.
- Try alternative third-party tools or resort to the manual Command Prompt method.
- Icons Still Appear Corrupted or Missing: If the repair process doesn’t fully restore your icons, try the following:
- Check for any pending Windows updates and install them, as they may include icon cache-related fixes.
- Scan your system for any malware or viruses interfering with the icon cache.
- As a last resort, consider performing a clean reinstallation of Windows 10 and resetting the entire system, including the icon cache.
By addressing these common issues and following the troubleshooting steps, you can increase your chances of successfully repairing the icon cache and restoring the visual integrity of your Windows 10 system.
Related Post : How to Fix Headphones Not Working in Windows 10
Frequently Asked Questions (FAQs)
Q: How often should I repair the icon cache in Windows 10?
A: There is no set schedule for repairing the icon cache, as the need can vary depending on your system’s usage and any potential issues. However, repairing the cache is generally recommended if you start experiencing persistent icon-related problems or notice a decline in your system’s visual performance.
Q: Will repairing the icon cache cause data loss or system instability?
A: Properly repairing the icon cache should not result in any data loss or system instability, provided you follow the recommended steps and precautions. However, as a general best practice, it’s always wise to have a recent backup of your important data before attempting any system maintenance or repair.
Q: Can I prevent the icon cache from becoming corrupted in the future?
A: While there’s no foolproof way to prevent the icon cache from becoming corrupted, you can take some proactive steps to minimize the risk, such as:
- You keep your Windows 10 installation up-to-date with the latest security and stability updates.
- Avoid using third-party icon manipulation or caching software, which can sometimes interfere with the native icon cache.
- Regularly scan your system for malware and viruses, which can also contribute to icon cache corruption.
Q: What if the icon cache repair process doesn’t resolve the issue?
A: If the icon cache repair process does not effectively address the problem, you may need to explore additional troubleshooting options, such as:
- Performing a System File Checker (SFC) scan to check for and repair any corrupted system files.
- Resetting the Windows 10 user profile or creating a new user account.
- As a last resort, consider a clean reinstallation of Windows 10 to reset the entire system.
Conclusion
In conclusion, the icon cache plays a vital role in the visual performance and overall user experience of your Windows 10 system. By understanding the importance of maintaining a healthy icon cache and following the steps outlined in this guide, you can effectively address and resolve a wide range of icon-related issues.
Whether you use the manual Command Prompt method or a third-party tool, the key is to remain vigilant and proactive in managing your icon cache. Regularly checking for and repairing any corruptions or inconsistencies ensures your Windows 10 system maintains a consistent and visually appealing appearance, enhancing your overall productivity and satisfaction.
Remember, the health of your icon cache is just one aspect of maintaining a well-functioning Windows 10 environment. Combining the icon cache repair techniques with other best practices, such as keeping your system up-to-date, performing regular backups, and addressing any underlying hardware or software issues, ensures your Windows 10 experience remains seamless and optimized for your needs.

