How to Delete Your Alexa Account: A Detailed Guide
As an experienced writer, I understand that the decision to delete your Alexa account can be significant. Alexa, Amazon’s virtual assistant, has become a popular tool for many individuals, offering a wide range of features and capabilities. However, there may be valid reasons why you might want to part ways with your Alexa account. In this comprehensive guide, I will walk you through the step-by-step process of deleting your Alexa account, as well as explore the potential reasons behind this decision and the alternatives you may want to consider.
Table of Contents
Reasons to Delete Your Alexa Account
There are several reasons why someone might choose to delete their Alexa account. Some of the most common include:
- Privacy concerns: Some individuals may feel that Alexa’s always-listening nature compromises their privacy and want to control their data.
- Lack of use: If you’ve found that you no longer use Alexa’s features or functionalities, it might be time to consider removing your account.
- Switching to a different virtual assistant: Perhaps you’ve decided to explore other options, such as Google Assistant or Apple’s Siri, and want to clean up your digital footprint.
- Concerns about data security: In case of a data breach or other security issues, you may want to delete your Alexa account as a precautionary measure.
Preparing to Delete Your Alexa Account
Before you begin the process of deleting your Alexa account, it’s essential to consider the following:
- Backup your data: If there are any important files, settings, or information associated with your Alexa account, make sure to back them up before proceeding with the deletion process.
- Disconnect Alexa-enabled devices: If you have any Alexa-enabled devices, such as smart speakers or displays, disconnect them from your account before deleting them.
- Review your account settings: Take a moment to review your account settings and ensure there are no outstanding tasks or subscriptions you need to address before deletion.
Step 1: Logging into Your Alexa Account
You’ll need to log in to your Amazon account to delete your Alexa account. This can be done by visiting the Amazon website and entering your credentials.
Step 2: Navigating to the Account Settings
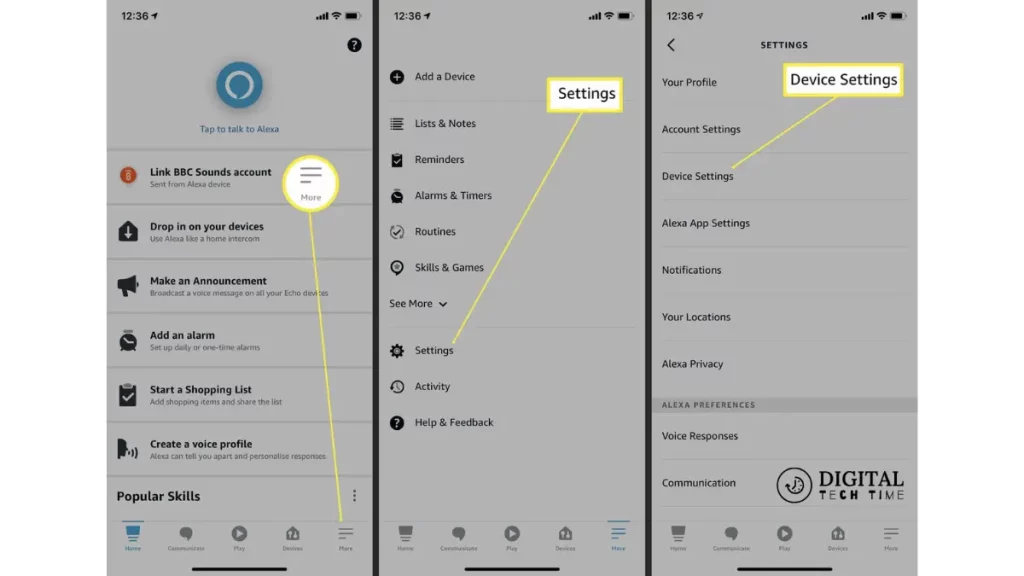
Once you’ve logged in, navigate to the “Your Account” section in the top-right corner of the page. From there, you’ll need to find the “Alexa” section, which may be located under the “Devices” or “Alexa” tab.
Step 3: Accessing the Account Deletion Option
Within the Alexa section, you should be able to find the option to delete your account. This may be labeled as “Delete Alexa Account” or something similar.
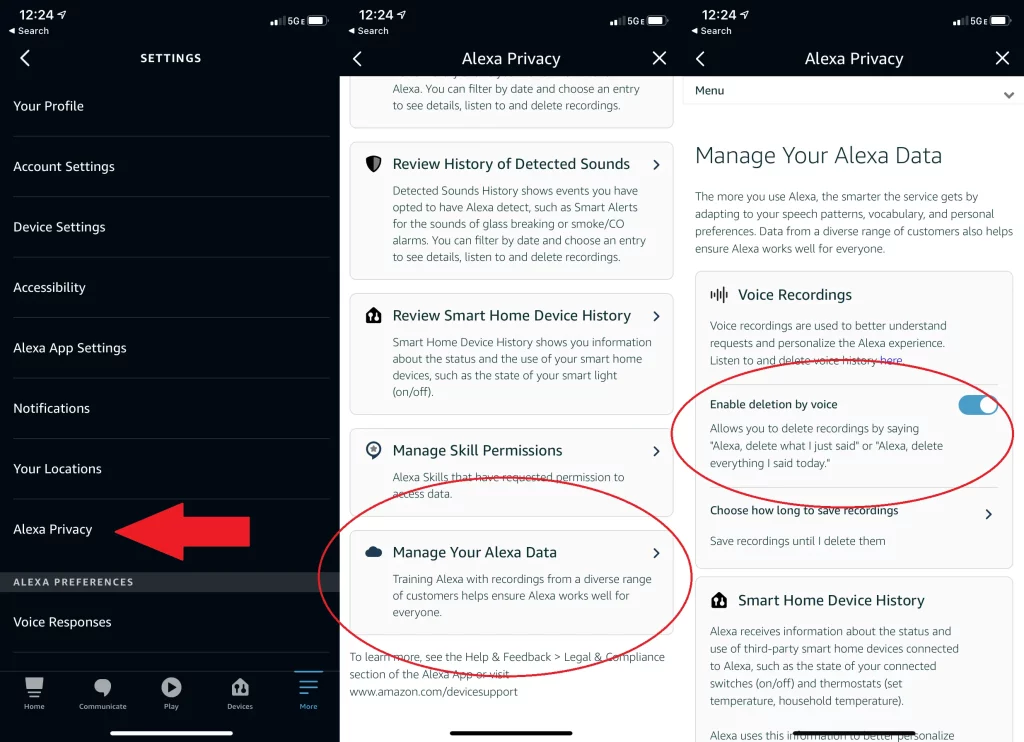
Step 4: Confirming the Account Deletion
When you select the account deletion option, you’ll be prompted to confirm your decision. This is an important step, as there’s no way to undo the account deletion once it’s been completed.
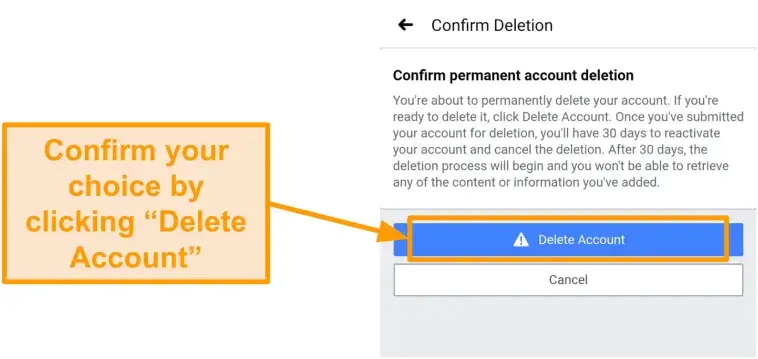
Step 5: Finalizing the Account Deletion Process
After confirming the account deletion, the process will begin, and your Alexa account will be permanently removed from Amazon’s systems. Depending on the size of your account and the amount of associated data, this process may take some time to complete.
Alternative Options to Consider Before Deleting Your Account
Before you take the final step of deleting your Alexa account, it’s worth considering some alternative options that may address your concerns without completely removing your account:
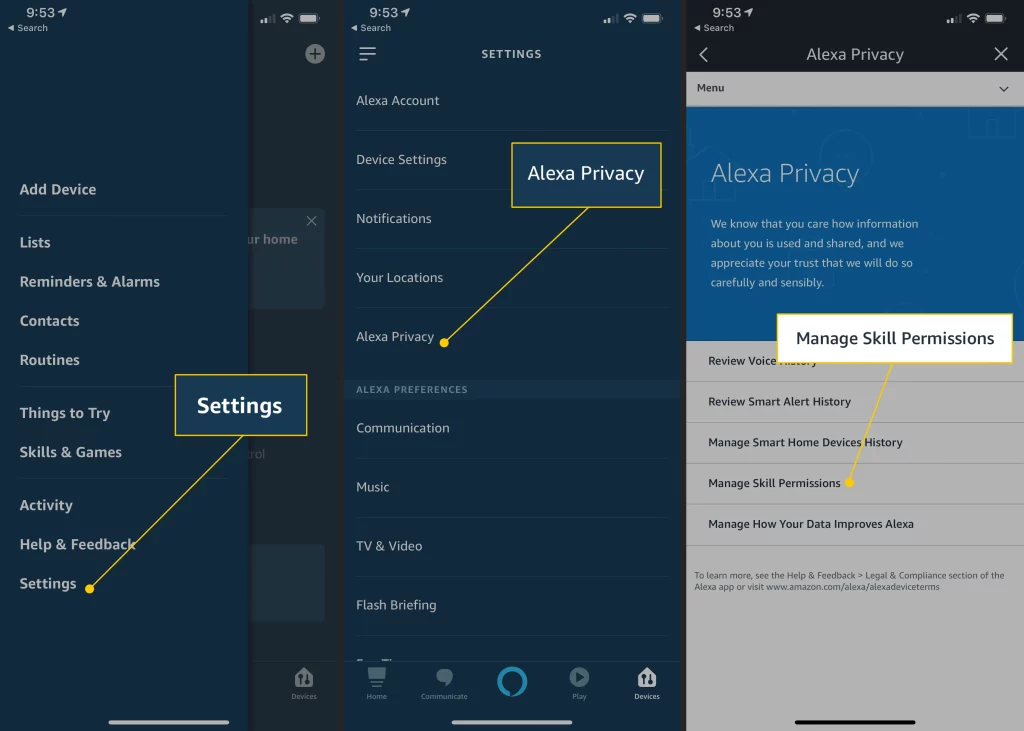
1. Manage your privacy settings: Amazon offers a variety of privacy controls and settings that allow you to customize how Alexa interacts with your data. Explore these options to see if they can alleviate your privacy concerns.
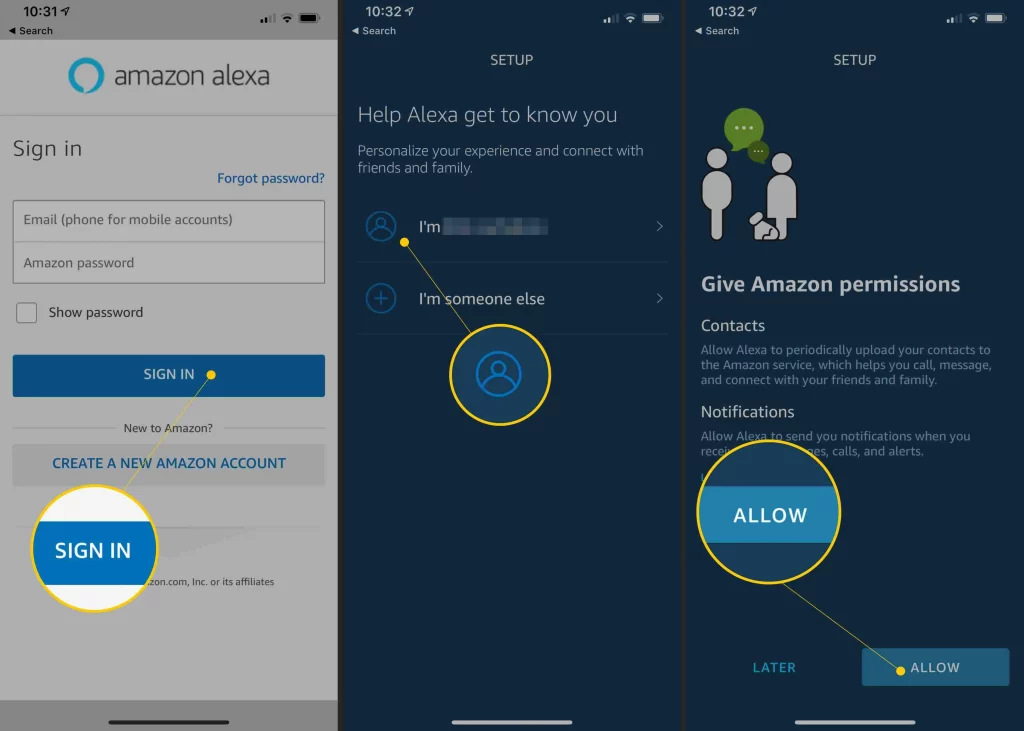
2. Disable Alexa’s voice recording: If you’re primarily concerned about Alexa’s always-listening nature, you can turn off the voice recording feature, preventing Alexa from storing your audio interactions.
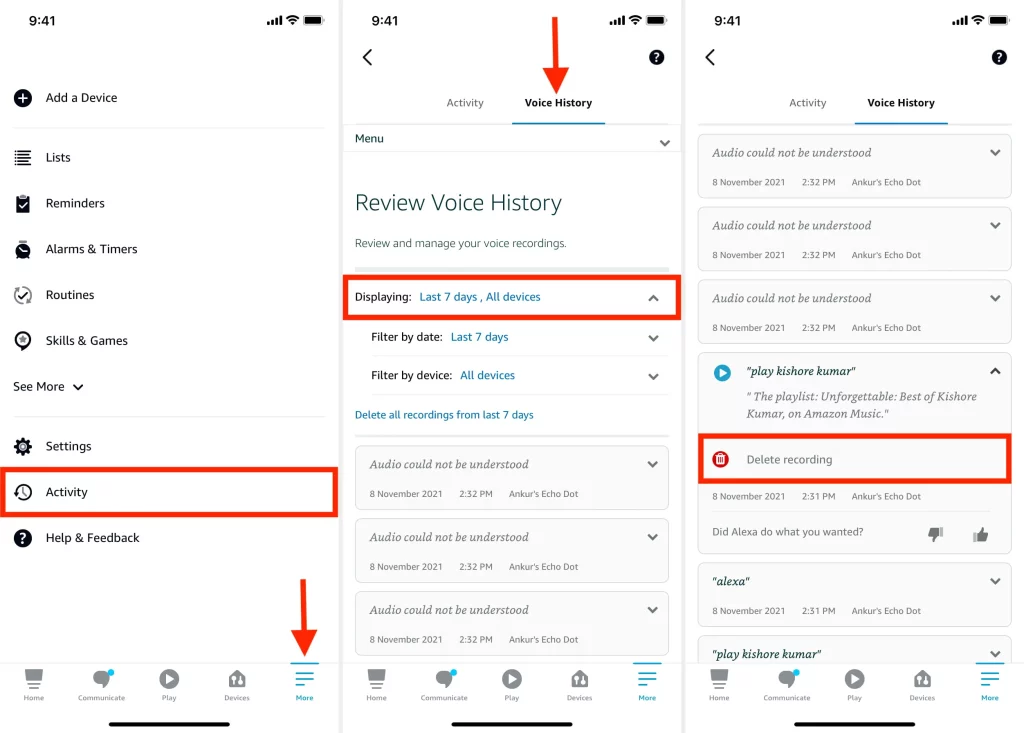
3. Limit Alexa’s access to your personal information: You can review and adjust the permissions Alexa has to access your contacts, calendar, and other personal data, reducing the amount of information Alexa can access.
Frequently Asked Questions
Q: What’s the most asked question on Alexa?
A: “Alexa, how many birthdays does the King have?” and “how long is the Oppenheimer movie?” were among the most common questions people posed to their smart speakers this year.
Q: What is the 20 questions game with Alexa?
A: Volley’s “20 Questions” is a large language model-based voice game that allows for open-ended voice conversations with an AI character. To start the game, players simply say “Alexa, open Volley Games” to their Alexa-enabled device.
Q: Does Alexa say OK?
A: As far as I know, you can have it say “OK” or nothing at all and that’s it. One way forward might be to control all your HA devices through routines set up in the Alexa app,
Q: Does Alexa have a sassy mode?
A: If you tell Alexa’s sassy persona to stick around, it will respond to several questions or commands. You can also cancel, or tell Alexa to stop being sassy.
Conclusion
Deleting your Alexa account is a significant decision, but it may be the right choice if you have valid concerns about privacy, security, or the lack of use. By following the step-by-step guide in this article, you can confidently navigate the account deletion process and take control of your data.
Suppose you’re ready to take the next step and delete your Alexa account. In that case, I encourage you to carefully review the information in this guide and make a decision that aligns with your personal preferences and needs. Remember, your privacy and security should be the top priorities for your digital life.
Related Article


