How to Installing Linux on Chromebook: Step-by-Step Tutorial
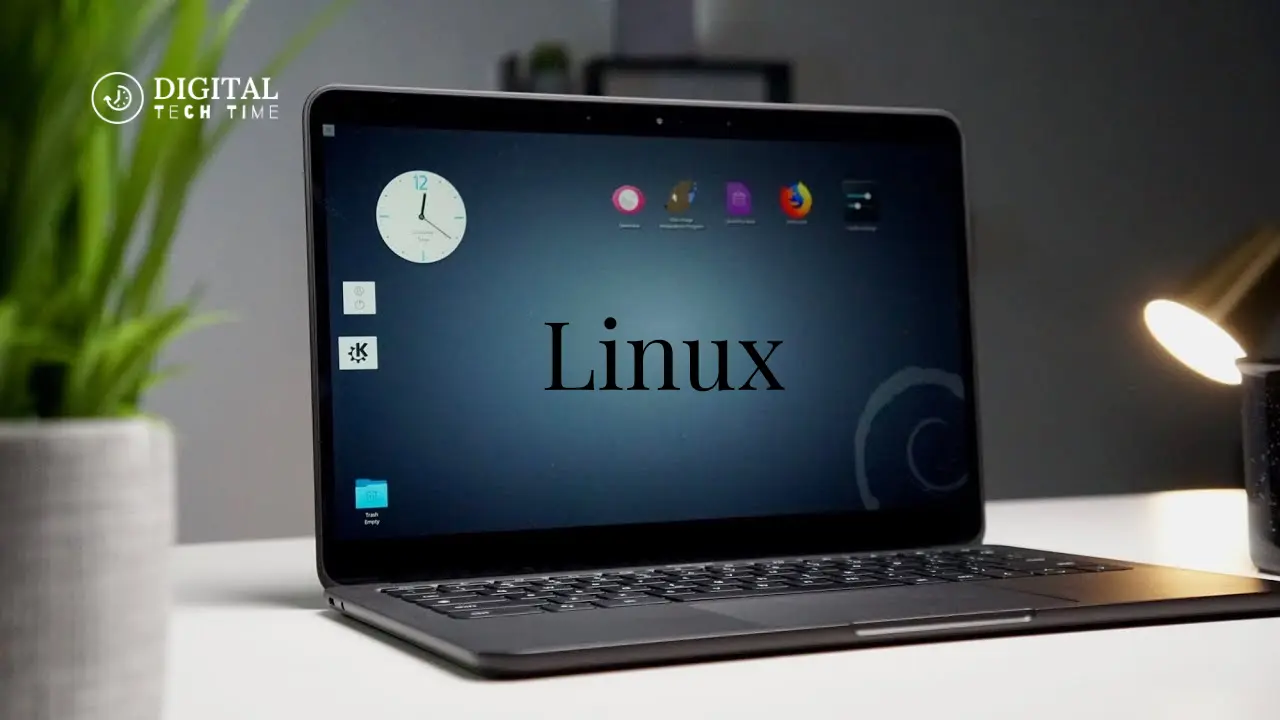
As an experienced Chromebook user, I’ve always been fascinated by the idea of running Linux on my device. The combination of the lightweight ChromeOS and the power of a full-fledged Linux operating system seemed like a match made in heaven. After exploring the benefits and challenges, I decided to take the plunge and Installing Linux on Chromebook. In this comprehensive guide, I’ll walk you through the entire process, from preparing your Chromebook to configuring your new Linux environment.
Table of Contents
Benefits of Installing Linux on Chromebook
- Expanded Functionality: Linux offers a vast array of applications, tools, and customization options that go far beyond the capabilities of ChromeOS. From advanced productivity suites to powerful programming environments, Linux can transform your Chromebook into a versatile workhorse.
- Improved Productivity: Many Linux distributions provide a more traditional desktop experience, with features like multiple workspaces, advanced file management, and a wide range of keyboard shortcuts. This can significantly boost your productivity and efficiency.
- Enhanced Security: Linux is generally considered more secure than other operating systems, with a robust security architecture and a large, active community of developers and users. By running Linux on your Chromebook, you can enjoy an added layer of protection against malware and other security threats.
- Customization and Flexibility: Linux offers unparalleled customization options, allowing you to tailor your Chromebook’s interface, applications, and overall user experience to your specific needs and preferences.
Also Read: Effortless BIOS Access on Windows 10: Skip the Restart
Preparing Your Chromebook for Linux Installation
Before we dive into the installation process, it’s essential to ensure that your Chromebook is properly prepared. Here are the steps to get your device ready:
- Enable Developer Mode: This crucial step unlocks the necessary permissions to Installing Linux on Chromebook. Be aware that enabling Developer Mode will wipe your device, so make sure to back up any important data beforehand.
- Verify Hardware Compatibility: Not all Chromebook models are compatible with Linux. Check with your device manufacturer or online resources to ensure that your specific Chromebook model supports Linux installation.
- Allocate Storage Space: Linux will require a portion of your Chromebook’s storage space. Determine how much space you’re willing to dedicate to your Linux installation and make the necessary adjustments.
- Connect to a Power Source: Ensure that your Chromebook is plugged into a power source during the installation process to prevent any interruptions or data loss.
Choosing the Right Linux Distribution for Your Chromebook
One of the most important decisions you’ll make is selecting the right Linux distribution for your Chromebook. Different distributions offer varying levels of user-friendliness, hardware compatibility, and feature sets. Here are some popular options to consider:
- Ubuntu: A beginner-friendly distribution with a large community and extensive documentation. Ubuntu is a great choice for those new to Linux.
- Debian: A stable and reliable distribution known for its security and flexibility. Debian is a solid option for more experienced Linux users.
- Arch Linux: A highly customizable distribution that offers a more hands-on approach to Linux. Arch may be better suited for advanced users.
- Fedora: A community-driven distribution sponsored by Red Hat, known for its cutting-edge software and strong security features.

Take the time to research and compare these distributions to find the one that best fits your needs and Chromebook’s hardware capabilities.
Installing Linux on Your Chromebook: Step-by-Step Tutorial
Now, let’s dive into the step-by-step process of Installing Linux on Chromebook:
- Enable Developer Mode: Follow your Chromebook’s manufacturer instructions to enable Developer Mode. This may involve pressing a specific key combination during boot or using the built-in recovery tool.
- Download the Linux Distribution: Visit the website of your chosen Linux distribution and download the appropriate installation image for your Chromebook’s architecture.
- Create a Bootable USB Drive: Use a third-party tool like Etcher or Balena Etcher to create a bootable USB drive from the Linux installation image.
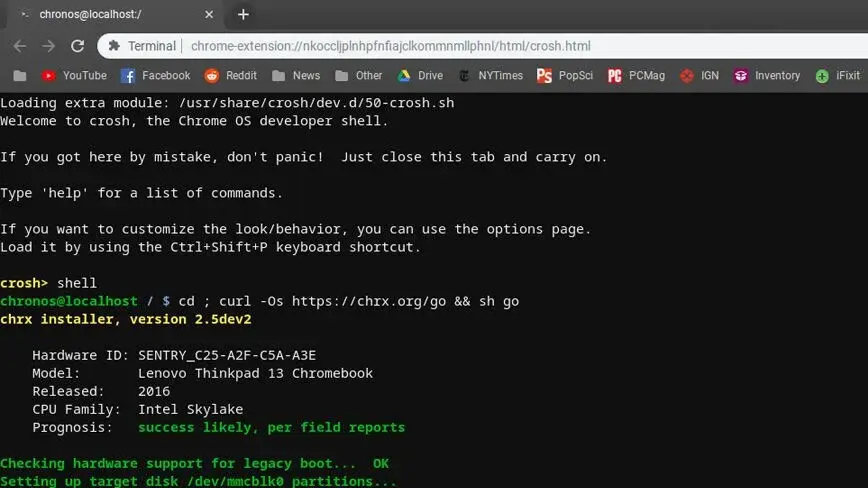
- Boot into the Linux Installer: Insert the bootable USB drive into your Chromebook and restart the device. During the boot process, press the appropriate key (usually Ctrl+Alt+Shift+F3) to enter the Developer Mode shell.
- Install Linux: Follow the on-screen instructions to guide you through the Linux installation process. This may include partitioning your Chromebook’s storage, selecting your preferred desktop environment, and configuring various settings.
- Finalize the Installation: Once the installation is complete, your Chromebook will reboot into your new Linux environment.
Configuring Linux on Your Chromebook
After the successful installation, it’s time to configure your Linux environment to your liking. Here are some essential steps:
- Update the System: Run the necessary commands to update your Linux distribution and install any available security patches and software updates.
- Install Essential Applications: Depending on your needs, install productivity suites, programming tools, media players, and other applications that will enhance your Chromebook’s capabilities.
- Customize the Desktop Environment: Explore the various settings and options to personalize your Linux desktop, including the appearance, keyboard shortcuts, and default applications.
- Set up Cloud Storage Integration: Integrate your preferred cloud storage service (e.g., Google Drive, Dropbox, OneDrive) to access and manage your files across platforms seamlessly.
- Configure Peripheral Devices: Ensure that your Chromebook’s peripheral devices, such as external displays, keyboards, and mice, are properly recognized and configured within your Linux environment.
Essential Linux Applications for Chromebook
One of the significant advantages of running Linux on your Chromebook is the vast array of applications available. Here are some essential tools to consider:
- Productivity: LibreOffice, Google Docs, Trello, Evernote
- Programming: Visual Studio Code, PyCharm, IntelliJ IDEA, Android Studio
- Media: VLC Media Player, Spotify, GIMP, Inkscape
- Communication: Slack, Discord, Telegram, Skype
- File Management: Nautilus, Dolphin, Midnight Commander
Troubleshooting Common Issues During Linux Installation
While the installation process is generally straightforward, you may encounter some common issues. Here are a few troubleshooting tips:
- Kernel Compatibility: Ensure that the Linux distribution you choose is compatible with your Chromebook’s hardware, including the processor, graphics, and other components.
- Connectivity Issues: If you encounter problems with Wi-Fi or Bluetooth connectivity, check the distribution’s documentation for specific drivers or configuration steps.
- Performance Concerns: If your Chromebook’s performance seems sluggish, try adjusting the desktop environment, turning off unnecessary services, or allocating more system resources to Linux.
- Boot Failures: If your Chromebook fails to boot into Linux, try troubleshooting the bootloader configuration or reverting to the original ChromeOS.
Remember, the Linux community is vast and active, so don’t hesitate to consult online forums, documentation, and support channels for additional guidance.
Also Read: How to Reset Display Settings on Windows 10 Easily Quick Fix
Advantages and Disadvantages of Linux on Chromebook
Before deciding to Installing Linux on Chromebook, it’s essential to weigh the pros and cons of this approach:
Advantages:
- Expanded functionality and customization options
- Improved security and privacy
- Access to a vast ecosystem of open-source applications
- Potential performance enhancements for more demanding tasks
Disadvantages:
- Potential compatibility issues with Chromebook hardware
- More complex installation and configuration process
- Limited support from Chromebook manufacturers
- Potential battery life reduction due to increased system resource usage
Frequently Asked Questions
Q: Can I revert to ChromeOS if I don’t like Linux?
A: Yes, you can typically revert to the original ChromeOS by powering off your Chromebook and pressing the appropriate key combination during boot to enter recovery mode.
Q: Will installing Linux void my Chromebook’s warranty?
A: Enabling Developer Mode and installing Linux may void your Chromebook’s warranty. Check with your device manufacturer for specific guidelines.
Q: Can I dual-boot Linux and ChromeOS on my Chromebook?
A: Yes, it is possible to set up a dual-boot configuration, allowing you to choose between ChromeOS and Linux during the boot process. However, this process can be more complex and may require additional partitioning and configuration steps.
Q: Will all my Chromebook’s features work with Linux?
A: Not necessarily. Some Chromebook features, such as touchscreen functionality, may not be fully supported by all Linux distributions. It’s essential to research the compatibility of your specific Chromebook model before installation.
Conclusion
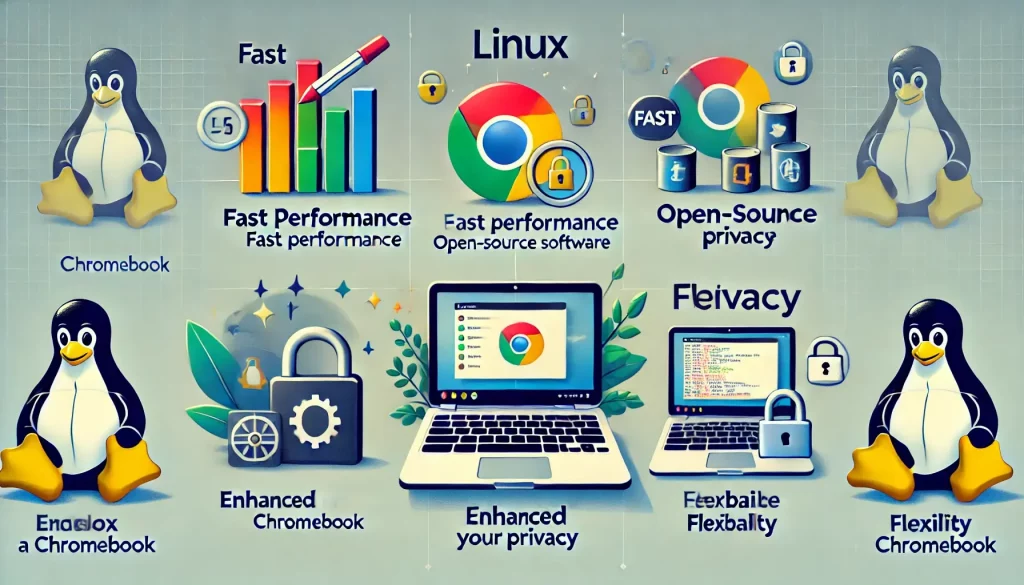
In this comprehensive guide, we’ve explored the exciting prospect of Installing Linux on Chromebook. By unlocking the power of a full-fledged Linux operating system, you can transform your Chromebook into a versatile and customizable device tailored to your specific needs and preferences.
If you’re ready to embark on this Linux adventure, I encourage you to follow the step-by-step instructions provided in this guide. Remember, the journey may have its challenges, but the rewards of a more productive, secure, and personalized Chromebook experience are well worth it. Feel free to reach out to the Linux community for additional support and guidance along the way. Let’s get started on your Linux Chromebook journey!

