How to Remove WhatsApp from Facebook Page
As a business owner, you may have integrated WhatsApp into your Facebook page to provide an additional communication channel for your customers. However, there may come a time when you no longer find it necessary or beneficial to connect WhatsApp to your Facebook page. Perhaps you have focused on other communication methods or want to streamline your online presence. Whatever the reason, this step-by-step guide will walk you through the process of removing WhatsApp from your Facebook page.
Table of Contents
Understanding the Integration Between WhatsApp and Facebook
Before we dive into the removal process, it’s essential to understand how WhatsApp and Facebook are integrated. When you connect WhatsApp to your Facebook page, you can receive and respond to WhatsApp messages directly from your Facebook page. This integration can be convenient for businesses that want to centralize their communication channels. However, if you no longer wish to use WhatsApp or prefer to keep it separate from your Facebook page, you must know how to disconnect the two.
Step 1: Accessing your Facebook page Settings
To begin the removal process, you need to access your Facebook page’s settings. Log into your Facebook account and navigate to your page. Once on your page, locate the “Settings” tab at the top right corner. Click on it to access the settings menu.

Removing a WhatsApp link from your Facebook page is a straightforward process. Here’s a quick guide:
- Access your Facebook page and navigate to “Settings.”
- Look for “Linked Accounts” or similar options.
- Find “WhatsApp” and click on “Disconnect” or “Remove.”
You’ll successfully remove the WhatsApp button from your Facebook page by following these steps.
Step 2: Navigating to the WhatsApp Integration Settings
You will find a list of options on the left-hand side within the settings menu. Scroll down until you see the “WhatsApp” option. Click on it to open the WhatsApp integration settings. This is where you will find the necessary options to disconnect WhatsApp from your Facebook page.
WhatsApp integrations are typically managed through the platform where the integration is set up. Here are some common scenarios:
- Business Accounts: If you’re using a WhatsApp Business Account linked to a Meta Business Manager, integration settings would be found within the Meta Business Manager dashboard, not the WhatsApp app.
- Third-Party Apps: If you’ve connected WhatsApp to another app (e.g., CRM software), integration settings would be found within that specific app’s settings menu.
- Custom APIs: For developers who built custom integrations with the WhatsApp Business API, settings would be managed through their development platform.
Here’s a breakdown to help you identify where to look:
- Consider how you integrated WhatsApp: Did you use a Meta Business Account, connect it to another app, or build a custom integration?
- Search for settings: Based on your answer in point 1, explore the settings menu of the relevant platform (Meta Business Manager, third-party app, or developer platform).
If you’re unsure where your WhatsApp integration is managed, it’s best to refer to the app’s documentation or contact their support team for specific guidance.
Step 3: Disconnecting WhatsApp from your Facebook Page
In the WhatsApp integration settings, you will see a section titled “Connected Accounts.” This section will show a list of connected accounts, including WhatsApp. Locate the WhatsApp account and click on the “Disconnect” button next to it. You will be prompted to confirm your decision, as disconnecting WhatsApp will remove all its associated features and functionalities from your Facebook page.
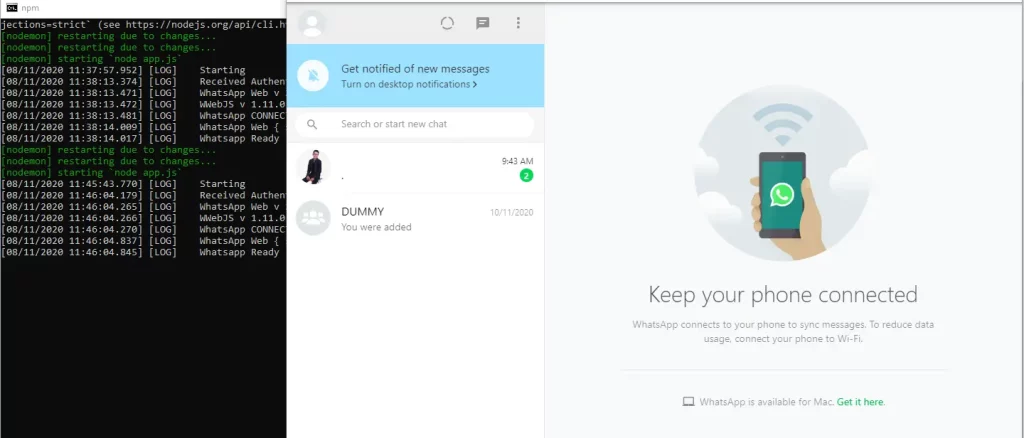
Disconnecting WhatsApp from your Facebook page:
- 1. Begin by accessing the settings of your Facebook account.
- 2. Look for the “Apps and Websites” section and click on it.
- 3. Locate WhatsApp in the list of connected apps and click on it.
- 4. Choose to disconnect or remove WhatsApp from your Facebook page.
- 5. Confirm your decision when prompted.
- 6. After disconnecting, ensure that any permissions or access granted to WhatsApp on your Facebook page are revoked.
- 7. Double-check that WhatsApp is no longer linked to your Facebook page by revisiting the app settings.
- 8. If necessary, inform relevant parties or contacts about the disconnection to avoid confusion.
- 9. Consider any potential impacts of disconnecting WhatsApp from your Facebook page, such as losing certain functionalities or features.
- 10. If desired, explore alternative methods of communication or integration between WhatsApp and your Facebook page.
Step 4: Confirming the Removal of WhatsApp from your Facebook Page
After clicking on the “Disconnect” button, a confirmation dialog box will appear. Read the message carefully to ensure you understand the consequences of removing WhatsApp from your Facebook page. If you are sure about your decision, click the “Confirm” button. This action will initiate the removal process, and WhatsApp will be disconnected from your Facebook page.
Step 5: Post-Removal Considerations and Best Practices
Once you have successfully removed WhatsApp from your Facebook page, there are a few post-removal considerations and best practices to keep in mind:
- Inform your customers about the change and provide alternative methods of communication. This could be through email, phone, or other messaging platforms.
- Update any promotional materials or website links previously mentioned WhatsApp as a contact option.
- Regularly monitor your communication channels to ensure you get all messages from customers who previously contacted you through WhatsApp.
Related Post : How to Change WhatsApp Number without Notifying Contacts
Troubleshooting Common Issues During the Removal Process
While the removal process is usually straightforward, there may be instances where you encounter some challenges. One common issue is needing help finding integration settings within your Facebook page settings. In such cases, double-check that you are logged into the correct Facebook account and have the necessary administrative privileges for the page. If the issue persists, reach out to Facebook support for further assistance.
Alternative Options for Communication on Your Facebook Page
After removing WhatsApp from your Facebook page, it’s important to consider alternative communication options. Facebook offers several built-in features that can serve as alternatives to WhatsApp. These include Messenger, which allows you to chat directly with customers, and the ability to display your email address and phone number on your page. Additionally, you can explore third-party integrations or plugins that provide live chat functionality on your website.
Frequently Asked Questions
Q: Can I reconnect WhatsApp to my Facebook page after removing it?
A: You can reconnect WhatsApp to your Facebook page anytime by following the same integration process.
Q: Will removing WhatsApp from my Facebook page delete my WhatsApp account?
A: No, removing WhatsApp from your Facebook page will not delete your WhatsApp account. Your WhatsApp account will remain active and separate from your Facebook page.
Q: Can I temporarily remove WhatsApp from my Facebook page?
A: You can temporarily remove WhatsApp from your Facebook page by disconnecting it and then reconnecting it when needed.
Conclusion
Following this step-by-step guide, you can easily remove WhatsApp from your Facebook page and regain control over your online presence. Remember to inform your customers about the change and provide alternative communication methods. Explore other features and integrations on Facebook to ensure your customers can reach you through various channels. Removing WhatsApp from your Facebook page is a decision that allows you to streamline your communication strategy and focus on the methods that work best for your business.
