How to Upload Custom Profile Picture on Xbox One
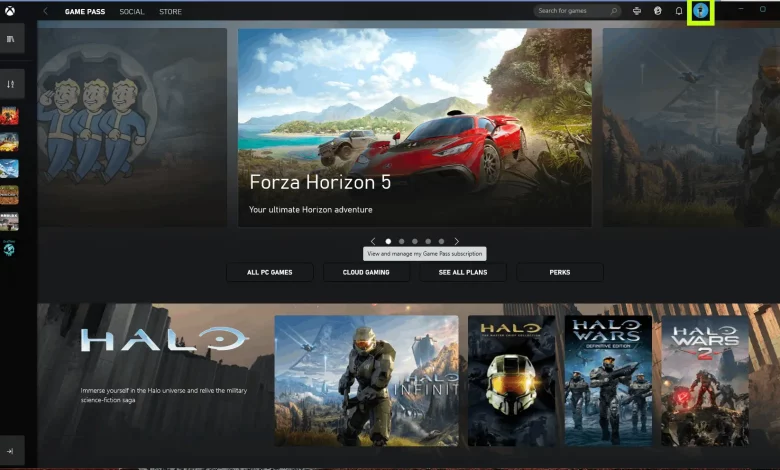
As an avid gamer, you want your Xbox One profile to reflect your unique personality. One way to achieve this is by uploading a custom gamer pic. A gamer pic is a small image that represents you on Xbox Live. While Xbox offers a range of pre-set gamerpics, uploading a custom image truly allows you to stand out from the crowd. In this step-by-step guide, I will walk you through uploading a custom gamer pic on Xbox One.
Table of Contents
Benefits of using custom gamerpics
Before we dive into the details of how to upload a custom gamer pic, let’s take a moment to explore the benefits of using one. Firstly, a custom gamer pic allows you to express your individuality. Whether you want to showcase your favorite game, a memorable gaming moment, or even a picture of yourself, a custom gamer pic gives you the freedom to do so. Additionally, having a unique gamer pic can make it easier for your friends and fellow gamers to identify you online. It helps create a sense of community and personal branding within the gaming world.
Step 1: Accessing the Xbox One dashboard
Requirements
Before you begin, there are a few requirements you need to meet:
- Xbox Live Membership: You need to have an Xbox Live account.
- Age Requirement: Your Xbox Live account must be set to adult, as child accounts cannot upload custom images.
- Image File: The image must be at least 1080×1080 pixels and cannot exceed 4MB. It should be in .jpg or .png format.
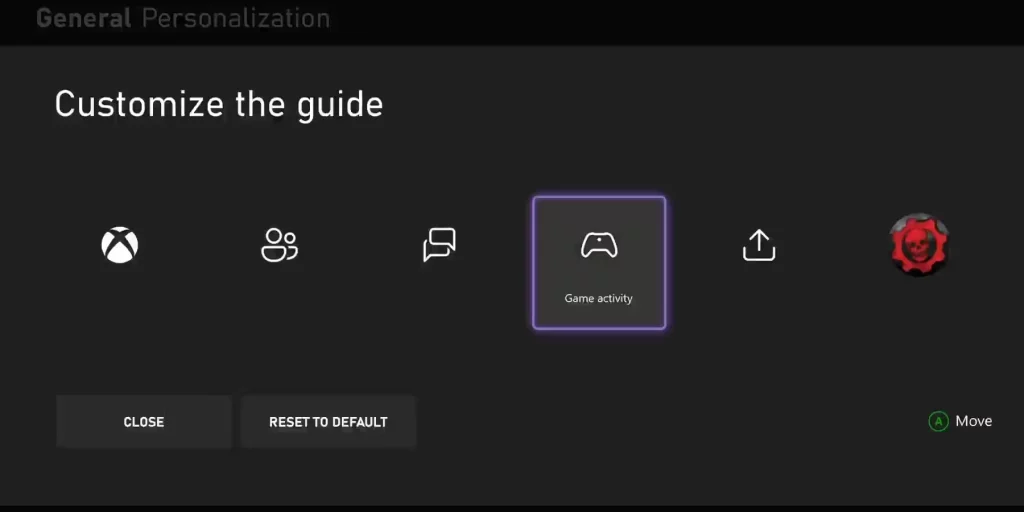
To upload a custom gamer picture, you must first access the Xbox One dashboard. Press the Xbox button on your controller to open the guide, then navigate to the far left, where you’ll see the “Home” tab. Select it, and you’ll be taken to the main dashboard.
Step 2: Navigating to the “Customize” section
Once on the Xbox One dashboard, scroll down to find the “Profile & system” tab. Select it, and a menu will appear on the right side of the screen. From this menu, choose the “Customize” option. This will open a new set of customization options for your Xbox One profile.
Upload the Image to OneDrive
- Step 2.1: Sign in to your Microsoft account on a computer or mobile device.
- Step 2.2: Open OneDrive and upload your prepared image into a folder you can easily access.
Step 3: Selecting the “Change gamerpic” option
Access the Image on Your Xbox One
- Step 3.1: Turn on your Xbox One and enter your profile.
- Step 3.2: Download the OneDrive app from the Microsoft Store on your Xbox if needed.
- Step 3.3: Open the OneDrive app and navigate to the folder where you uploaded your image.
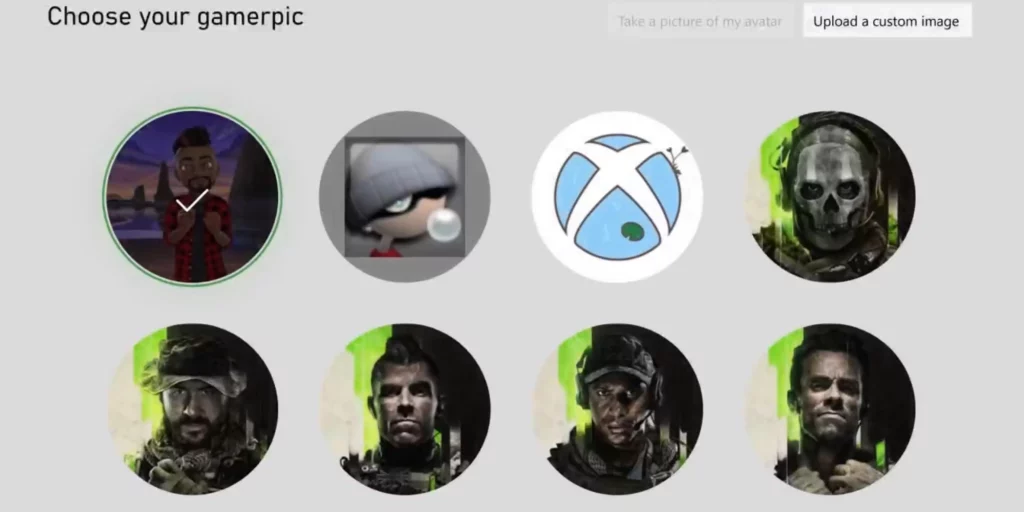
Within the “Customize” section, you’ll find various options for personalizing your Xbox One profile. Look for the “Change gamerpic” option and select it. This will take you to a screen where you can choose how you want to change your gamer pic.
Step 4: Choosing the “Upload a custom image” option
Set the Custom Image as Your Profile Picture
- Step 4.1: Select the image you uploaded.
- Step 4.2: Press the menu button on your controller (the small button with three horizontal lines).
- Step 4.3: Choose “Set as profile picture.”
On the “Change gamerpic” screen, you’ll see several options for updating your gamerpic. Look for the “Upload a custom image” option and select it. This will prompt you to choose an image from your device as your custom gamer pic.
Step 5: Uploading the custom gamerpic
After selecting the “Upload a custom image” option, you’ll have a list of available storage devices. Choose the device where your custom gamer pic is saved, such as a USB or external hard drive. Once you’ve selected the device, navigate to the folder where your custom gamer pic is located and choose the image file. The Xbox One will then begin uploading the image.
Step 6: Adjusting the gamer’s size and position
Once the custom gamer pic has finished uploading, you’ll be taken to a screen where you can adjust the size and position of the image. Use the left stick on your controller to resize and move the image until you’re satisfied with how it looks. Take your time to ensure that the image is centered and not stretched or distorted.
Step 7: Confirming and applying the custom gamerpic
Confirm and Enjoy
Once you select the image as your profile picture, it will be reviewed by Xbox for compliance with community standards. This process can take a little while, and during this time, your previous avatar or image will remain as your profile picture. If your image meets the standards, it will be updated across the Xbox network.
After you’ve adjusted the size and position of the custom gamer pic, select the “Apply” button to confirm your changes. The Xbox One will then update your profile picture with your uploaded custom gamer pic. It may take a few moments for the changes to take effect, but once they do, your custom gamer pic will be visible to your friends and fellow gamers on Xbox Live.
Related Post : The Ultimate Xbox One Backwards Compatibility
Troubleshooting common issues with custom gamerpics
- Resolution Issues: If your image appears blurry or pixelated, check to ensure the resolution is high enough and that the image was not compressed too much during editing.
- Rejection: If your image is not approved, you will receive a notification explaining why. Ensure your image adheres to community guidelines, and try again with a different image.
- Visibility: Remember, your profile picture is public, so choose an image appropriate for a broad audience.
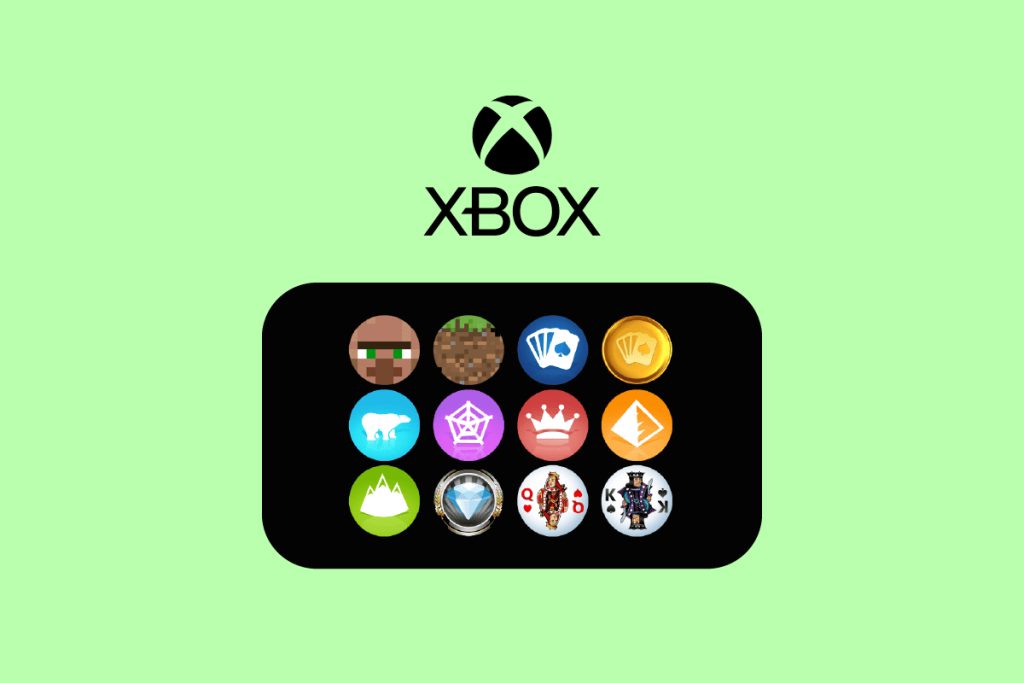
While uploading a custom gamer pic on Xbox One is a relatively straightforward process, you may encounter some common issues. One issue you might need help with is the image file size, which requires more significance. Xbox One has specific requirements for custom gamerpics, including a maximum file size of 2 MB. If your image file exceeds this limit, you must resize or compress it before uploading. Another issue is that the image file format needs to be supported. Xbox One accepts JPEG and PNG file formats for custom gamerpics, so make sure your image is saved in one of these formats. If you still need help uploading your custom gamer pic, try restarting your Xbox One console or contacting Xbox support for further assistance.
Frequently Asked Questions (FAQs)
Q1: What are the requirements for uploading a custom profile picture on Xbox One?
- Answer: You must have an Xbox Live account set to adult, as child accounts cannot upload custom images. The image must be at least 1080×1080 pixels, not exceed 4MB, and be in .jpg or .png format.
Q2: How do I access the Xbox One dashboard to change my gamer pic?
- Answer: Press the Xbox button on your controller to open the guide. Navigate to the far left to select the “Home” tab, which will take you to the main dashboard.
Q3: Where do I upload the image for my custom gamer pic?
- Answer: You need to upload the image to OneDrive using your Microsoft account. Once uploaded, you can access this image via the OneDrive app on your Xbox One.
Q4: How do I set a custom image as my profile picture from OneDrive on Xbox One?
- Answer: Open the OneDrive app on your Xbox One, navigate to the folder where you uploaded your image, select the image, press the menu button on your controller (the small button with three horizontal lines), and choose “Set as profile picture.”
Q5: What if my custom gamer pic does not appear after uploading?
- Answer: After uploading, your custom gamer pic will be reviewed by Xbox for compliance with community standards. This review process can take some time, during which your previous avatar or image will remain as your profile picture.
Conclusion
In conclusion, uploading a custom gamer pic on Xbox One is a fantastic way to personalize your gaming profile and express your individuality. Following the step-by-step guide, you can easily upload a custom image that reflects your unique personality and gaming style. Remember to choose an image that meets the Xbox One requirements, adjust the size and position to your liking, and confirm the changes to apply your custom gamer pic. Enjoy standing out from the crowd and let your custom gamer pic represent who you are in the gaming world.
Now upload your custom gamer pic on Xbox One to make your profile your own!


