BIOS Tuning for Enhanced RAM Overclocking: A Detailed Guide
As a seasoned PC enthusiast, I’ve always been fascinated by hardware optimization and performance tuning. One area that has consistently piqued my interest is the art of RAM overclocking. In this comprehensive guide, I’ll take you through the intricacies of mastering RAM overclocking, focusing on optimizing your system’s BIOS settings for maximum performance.
Table of Contents
Understanding the Basics of RAM Overclocking
RAM, or Random Access Memory, is crucial to any modern computer system. It serves as the temporary storage for the data and instructions that your CPU needs to access quickly. Overclocking your RAM can unlock its full potential, allowing your system to run at higher speeds and deliver enhanced performance.
Benefits of Overclocking RAM
The benefits of overclocking your RAM are numerous and can significantly impact your overall system performance. Here are some of the key advantages:
- Faster application and game load times
- Improved multitasking and smoother overall system responsiveness
- Enhanced frame rates and reduced stuttering in gaming
- Increased productivity and efficiency in content creation and media editing workflows
- Unlocking the full potential of your hardware, allowing you to get the most out of your investment
Precautions and Risks of RAM Overclocking
While the benefits of RAM overclocking are enticing, it’s essential to approach the process with caution. Improper overclocking can lead to system instability, crashes, or even permanent damage to your hardware. Before embarking on your overclocking journey, it’s crucial to understand the potential risks and take the necessary precautions to protect your system.
Step-by-Step Guide to Overclocking RAM in the BIOS
- Accessing the BIOS: The first step in overclocking your RAM is to access your computer’s BIOS. This can typically be done by pressing a specific key (often F2, F12, or DEL) during the boot process.
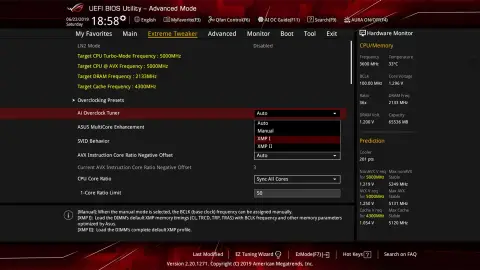
- Locating the RAM Settings: Once in the BIOS, navigate to the section that deals with memory or RAM settings. This may be labelled as “Memory,” “DRAM,” or something similar.
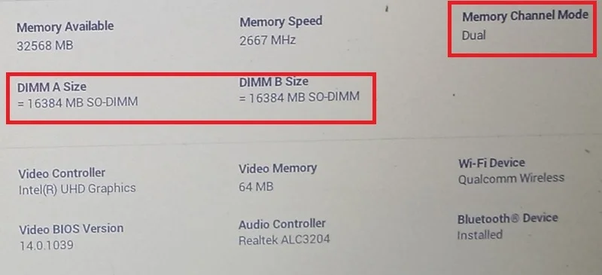
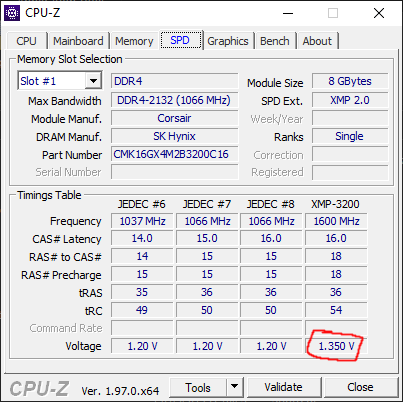
- Identifying Your RAM Specifications: Note your current RAM specifications, including the frequency, timings, and voltage. This information will be crucial for determining the appropriate overclocking settings.
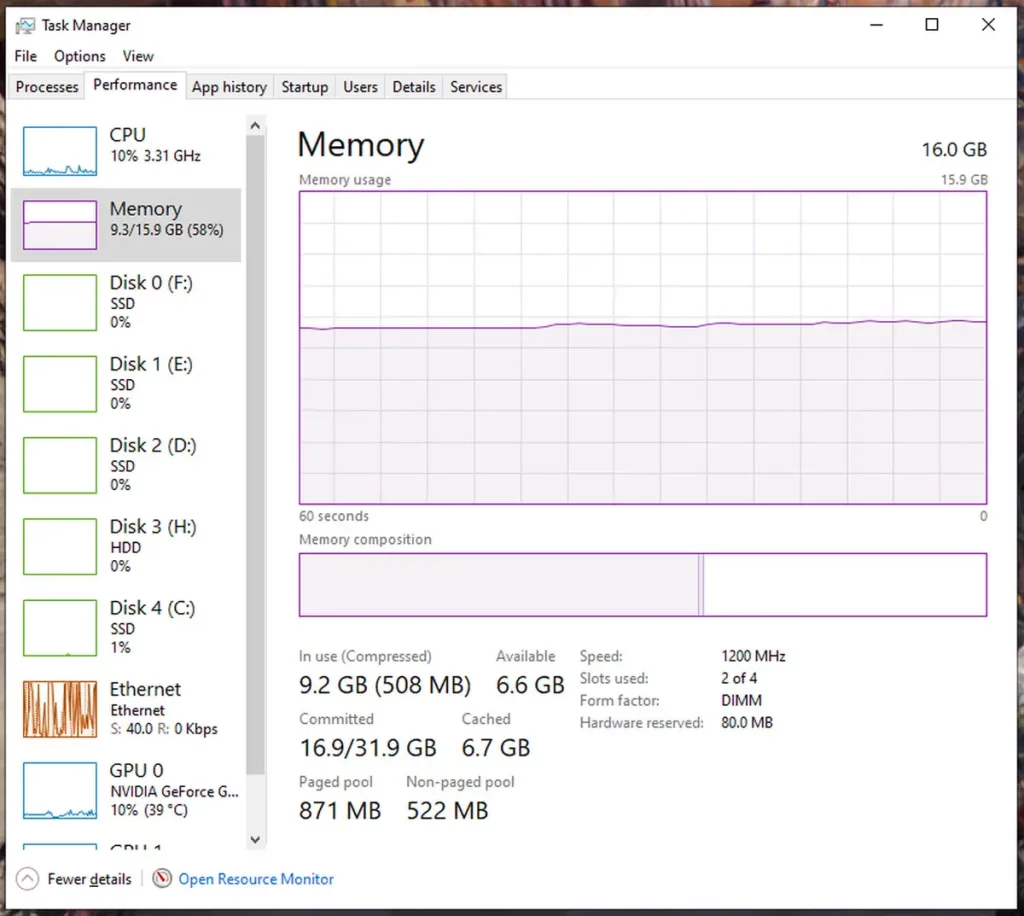
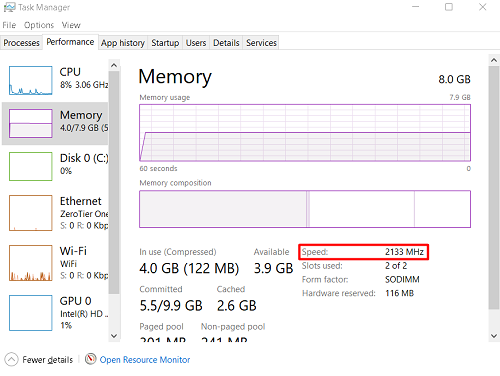
- Increasing the RAM Frequency: Gradually increase the RAM frequency, taking small steps to ensure stability. Keep a close eye on your system’s behaviour and monitor for any signs of instability, such as crashes or freezes.
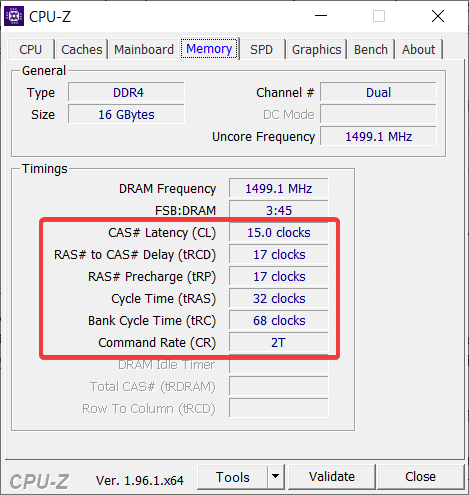
- Adjusting RAM Timings: In addition to increasing the frequency, you may need to adjust the RAM timings. Tightening the timings can improve performance, but be cautious, as overly aggressive timings can lead to system instability.
- Increasing the RAM Voltage: If necessary, you may need to increase the RAM voltage to maintain stability at higher frequencies. However, remember the maximum safe voltage for your specific RAM modules.
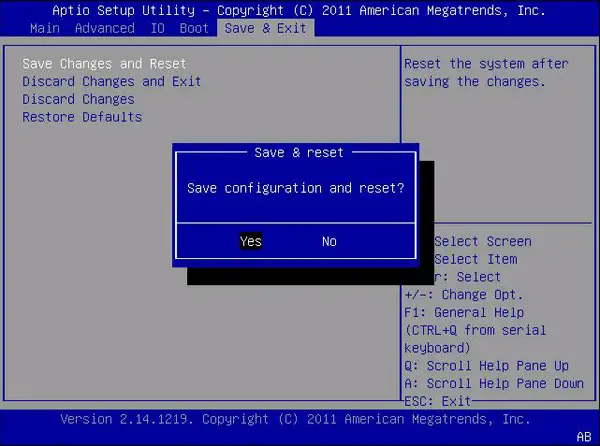
- Saving and Exiting the BIOS: After dialling your desired overclocking settings, save the changes and exit the BIOS. Your system will now boot with the new overclocked RAM settings.
BIOS Optimization Techniques for RAM Overclocking
Alongside the basic steps for overclocking your RAM, several advanced BIOS optimization techniques can help you achieve even higher performance:
- Memory Training: Many modern BIOS interfaces offer memory training options, which can help optimize the communication between the CPU and RAM for improved stability and performance.
- Adjusting Command Rate: The command rate, or CR, determines the time it takes for the RAM to respond to a command from the CPU. Experimenting with different CR settings can lead to performance gains.
- Enabling XMP (Extreme Memory Profile): If your RAM modules support XMP, enabling this feature can automatically configure the optimal settings for your RAM, simplifying the overclocking process.
- Adjusting Secondary and Tertiary Timings: Beyond the primary timings, fine-tuning the secondary and tertiary timings can provide additional performance improvements.
- Optimizing Voltage Settings: Carefully adjusting the DRAM voltage and the related CPU and system agent voltages can help stabilize your overclocked RAM.
Testing and Stability Verification for Overclocked RAM
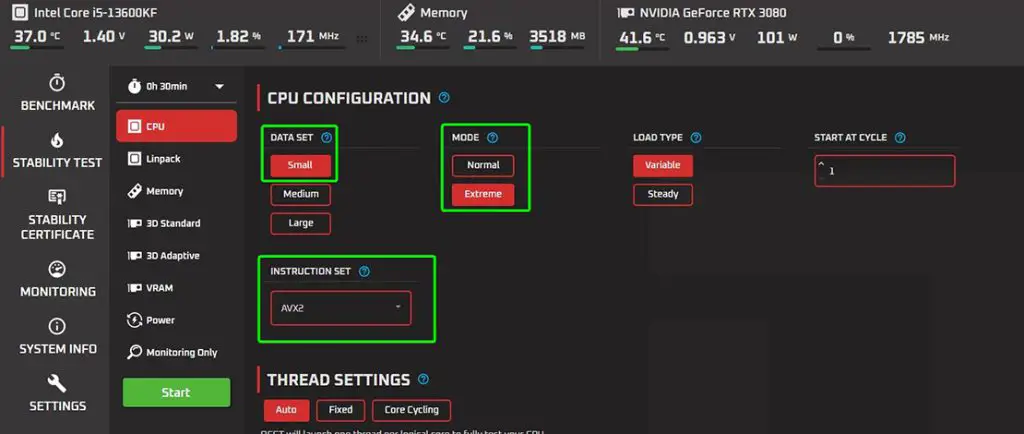
Once you’ve implemented your overclocking settings, testing your system’s stability thoroughly is crucial. Use stress testing tools like MemTest86, Prime95, or AIDA64 to ensure your overclocked RAM functions correctly and without errors.
Troubleshooting Common Issues in RAM Overclocking
You may encounter common issues when overclocking your RAM despite your best efforts. Here are a few troubleshooting tips to help you navigate these challenges:
- System Crashes or Freezes: If your system experiences crashes or freezes, try lowering the RAM frequency or increasing the voltage.
- Memory Errors or Instability: If you encounter memory errors or system instability, try loosening the RAM timings or reducing the frequency.
- Boot Failures: If your system fails to boot, reset the BIOS to its default settings and start the overclocking process again.
Advanced Tips and Tricks for Achieving Higher RAM Overclocks
For those seeking to push the boundaries of their RAM overclocking, here are some advanced tips and tricks to consider:
- Liquid Cooling or Exotic Cooling: Upgrading to a more advanced cooling solution, such as liquid or exotic cooling methods, can allow for higher overclocks by keeping your RAM modules at lower temperatures.
- Binning and Selecting the Best RAM Modules: Carefully selecting high-quality RAM modules through a process known as “binning” can yield better overclocking results.
- Tweaking Secondary and Tertiary Timings: Delving deeper into the granular adjustments of secondary and tertiary timings can unlock even more performance potential.
- Utilizing Benchmarking and Monitoring Tools: Leveraging specialized tools like AIDA64, HWInfo, and CPU-Z can provide valuable insights into your system’s performance and stability.
Frequently Asked Questions
Q: What is BIOS used for?
A: BIOS (basic input/output system) is the program a computer’s microprocessor uses to start the computer system after it is powered on.
Q: Why is BIOS needed?
A: Why is BIOS important? BIOS identifies, configures, tests, and connects computer hardware to the OS after a computer is turned on.
Q: Why BIOS needs a battery?
A: Bios needs a battery to keep the RTC (Real Time Clock) running, to supply power to its clock tick.
Q: Is BIOS a system software?
A: BIOS, pronounced “BYE-oss,” stands for Basic Input Output System and is software stored on a small memory chip in your system’s motherboard.
Conclusion
Mastering RAM overclocking through BIOS optimization is a valuable skill that can significantly enhance your computer’s performance. This step-by-step guide has given you the essential knowledge and techniques to tweak and tune your RAM settings safely. By following these detailed instructions, you can unlock your system’s full potential, improving speed, reducing latency, and ensuring stability during intensive tasks.
Remember, patience and careful attention to detail are crucial in overclocking. Each increment and adjustment can bring you closer to achieving optimal performance. It’s vital to monitor system responses and stability throughout. With these skills, you can elevate your computing experience, making it faster and more efficient.
Related Article

